A Little of This & That… Renovating, Decorating, DIY Projects & Family

Office Makeover: A Little Chevron, Gold & Greenery

How was your Easter? Ours was a really nice little celebration with family at my aunt’s house in Santa Cruz. Pictures soon to be edited… hope to share a few this week.

I’ve actually been gone for over ten days and now I’m back home and sooo happy to be back in my zone. Part of my 9-5 job includes traveling up to my company’s main office in the bay area (of Cali) for a week every 6 weeks, so part of me is very used to time on the road and the other part is always so happy to be home again. Luckily I get to take the little one with me and her grandparents watch her while I’m away during the day. It’s a pretty ideal traveling situation.

Back at the home office, I received a really cute, thoughtful gift from Maryam (she’s a style board contributor over here) and her business partner, Jennifer:
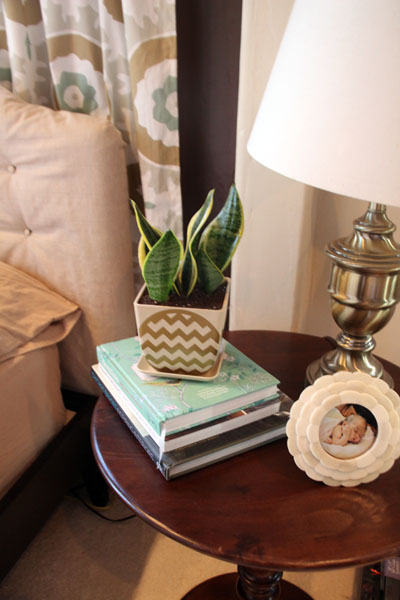
Adorable!

Maryam and Jennifer co-founded Green Your Air, a site that provides air purifying plants for the home in cleverly designed biodegradable pots. I love the new chevron print and I’m so thrilled they brought this guy over! I hope that eventually they’ll see this post and the big thank you/virtual hug I’m sending their direction!

You might have spotted the addition during the tufted headboard reveal last week:
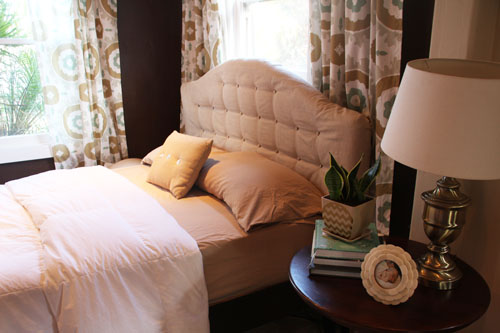
I have so much respect for these two ladies and their growing venture. They are stylish, green mommas (and entrepreneurs!) that are trying to change the quality of air indoors one home at a time. Here’s the reasoning they share over on their site: certain varieties of indoor plants absorb and filter the air of harmful chemicals and airborne toxins (did you know that the indoors can be as much as 10 times more polluted than the outdoors?). A chart sharing the chemical emissions found in the average home or office and which products they are generally emitted from can be found here. Surprising, right?
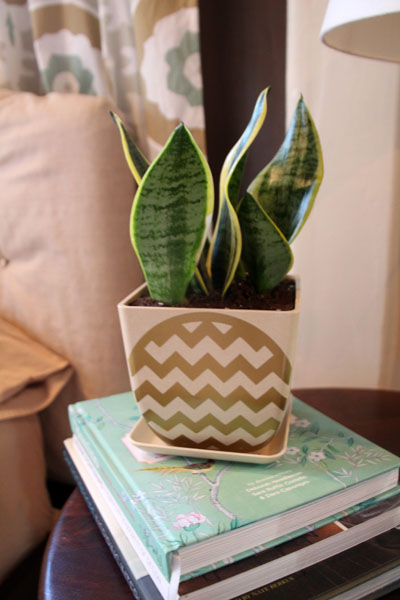
I’m a big fan of something living and green in each room (brings a little life to the party) and also a huge fan of hardly having to remember to water. This guy needs maybe an ice cube every 2-3 weeks to keep him going.

We currently have the Viridis in Liv’s room, too:
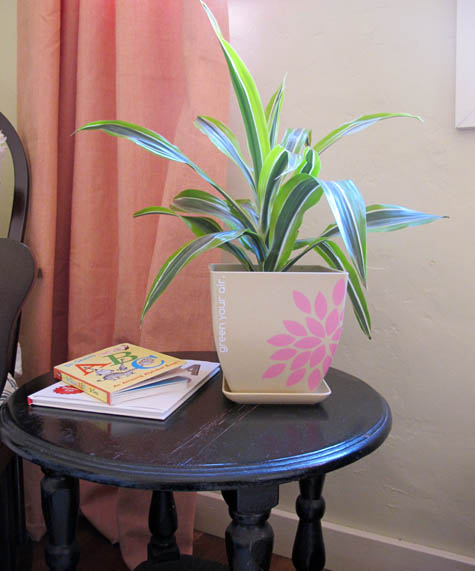
And he’s still alive! And going strong. Here’s another glance at those air-purifying leaves of the Fortis:
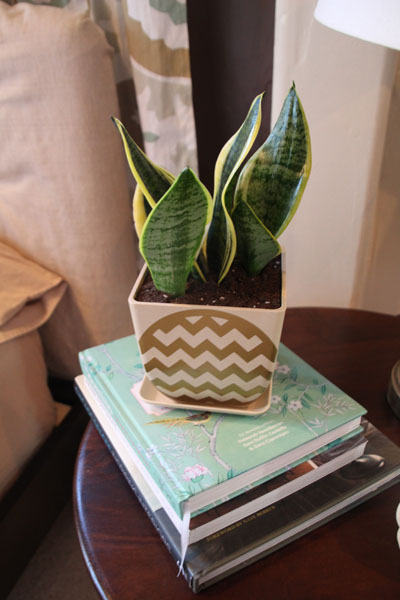
Maryam and Jennifer have extended a 20% discount to all readers through the end of May – these guys make lovely gifts for new mommies! or are great to add to your own space. Instead of sending flowers, this would be a great gift to have shipped to someone who has just bought a new home, too. Use code PEPPER20 during checkout.

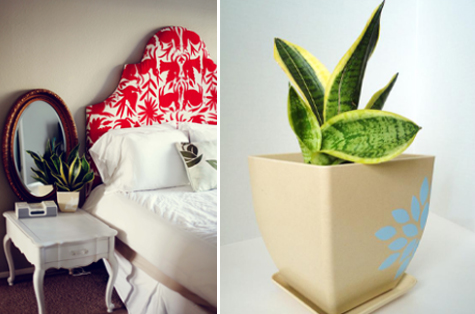
Here’s a little inspiration that they feature on the site. Love that headboard!!
Thank you again Maryam and Jennifer for the sweet new addition to the office.

PS, follow our family’s efforts to Go Green by checking out this series.

Speckled Easter Eggs!

Liv’s a little young to fully appreciate how fun it is to dye Easter eggs, but I was excited about the idea (it’s been too long since I was a kid!) so I decided to give it a go anyhow.

I wanted to keep it simple with whatever we could find easily available in the kitchen, so my first attempt was to create my own natural dye using this awesome tutorial. Vegetables, fruits and spices can create some pretty neat, saturated colors, check out these beautiful examples! And I’d imagine older kids might find it pretty neat to see how dyes and colors were originally derived.

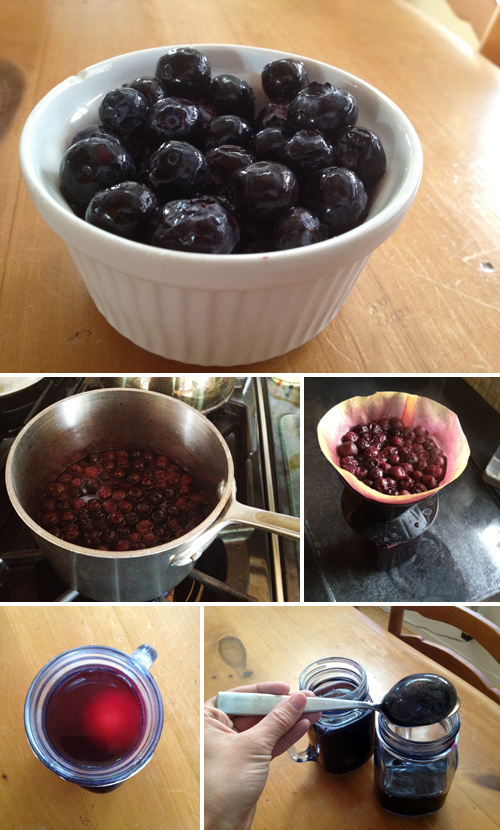
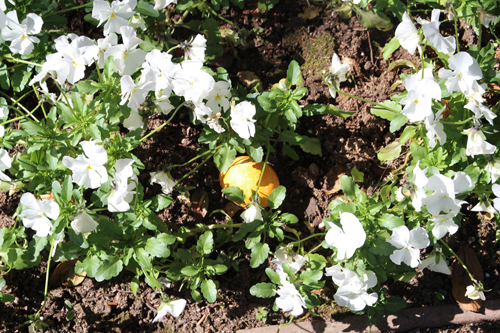
My goal was blue speckled eggs, so I defrosted a frozen bag of blueberries from the freezer and boiled them down (with about two parts water) into a rich, dark liquid. Sadly, after just a few hours my blueberry concentrate left my eggs looking black and rotten…

Muahhhhahaha, perfect for Halloween! So blueberries aren’t the way to go, but I would definitely try this method with another fruit again in the future!

Plan B: trusty food coloring + vinegar.

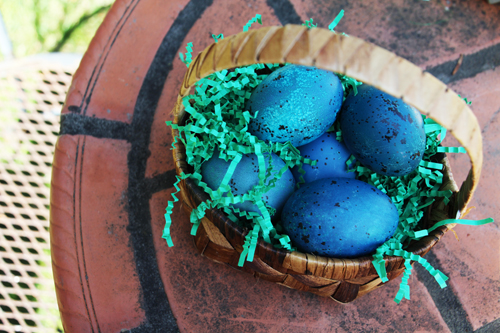
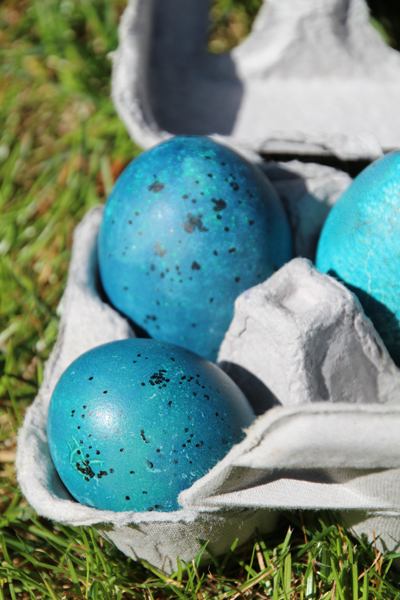
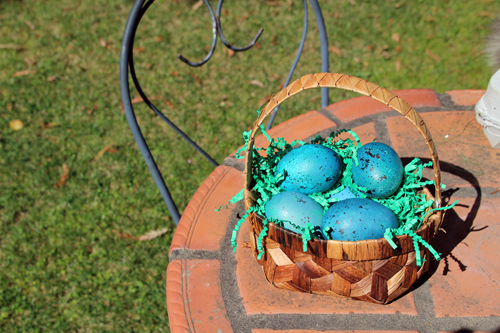
Two hours later and the eggs were looking quite blue and quite beautiful! I dyed a mix of white and brown eggs from the fridge, and I actually prefer the darker tint of the brown underneath that very saturated blue.

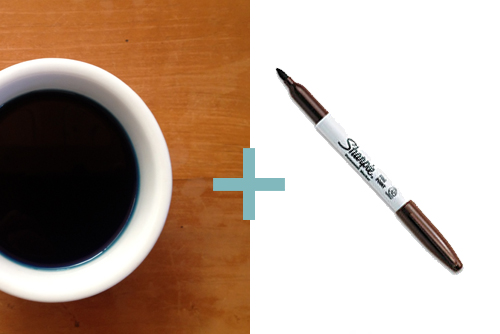
To achiever the speckled egg look, I improvised brown dots in clusters and speckles with a brown sharpie once the eggs were completely dry.

Such an easy project and such a fun result!

We carried the eggs around the yard for a bit, unloaded the bunch from a basket and filled it back up again.

We’re practicing for Sunday.

We also made a few simple solid yellow and green eggs, and then a few polka dotted versions!

Egg hunting under way…

Here she’s wondering ‘where are the rest?’, Liv just picked up the two hands out posture when she’s asking a question in baby talk, it’s adorable!

Look at those big brown eyes! What a cutie.

And then mid outdoor play time, Liv realized that she could smash the eggs!

And that if she squished them between her palms just right, pop! The hard boiled inside would come bursting out.

A half dozen smashed eggs later and our hunting adventure was officially over. So much for keeping these guys around until Sunday ;). But they served their purpose and we had great pre-Easter fun.

A few more reminders of those pretty speckled eggs…

*Sigh*

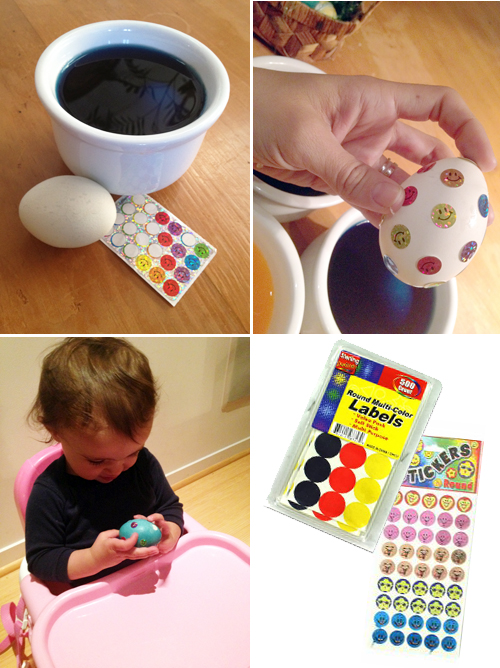
The polka dotted eggs were a fun project for us to tackle together. I covered a few eggs in small metallic smiley face (they have the best stick) and round office label stickers before letting them sit in the dye. When they were finished and dry, Liv helped me pull all of the stickers off.

It is tough to get a clean circle without any blue leaking underneath a sticker, but the dryer and more room temperature your egg is, the closer you’ll get. Here’s a great tutorial on polka dot eggs, check it out if you give these guys a try!

Have a wonderful Easter weekend! Hallelujah, He is risen!

Building a Bathroom: Installing a New Shower Door

If you’re wondering what the heck is going on with our guest bathroom remodel, that makes two of us. We are officially one year into this project, but I think we’re coming around the bend with the finish line in sight!

We finished the new kitchen in about four months so it was a surprise to both Kevin and me that this bathroom (which is so much smaller) is taking so much longer. I guess patience is a huge part of the home renovating pie. You really never can guarantee what you’ll come across as you go, be it budget, construction obstacles, time delays unrelated to the renovation entirely (but inevitably affect it anyways), and you know how it goes… Many apologies for the drawn out story.

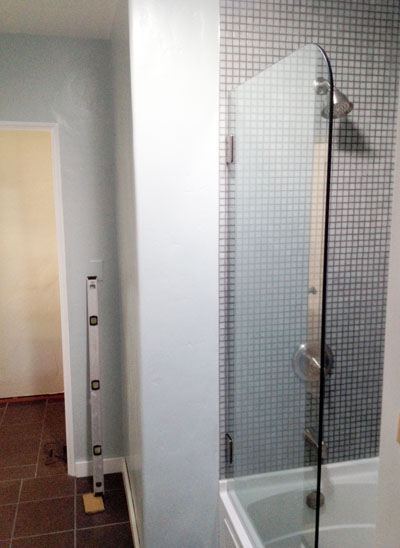
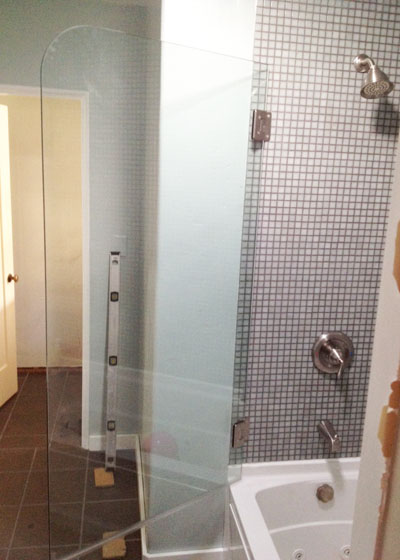
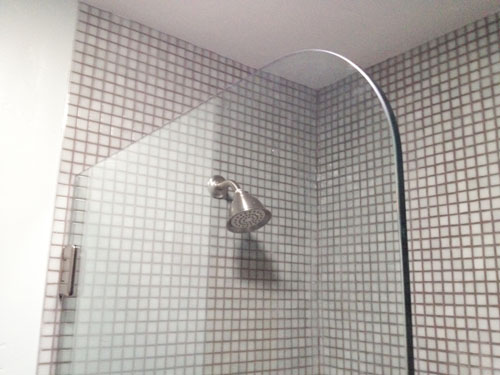
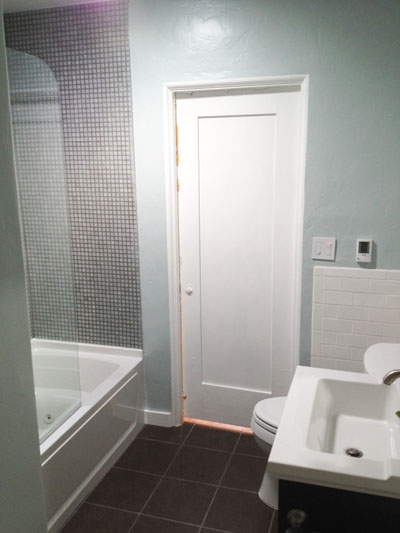
Happily we marked one more big install off of our list this week! Yes, after waiting far too long for this shower door to be delivered (long story short, the glass company was patiently waiting on us while we were patiently waiting on them… and finally we all communicated) she’s looking so brilliant.

And here’s a shot of her swinging a full 45 degrees open:

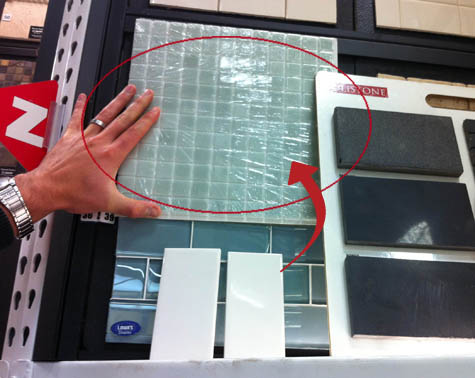
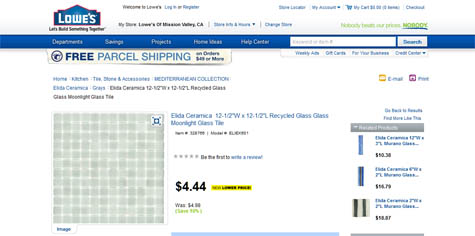
It’s a frameless glass panel! And it was the best option/investment that we could make for this new bathroom. We contemplated a shower rod and curtain but we would cover up that beautiful recycled blue/green glass tile (the tile can’t decide what color it is… it changes all the time depending on its mood. Maybe that’s why it was called Moonstone?? :)).

A framed glass sliding door was option two. But when it came down to the price we just couldn’t mess with how open and airy and beautiful a solo glass panel looked (and compared with a full sliding glass door, it wasn’t too much more). Since Lowes’ Awesome team was helping us with components of the bathroom such as the bathtub, fixtures, skylight, radiant heating, vanity, tile and toilet, we had a little extra from our saved up stash (that we used on construction materials, plumbing, electrical and so on) to splurge on a wow stopper just like this guy.

PS we had the best experience working with Lowe’s and they are my go-to. I cannot express how thrilled we were to make this entire bathroom happen with their help. Lowe’s, you guys rock.

Our secret for saving a little extra here was to have a glass company cut the shatterproof glass panel for us (rather than a store that specialized in bathrooms) and then to have Kevin install it himself. We did take the glass company up on their offer to measure (just in case the walls of our older bungalow were tilted just enough to notice a slant in a straight piece glass panel) at an extra cost.

You can have the door panel cut as a perfect rectangle, but the radius on the upper corner is a feature I’ve seen before and one I loved. Here’s the drawing I ended up sending over to the glass company:

But we ended up choosing to extend the door out to 34″ and to a height of 64″ to make sure the shower spray wouldn’t sneak up and around the single panel while someone was showering :).

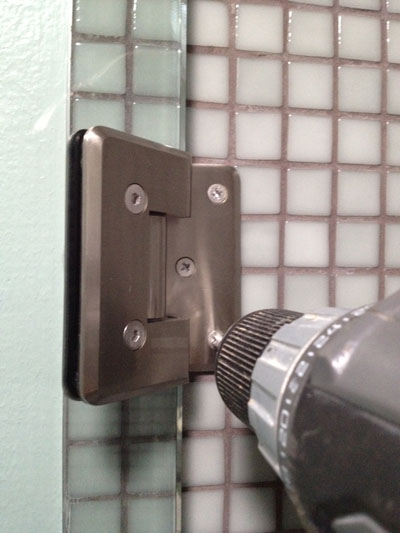
Installation ended up being pretty basic – and easily saved us over $200. After measuring out the hinge holes in the tile wall, Kevin used a glass and tile bit drill through the tile, into the wall and into a stud (we had planned on some sort of shower door so we made sure to have a stud in this location when we were framing out the room). Up went the glass and the hinge which was then screwed into the predrilled holes. Note: unless you’re super comfortable with all of the above, consider hiring a professional to do this if you find yourself installing glass anytime soon.

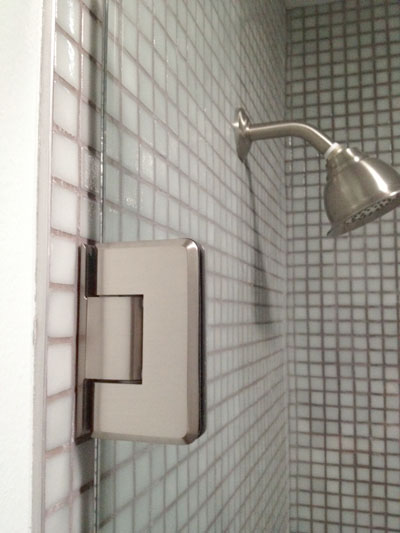
These hinges are heavy duty, the two alone are supporting the weight of the glass. They’re also pretty:

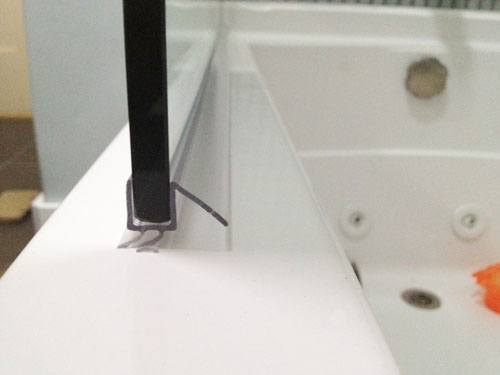
The edge of the glass panel that meets the tub is lined with a long rubber squeegee for a tight seal.

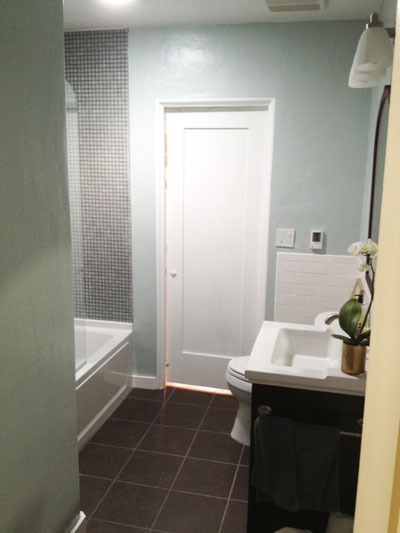
Still awaiting new art, towel hooks and that door back there is in need of a new coat of paint and a door handle (it used to be a closet door so there wasn’t a handle on the inside, these days you’ll find a little rotating disc  to open and close the door to Liv’s room).

If the photos are coming through a little fuzzy on your end, Kevin took them with his iPhone and beamed them on over earlier this week. Liv and I are up in the bay area of California on a work trip while the hubby stays home for school and home projects.

And there’s the handsome man behind it all:

(I couldn’t leave out the best pic he texted.)

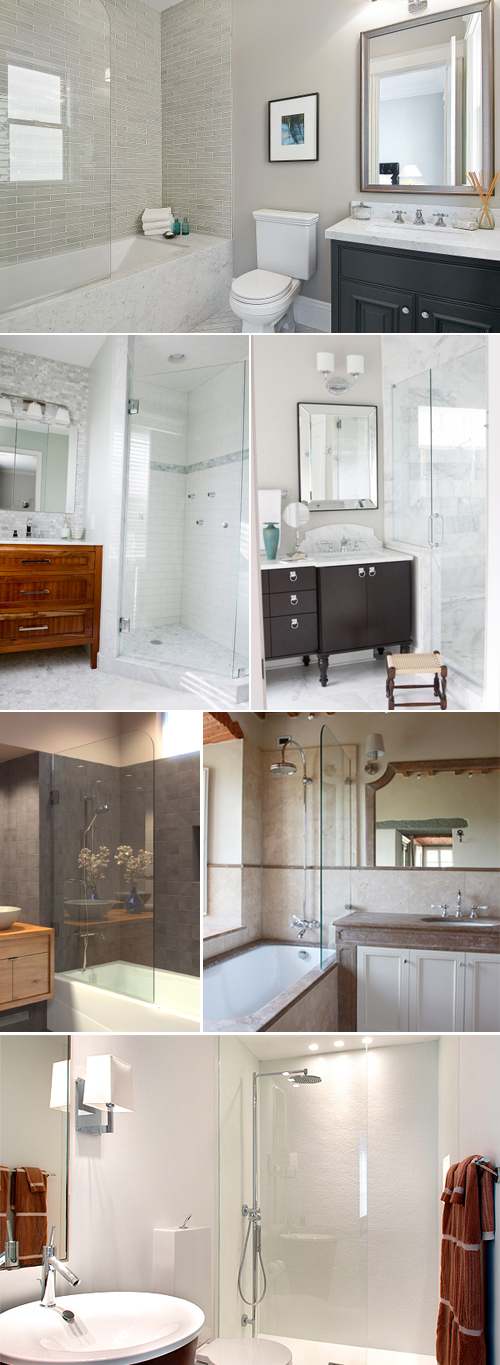
Here’s a round-up of more inspiration for frameless glass panel shower doors from DecorPad:

They’re pretty cool looking, right?

More building a bathroom posts: a vintage mirror, installation time, vanity wars, subway tile installation,  floor tiles and toe warmers, a quick catch-up on our work on the bathroom in 2011, tiling with recycled glass, choosing and installing a bathtub, demo time!, a peak at the layout, initial inspiration, partnering with Lowe’s

We partnered with Lowe’s on our bathroom remodel and had the opportunity to try out some of their product at no cost and some product at a discount. The ideas and stories shared in this post are entirely our own, promise.

Related Posts Plugin for WordPress, Blogger...