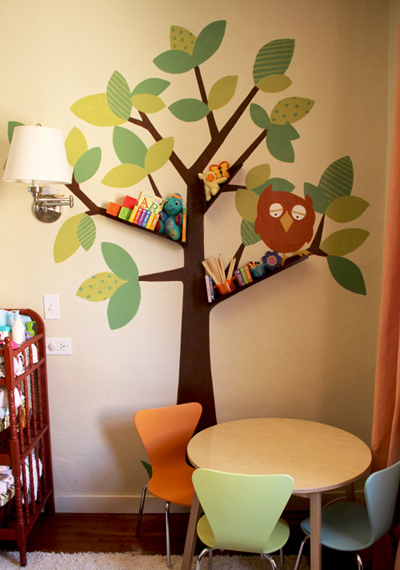
Last week I shared my weekend plans to add bookshelves to the colorful tree in Liv’s room. My inspiration stemmed (hehe) from this idea, but scaled back with just a few shelves on a few branches so that the shelves easily integrated into the wall image (rather than vice versa).
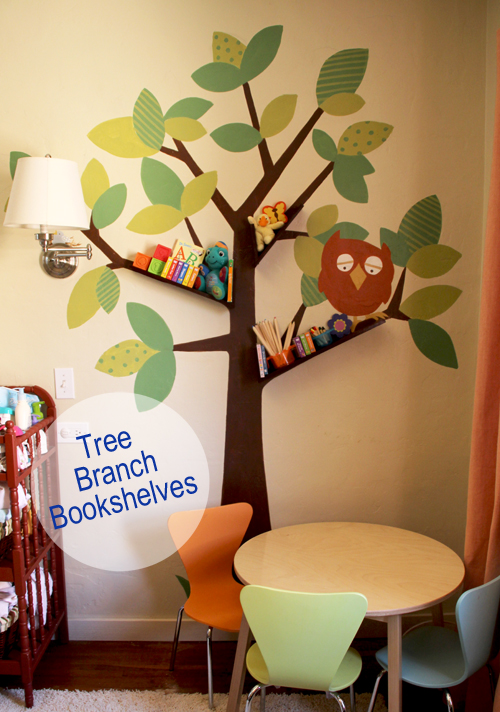
The project wasn’t too difficult to accomplish but it did send me back to the hardware store more times than I can count, hence the not getting it quite finished by end of weekend. But I’m loving the end result!!
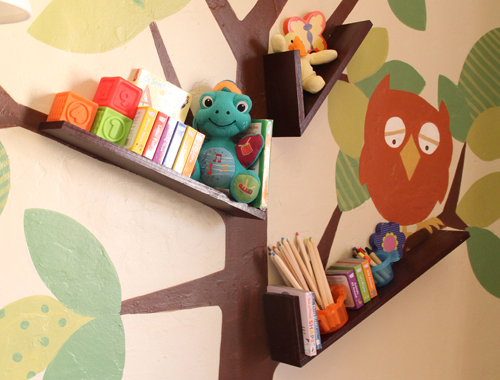
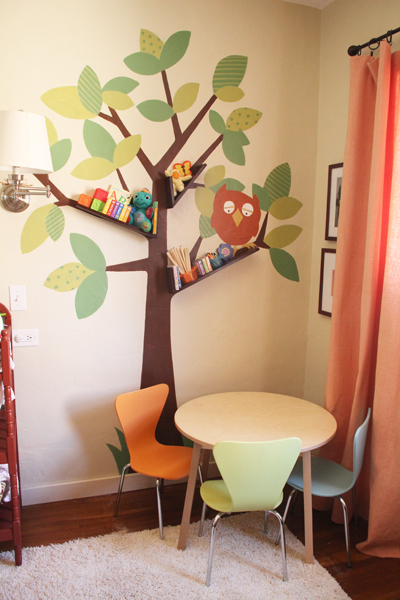
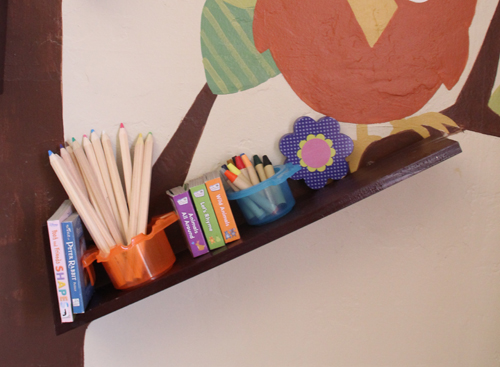
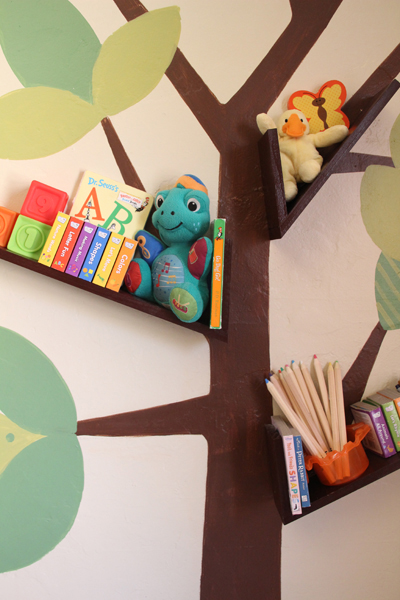
The new shelves make for a little extra storage for a few small books, stuffies and art supplies. The bonus is that they’re out of Liv’s reach, so I can keep colored pencils, crayons, etc ready for drawing but not easily accessed by the little one.
My only challenge in building the shelves was figuring out an easy way to ‘float’ them so that you wouldn’t see hinges or nails or adhesive from the front side.
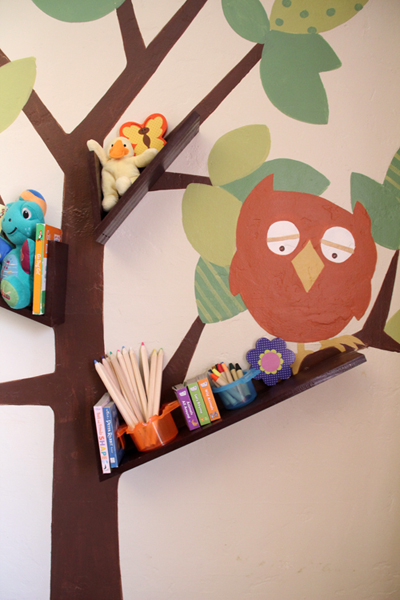
We ended up accomplishing this by using a 1/4″ dowel that we cut into small 4″ sections, and then inserting it half way into the wall and half way into each shelf several times.
Let’s start from the beginning…
*****************************************************************
Tree Branch Floating Bookshelves
m
Materials: 3/8″ pine planks, 1/4″ dowel, wood glue, drill, spray paint, saw (circular or manual with a miter box), nail gun (or finishing nails and a hammer)

To find the best angle for each new shelf, I first held up my wooden planks to the tree branches and made pencil marks for the exact angles I was hoping to achieve.
I determined that this particular shelf should be 15″ long and have a rise (that vertical piece) of 5″. All three shelves would have the same rise but varying lengths according to the branch lengths.
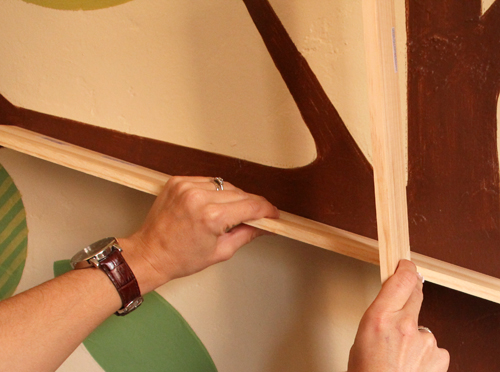
I could have easily cut a soft wood like pine with a saw and miter box, but we ran the planks through the circular saw and that this was the angle we were left with:
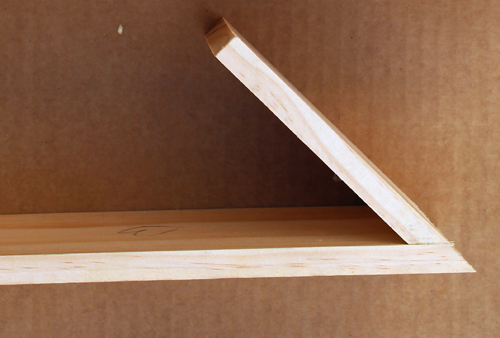
Just to be sure, I double checked my cuttings before adhering the two pieces together.
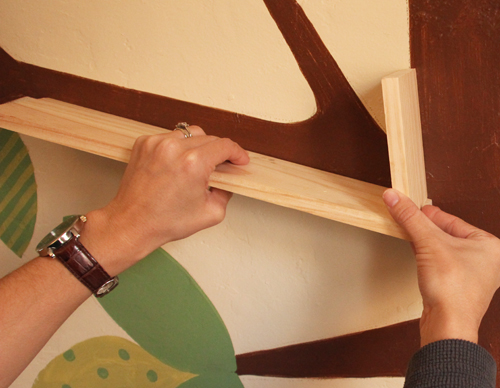
The first layer of adhesive came in the form of wood glue. You can see below that I labeled each set of planks for each shelf with an A, B or C so that I could easily match up the two pairs out of the total of 6 overall planks when gluing.
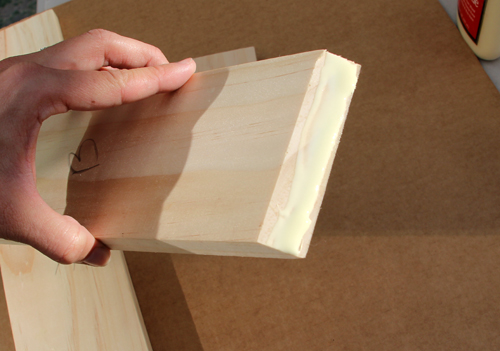
Then the two pieces of shelf were nail gunned together. Tapping finishing nails into the end with a hammer would have done the trick as well.
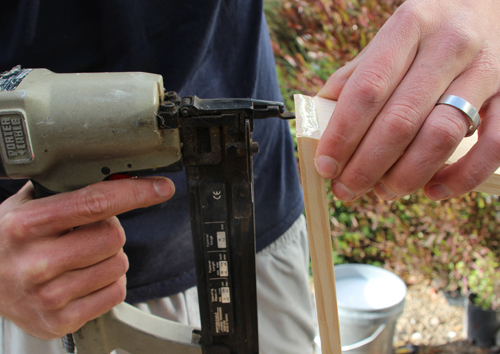
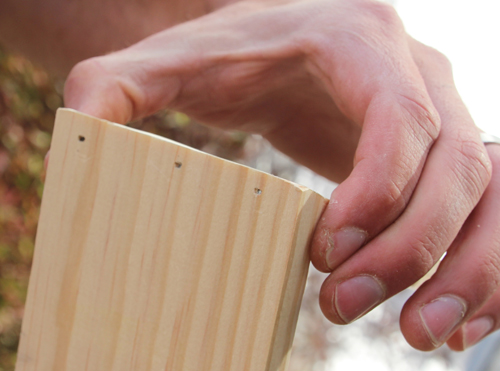
Three nails later and each shelf is secure!
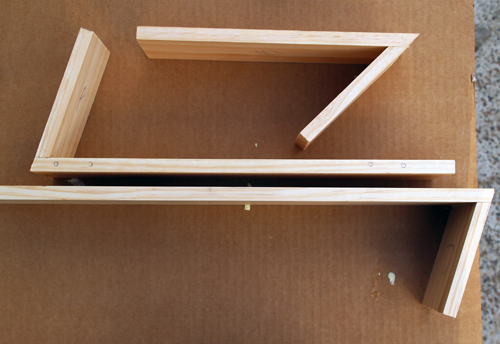
I tested three different shades of brown to get as close to the original paint color, this is the one I ended up coating my three shelves in:

After several coats (I prefer to layer on light coat after light coat – sometimes as many as 4 or 5 rather than 1 or 2 heavy, drippy coats) of spray paint and a night of drying, it was time to attach the dowels.
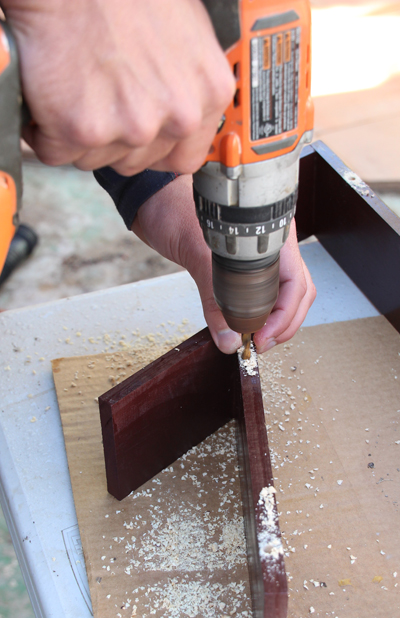
I chose an oak dowel (stronger than pine) for this project and Kevin pre drilled three holes in two of the shelves and two in the smallest. Because the dowel was 1/4″ wide he used a 1/4″ drill bit. Easy peasy. Kev helped with this step because a steady hand is most necessary to avoid splitting new shelves. There’s not much wiggle room when you’re drilling a 1/4″ hole in a 3/8″ plank! He’s a pro with these tools.

Next we added the dowel:
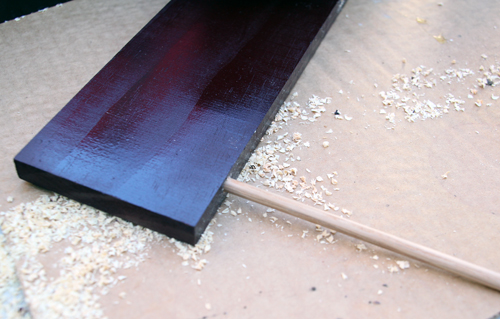
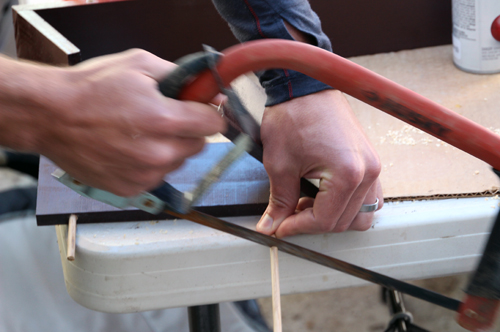
And cut each to about a 2″ length poking out of each hole.
The shelves were ready for install. My apologies for switching up shelf examples here but now we’re working with the lowest shelf where as before the example shots were of the middle shelf on the left of the tree. Oopsies!
In this shot I’m lining up the shelf with the tree branch to determine my first hole.
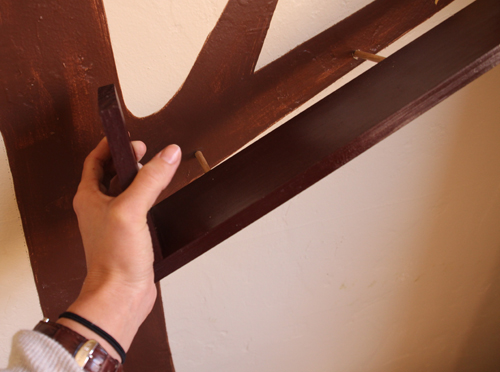
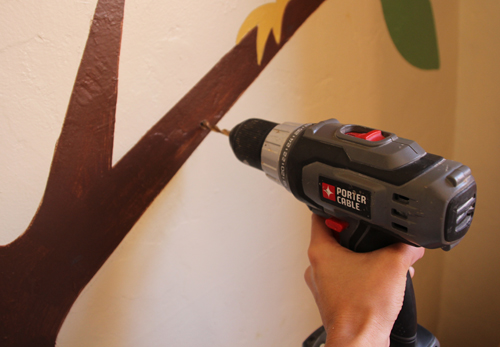
Using the same 1/4″ drill bit, I drilled in one dowel hole for the shelf.
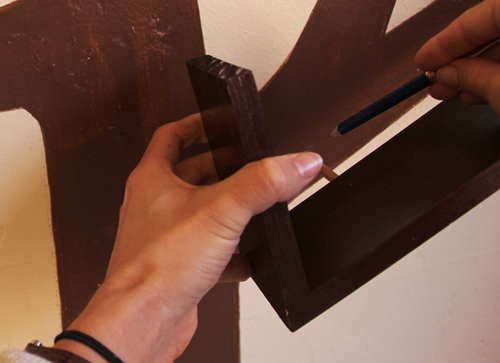
Now that I have my starting point, I can line up that first dowel hole with the shelf and appropriate dowel, and make clear pencil marks for where the next two holes should be.
Here’s the shelf with the finished drill holes. Because the drill holes have to be drilled at the perfectly straight angle that the dowels on the shelf will be at, I had to wiggle the drill bit around to get this step right. But before I completely push the entire floating shelf in…
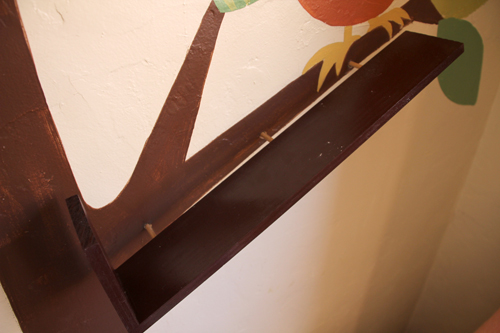
I add a bit of wood glue to each dowel, coating the sides and top.
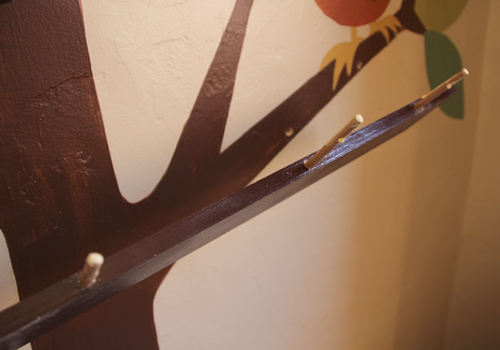
Finished!
*****************************************************************
Very excited about the new shelves!
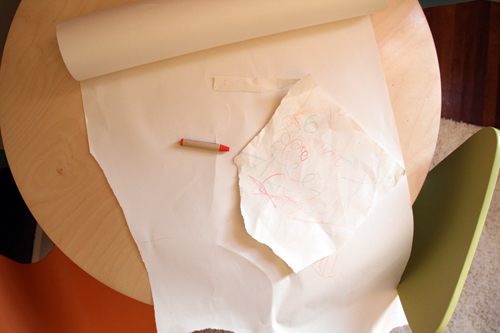
And the little artist loves her evolving nook here in the corner, she’s already getting plenty of use out of the table, chairs and art supplies. I need to come up with a better solution for that roll of paper! That guy flies just about everywhere, leaving a happy trail of paper behind.
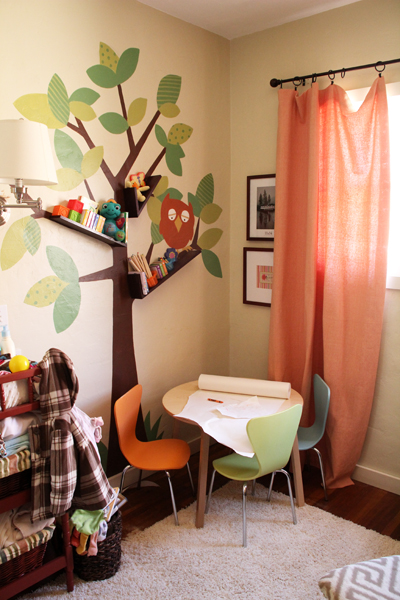
Oops! I just realized that one of the rings on the coral curtains has popped off! Need to add that to the to-do list.
The nursery is sloowly evolving into a big girl room
More Project Nursery posts found here: tree branch bookshelf inspiration, newly updated felt mobile, a new reading nook part 1, finished after photos, no sew fabric pennant, baby clothing art, handmade felt butterfly mobile, DIY crib skirt, basket liners part 1, part 2, the, glider makeover, recovering an ottoman, sewing lined curtains part 1, part 2, part 3, curtain fabric selection, nursery fabric board, rocking horse find, new pendant light, new sconce lighting, vintage wall art addition, changing table makeover, nursery wall striping tutorial , painted animal project, the initial inspiration board breakdown, the before pictures


