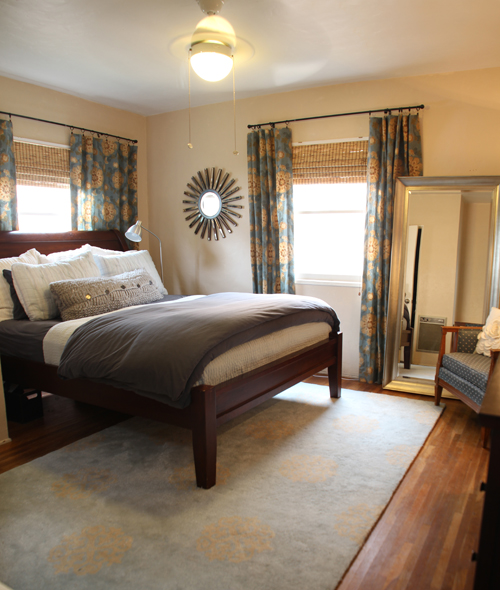
This past weekend I finished up the new curtains for the bedroom. Last week I had shared a sneak peek of the fabric I had found, but a little pinning, pressing and hemming later and my curtains are up and hanging.
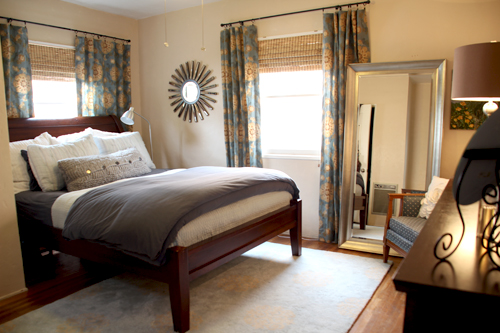
This room has been asking for a little character update since we moved in almost four years ago, and being the hidden bedroom that it is (no one ever really wanders into the master), I’ve left it as-is for some time. But now it’s well on its way to a little sprucing up! Even if that just means a few new fabrics, art and rearranging.
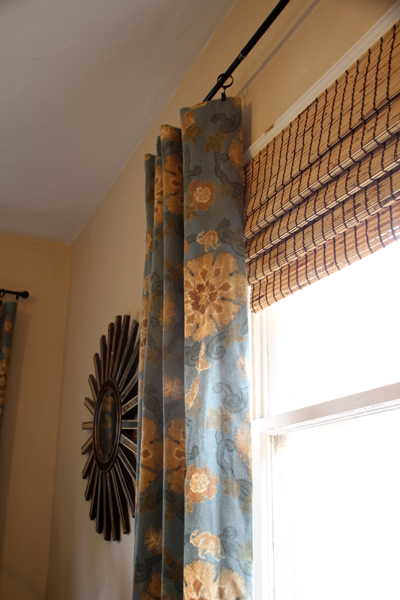
I’m loving the start! This fabric has had me smitten for some time and just as I had imagined, it goes so well in the space. The blue compliments the bedding and the tans work perfectly with our bamboo roman shades.
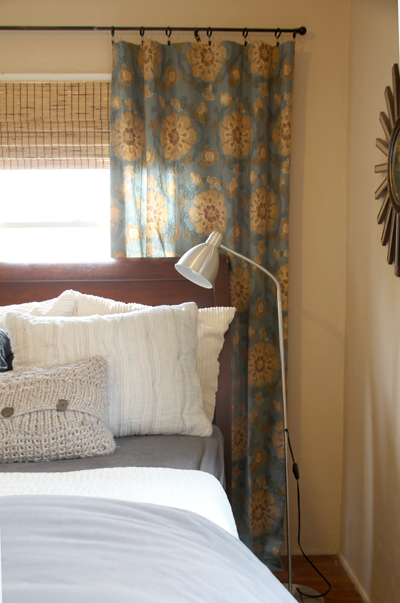
The bed still needs a few punchy throw pillows, and I think I’ll recover those bright white shams in the back, but the new front standard shams are from West Elm and my aqua/soft blue coverlet was found at Pottery Barn. So much better than the all-blue as it was before. This side of the bed is still in dire need of a night stand…
Alright, on to those curtains. Here’s the quick and dirty on how I sew a simple unlined curtain panel (this style can be a pocket rod or used with clips like I did above. Just for reference, here’s where I tackled lined curtains).
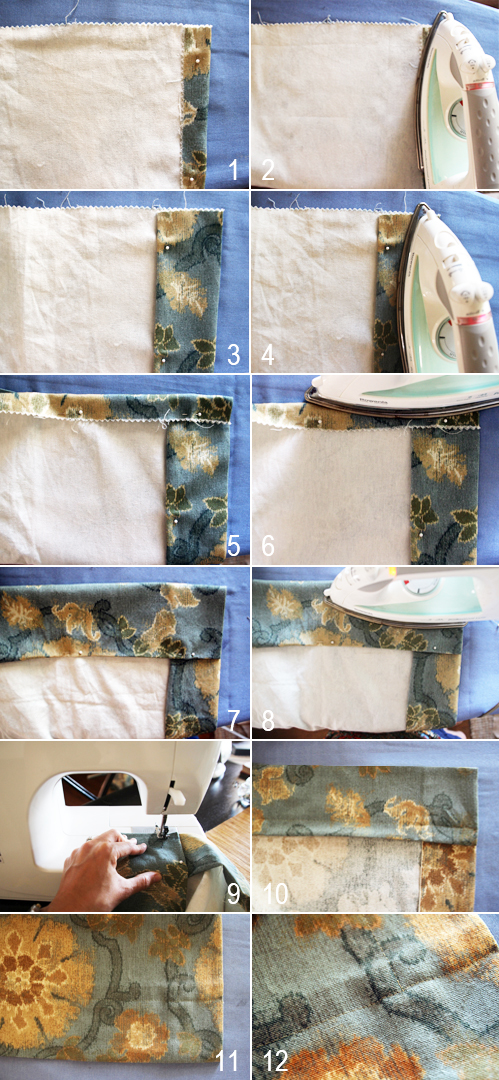
For me, it’s all about the folding and pressing.
I begin by flipping my fabric over, folding down one edge about 1″ and then I pin and press into place. Next I fold down that same edge to create a wide hem, usually 4-5″ for the bottom of a curtain, 3-4″ at the top and 2-3″ on either side (to me, the thicker the hem the more professional it looks).
Here’s an example of prepping the top of the curtain. First I fold the fabric over 1″ and pin, then press that fold into place. Next is folding again for an addition 4″, pin then press. This is what is my new top pocket rod if that’s the style of curtain I’m making.
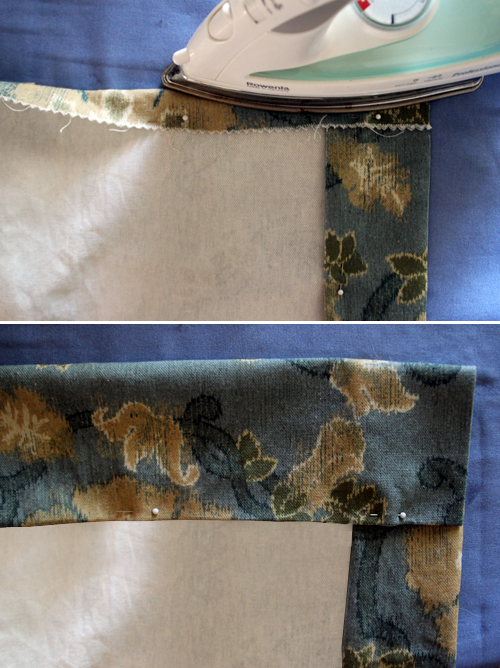
That pressed crease is key! It will not only guide your sewing line but will keep the curtains looking polished.
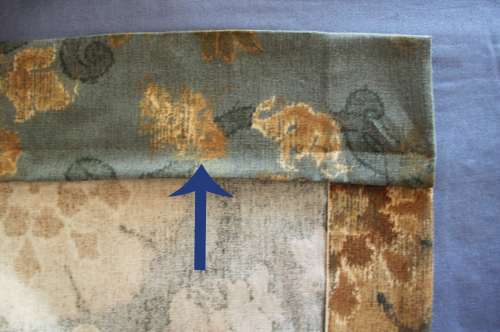
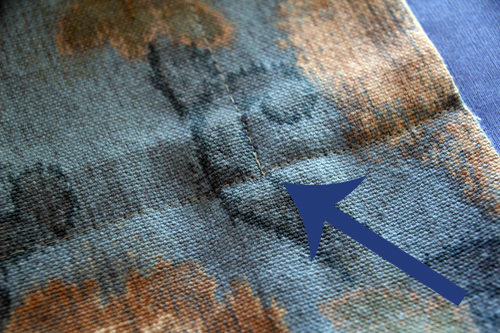
I repeat that process for three of the four sides (all except the bottom) and then sew along the top fold about 1/2″ in from each new hem (not the edge of the curtain but the folded over part, see arrow).
I sew the top hem first and then hang my curtain to let the weight of it pull the fabric down. Now I measure exactly where the fabric hits the ground and pin about 1″ below that to allow a slight break at the floor. This establishes the base point of my curtain. (I highly recommend remeasuring here by hanging your curtain unfinished from the rod, there’s nothing like sewing a panel in one go to only find out your 1/2″ too short or too long!)
Next I pinned, pressed and sewed the bottom hem just as I did the top. I haven’t sewn my sides up, but they are pressed into place just like in the image above.
Now it’s time to sew up the sides. Beginning at the top panel hem (not the top of the curtain) I sew straight down each side, again about 1/2″ in from the folded over hem edge. I’m keeping my top and bottom hems unsewn along the sides because I think it looks cleaner, and it creates a nifty little pocket if you want to hang your curtains directly from the rod without clips.
If I flip the corner over, here’s a visual that shows that the side hem stops right at the bottom hem.
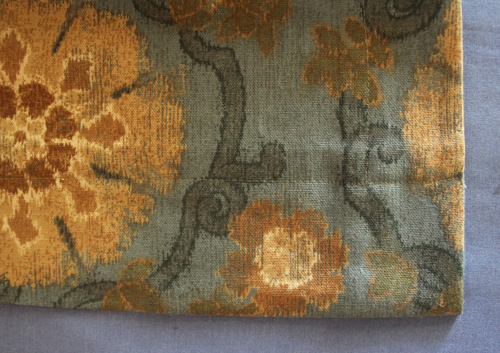
And if you have any boo boos? Because mistakes are always inevitable… I turn to my trusty Sew No More (discovered this guy in the $1 bin at Vons – you know, the bin where they’re just trying to get rid of product? But this stuff is awesome.)
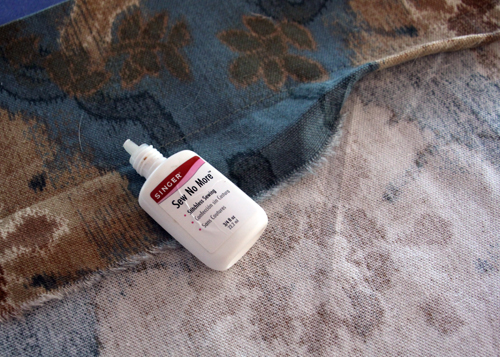
My sewing machine stitch hadn’t caught about 10″ of a pressed hem, so I applied a little fabric adhesive and now it’s all better.
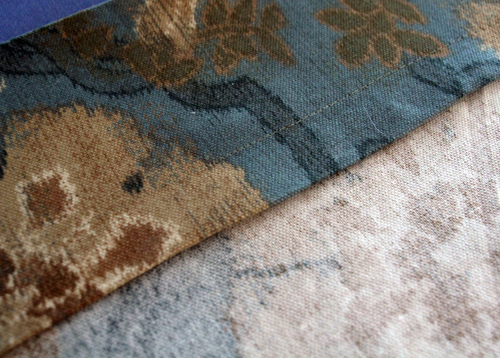
The last step was ironing the curtains one last time and then hanging them up! As mentioned before, I opted to hang my panels from curtain rod clips (you can find a pack of 7 – one pack for each panel – at any home improvement store).
To help shape the pleats, I improvised a bit and used a hair duck clip :) and left the panels bunched for several hours.
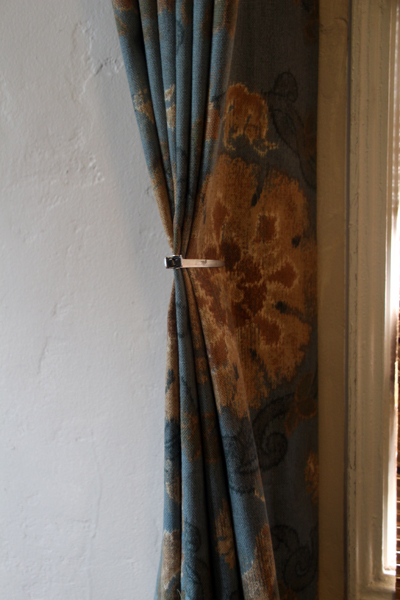
I’m sure there’s a better way to do that…
The curtains tie in well with other areas of the room, too. A garage sale painting I found a while back (above chair) looks as if it were made with the curtain color palette in mind:
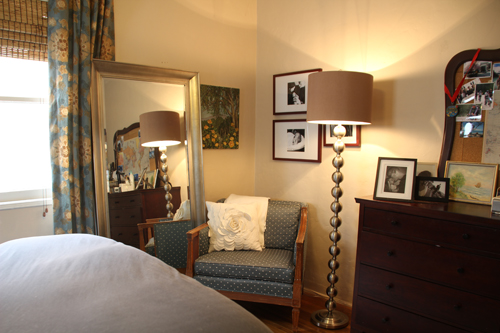
I’m thinking now that mustard might be a great color to use as an accent on the bed? Actually, the fabric from my thrift store chair looks pretty matchy too.
The curtains also help to balance out a window behind the bed that’s a little off center, though this bed is asking for new throw pillows.
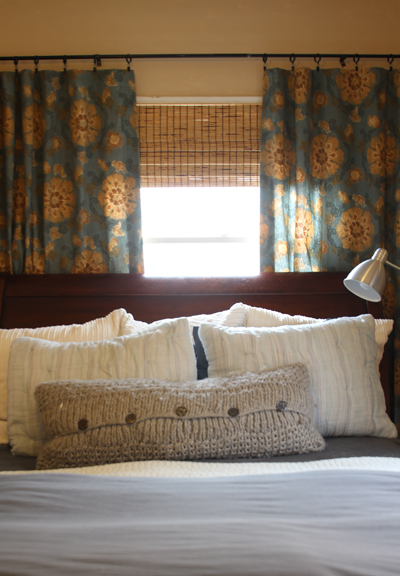
The fabric reminds me of a more floral suzani print, the actual name is Orbetello by Thibaut in blue.
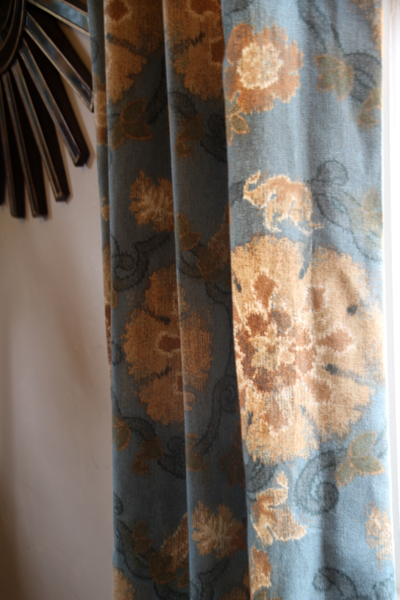
One more project crossed off of the list!
A reminder of the room before we moved in:

What we put together shortly after we unpacked boxes (in pretty bad lighting):
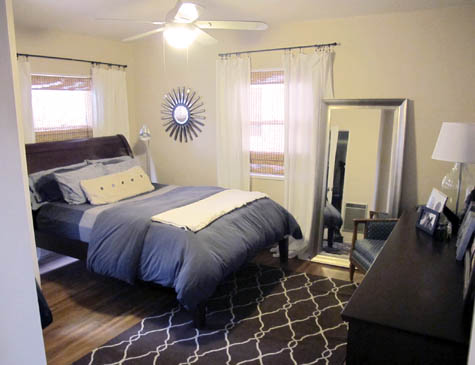
And now where the room is today:

That means as of now the rug, most of the bedding and the curtains are done! With art, pillows and possibly a new bed frame to go.
We actually have plans to demo this room and the adjoining bath to create one master suite sometime next year… that will really be a fun project. But baby steps, all in due time!
More master bedroom posts here: curtain fabric sneak peek, a new rug, the floor plan.


