Back before Liv was born and I was unsure if we were having a little boy or girl, I had put together a pretty gender free nursery (we added the coral and pink touches just after Liv’s birth) inspired by cute little playful baby animals. I hadn’t wanted to carry the theme too far throughout the room and stuck to these awesome wall designs with coordinating solid and patterned fabrics. But I had always had an eye for these guys!
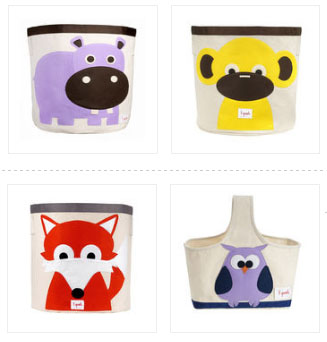
I had imagined making my own with whichever storage bins we ended up needing for the space. 18 months later and I’ve finally given it a go, converting a standard brown canvas hamper into a cute little owl bin for dirty clothes.

A fabric bin like this would be great for toys, too!
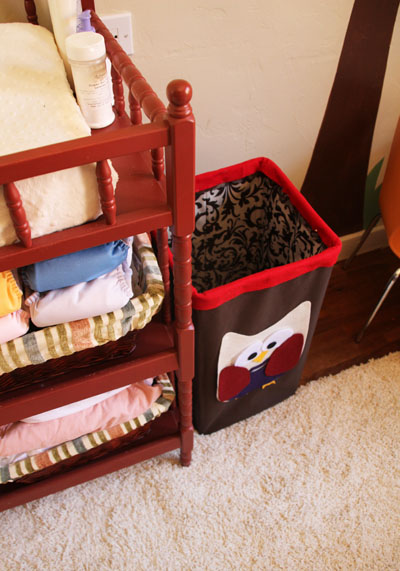
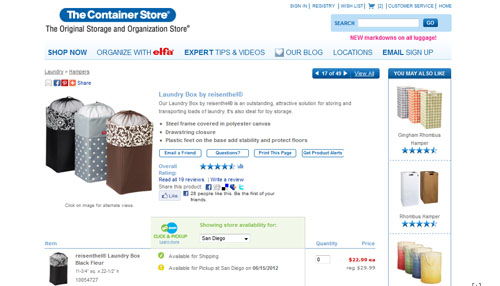
The process could have been incredibly simple but my quest for a smaller-than-average laundry basket proved to be daunting! The usual (in case you’re interested) is roughly 14x14x30″ and is quite a big size for a nursery space. I finally found the above at The Container Store and spent a little more than I had planned (this guy was on sale for $22.99) for my 11.5×11.5×23.5″ mini-me laundry bin.
The good news! If a regular laundry bin will fit your space, there’s a plethora of options in all colors and price points over at Amazon.
I created the little owl out of felt sheets from Michaels (I think they were $.99 each) and sort of winged the design (hehe) after Googling images of nursery owls. This guy ended up with an oatmeal tan body, burgundy wings and purple feathers.
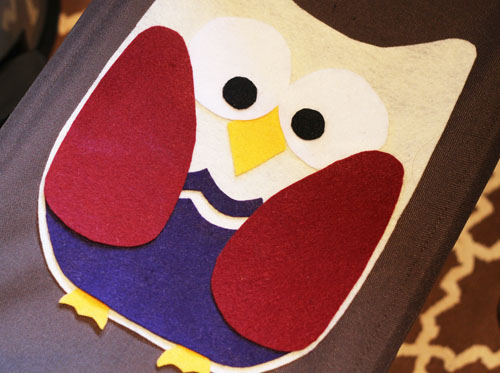
I used a standard white glue to adhere him together, though I noticed that it started to seep through the felt! and ended up creating a few funny blotches. I might try using just a little crazy glue next time instead, hot glue would be tough as I bet it might melt parts of the felt material.
Next up was the top red lining. You’ll notice in the picture from The Container Store that the actual hamper has a damask fold over lining and a mesh closure, both of which I didn’t need and both of which I carefully cut out.
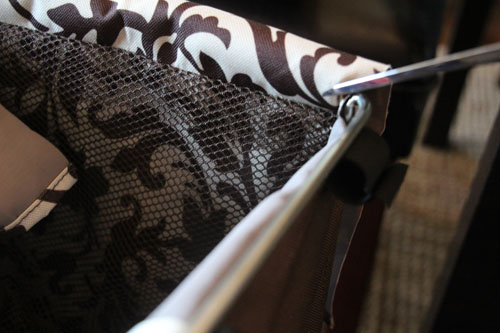
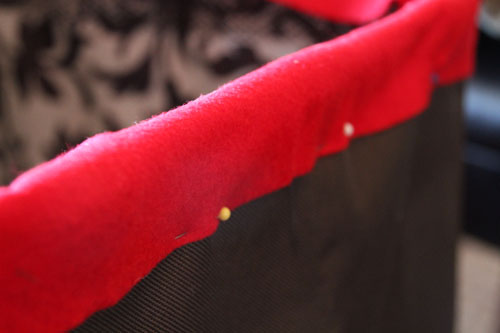
Here’s a shot of the outside lip which is now sans the fold over lining and mesh:
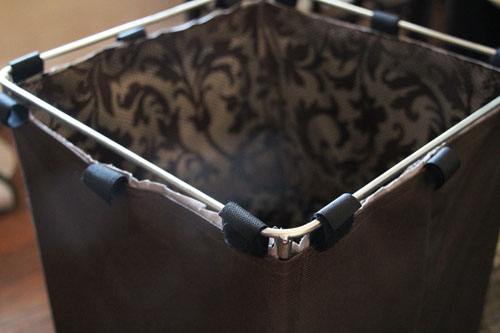
And one of the inside of the bag:
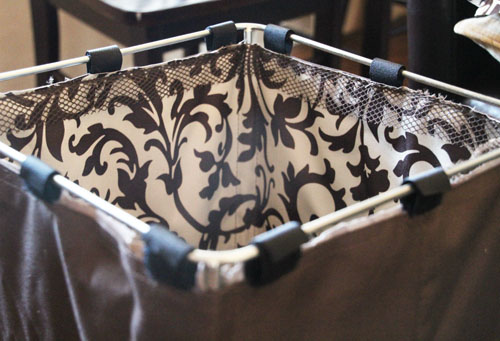
If you had a laundry basket that is ready to go as is, this is where you’d jump into the tutorial to add the top lining and animal on the front.
I made the red lining for the top of the bin out of red felt as well.
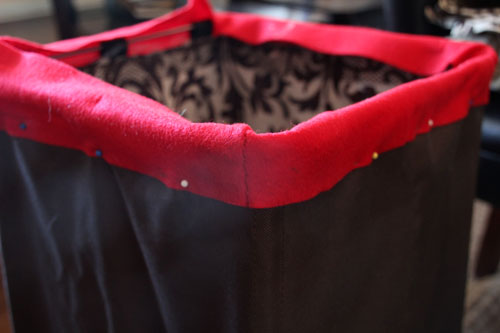
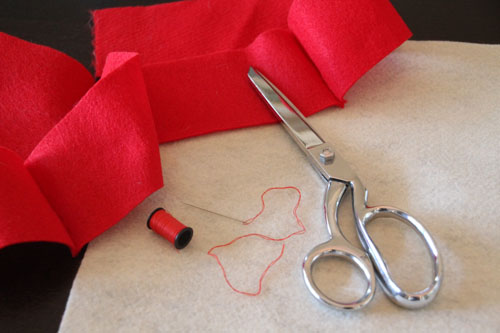
Because my edges were 11.5″ in length, I cut four 12×3″ sections of felt and then sewed the lengths together to create one long piece with three seams.
Then I added a few stitches at each corner, sewing the felt seams directly to the hamper seams. You could always use a ribbon for a similar effect but I wanted a material I could actually fold over the metal bars of the hamper rather than just line the very top edge.
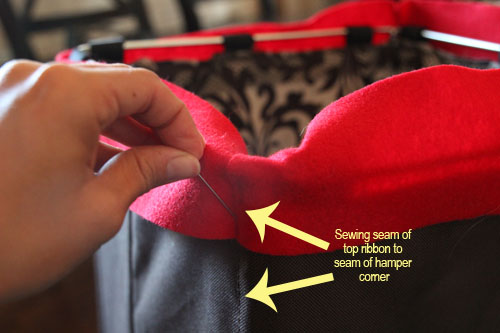
Instead of continuing my stitch (which could have taken a long time! plus I was going for a pretty seamless look) I used a line of glue down both the inside and outside of the lining and pinned the felt in place on the laundry bin to dry (ended up needing pliers to pull the glued pins out, maybe I waited too long :), clothes pins might be a nice alternative).
And here she is! Ready for clothes and ready for action.
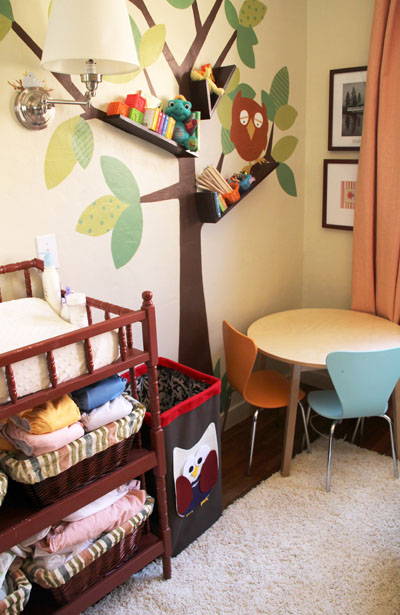
Do you like my empty Aaron’s Brothers frame up there in the right corner? I have so many pictures that I really need to hang up…
I looove how small it is, it fits perfectly into the space between Liv’s reading/play nook and her changing table. The damask lining actually adds a nice, unexpected touch!

Now how fun would it be to convert these storage bins into toy catch-alls around the house? or on a bookshelf in a playroom?

Happy crafting :).
PS If you want to go waaaay back, here are more Project Nursery posts: tree branch floating shelves, tree branch bookshelf inspiration, newly updated felt mobile, a new reading nook part 1, finished after photos, no sew fabric pennant, baby clothing art, handmade felt butterfly mobile, DIY crib skirt, basket liners part 1, part 2, the, glider makeover, recovering an ottoman, sewing lined curtains part 1, part 2, part 3, curtain fabric selection, nursery fabric board, rocking horse find, new pendant light, new sconce lighting, vintage wall art addition, changing table makeover, nursery wall striping tutorial , painted animal project, the initial inspiration board breakdown, the before pictures

