A Little of This & That… Renovating, Decorating, DIY Projects & Family

A Letter Writing Station

Because Kevin and my’s families are each a decent drive (or flight) away, I try my best to keep grandparents and great grandparents alike up-to-date with recent pictures of Olivia and our little family. It’s actually pretty simple and easy, and not at all a bother when it comes time to write a little note, print out a few photos and toss an entire batch of cards into the mailbox for the postman.

What helps to make the process so simple is a small, quarter-of-a-drawer letter writing station just for this purpose. After a year or so of pulling my big ol’ stationary box off of the top shelf, hunting for stamps, addresses, and finally envelopes large enough for photos, I finally set aside a small space within easy access of my desk just for this job.
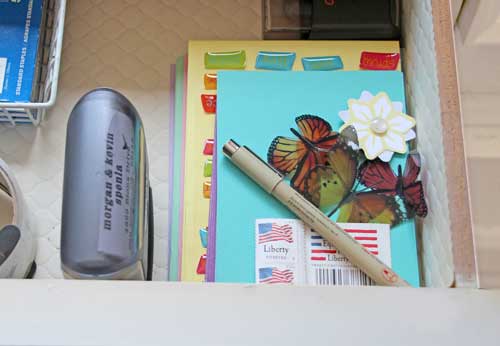
What prompted me to share this today is that I actually just transferred this space to my new office drawers as I’m getting ready to send a batch of cards out to the great grandparents. (There’s so much more storage space in my new white dressers!)
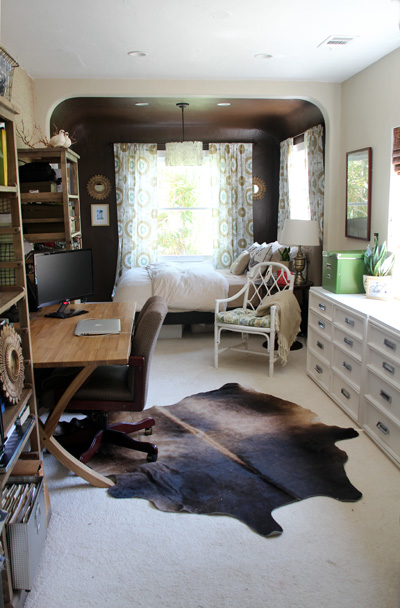
Within reach are envelopes that easily fit 4×6 Costco photos (a box of colorful pastel 4 3/4 x 6 1/2 found at Staples or online at Amazon), a stack of blank colorful note cards (Target) and little stickers or embellishments from my scrapbooking days (I have another giant box of these elsewhere, but I pull out a few every couple of months to replenish this supply). I’m totally serious about those butterflies too – sometimes it’s the sweet little details that make receiving a letter extra special!
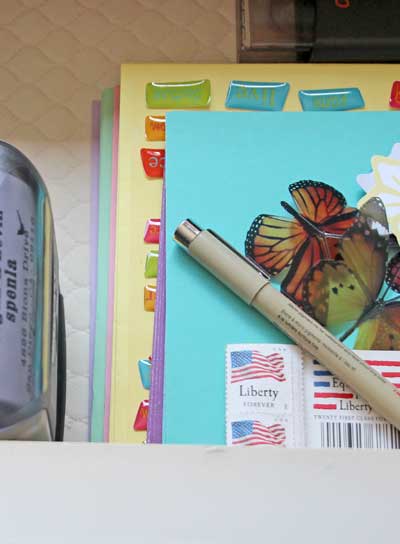
When we make a Costco run, I send a head a batch of favorite photos to pick up (five of each, for each of our grandparents and great grandparents). A hand scrolled note is added to the envelope (perhaps a scribble by Liv), a stamp from my pre made, self-inking address label (wonderful investment from Etsy) and into the mail it goes. Done and done.

Maybe one day I’ll even pre address them as well.
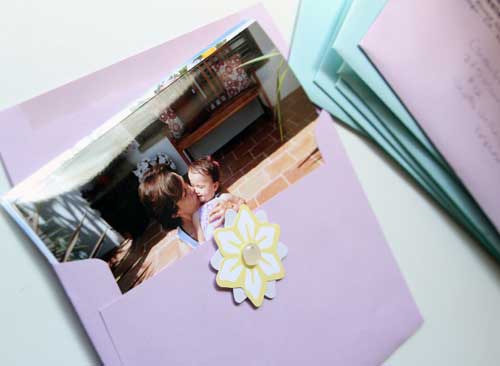
I know that Liv’s great grandparents in Denver, Des Moines, Phoenix and Santa Cruz especially appreciate this little gesture, and when we visit sure enough their favorites of the photos are covering the fridge or in frames. I hope that Liv does this for me one day ;). That is, if I haven’t already purchased the house across the street from my future grandkids.

I still keep that stationary box full of birthday cards and thank you notes on the bookshelf for special occasions:
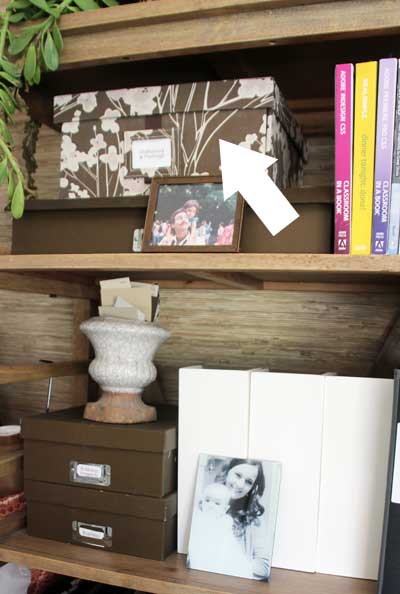
But this little letter writing station has its own purpose. ;)

Of course this blog’s purpose is, in a way, here to do the same thing. If only four of the six great grandparents that we send snail mail to knew what a blog was…

Curb Appeal: Transforming the Side Yard, Part 2

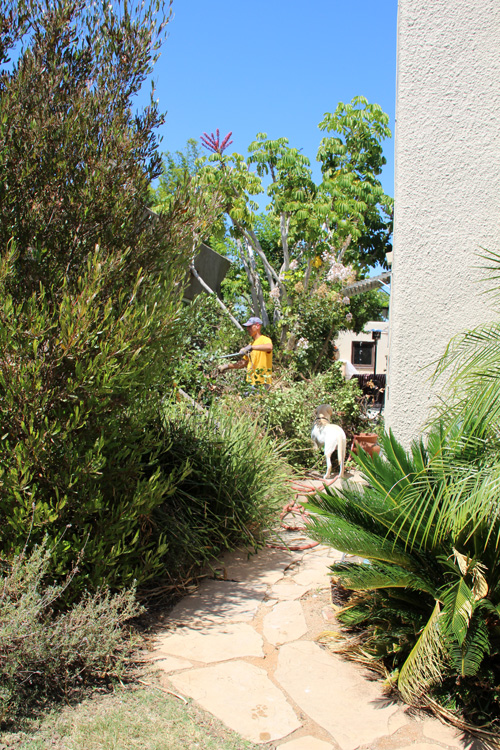
Last I left you we were on our way to transforming the jungle of a side yard that is the left side of our home (from the street view) into a cozy outdoor dining nook. More progress to share today!

Here’s a glance at the yard just as this project was breaking ground:

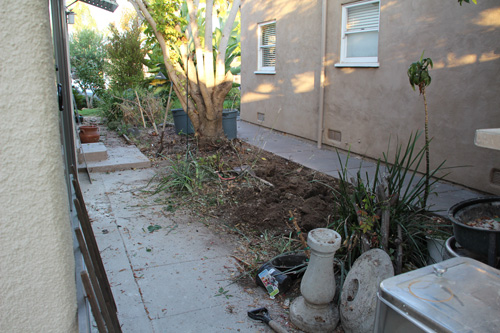
And here’s where we left off after the last post:

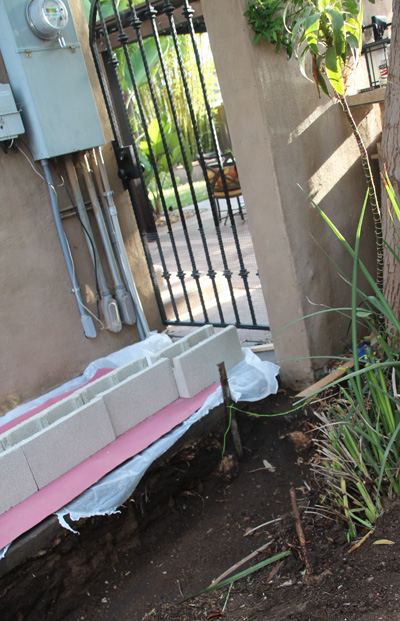
Next up for Kevin was digging a terribly long trench that stretched from the existing wall in the back all the way to the front of the house. Talk about back breaking work! The trench ended up at about two feet wide and 40 feet long. 

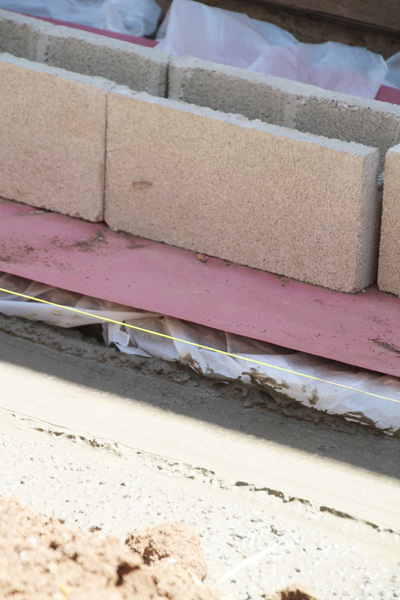
It’s hard to see in that above photo, but just below the pink paper is our neighbor’s existing sidewalk, and the trench drops down into that dark dirt just below. Our neighbors have been awesome during this entire process (they’re wonderful neighbors, seriously the best) and we’ve definitely been invading their space.

And here’s the existing block wall that we’re building off of (though the walls won’t actually touch until the very end and they receive an overlapping final coat of a tan shade of concrete – same color that is there now):

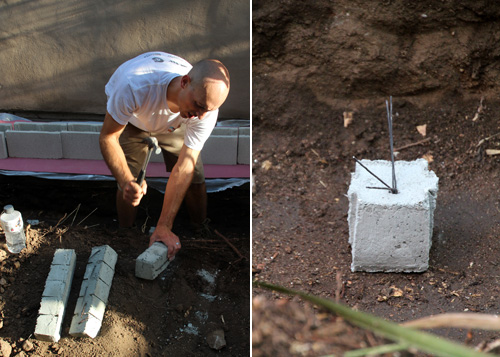
Here’s a close up of the footings which will help hold the rebar (an important part of the internal structure of this wall) in place:

The rebar slips up and over the metal prongs protruding from those concrete blocks.

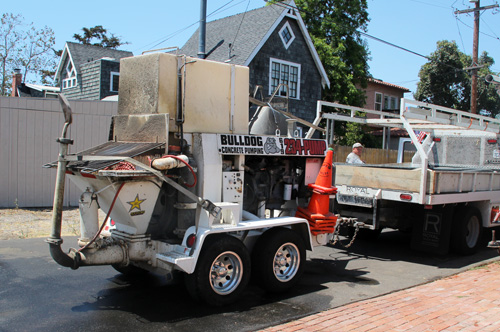
Finally we brought in a cement truck for a few hours to help fill in that trench with a thick layer of cement. Alternately, Kevin could have mixed the concrete himself and filled the long trench with wheelbarrows full, but we find that Craigslist is a great resource to find a concrete truck that has a couple of extra hours available in between big projects at an inexpensive rate. Kev’s done the whole mixing concrete thing himself (we still have a concrete mixer in the back somewhere) and it’s great for little projects!

To get said concrete into the trench, we also hired a Craigslist subcontractor that handles pumping the cement from the truck directly into the trench (rather than pumping concrete into a wheelbarrow and manually into the trench – which can take many, many round trips!).

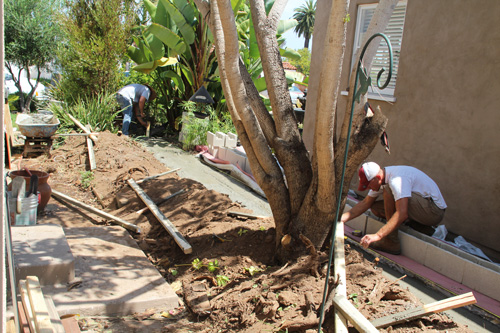
Very soon the trench was looking more like this! Kevin and his friend David are carefully leveling and measuring as they go. This newly filled trench will provide the base for the concrete block and it needs to be perfectly flat so that we end up with a nice and straight wall.

Getting there! So very close. Next up is stacking the concrete block and mortaring in place.

Here’s to that stud in the white shirt and khaki shorts that keeps knocking this wall out (or up?) one day at a time.

You can follow the side yard transformation with our breaking ground post here, and more outdoor projects can be found right here.


Friday Guest Blog Interview: Monica Pedersen

Happy Friday! We have had such a busy week here at the house – a new wall is near built! We just poured the concrete footings for a little raised garden bed and we’re about ready to officially start on the deck. Plus the house is alllmost finished with its exterior painting and we’re on to the windows next (still undecided on the trim – but thank you for the comments and emails! they have been really, really helpful).

Before the weekend arrives, I’ll send you off with a Friday Guest Blog Interview with none other than Monica Pedersen, the talented author behind Make It Beautiful and a designer on HGTV’s “Designed to Sell”. I am honored to have her join me at PDB today.

Monica is also a co-host of HGTV’s Dream Home Giveaway and HGTV’s Bang 4 Your Buck. She joins us to share more about her passion for entertaining and how she incorporates fashion, textiles and favorite trends into home decor choices and beautiful parties. Plus a few sneak peek images of Monica’s newest coffee table book…

On to the interview!

Continue reading

Related Posts Plugin for WordPress, Blogger...