
Such a goof ball.
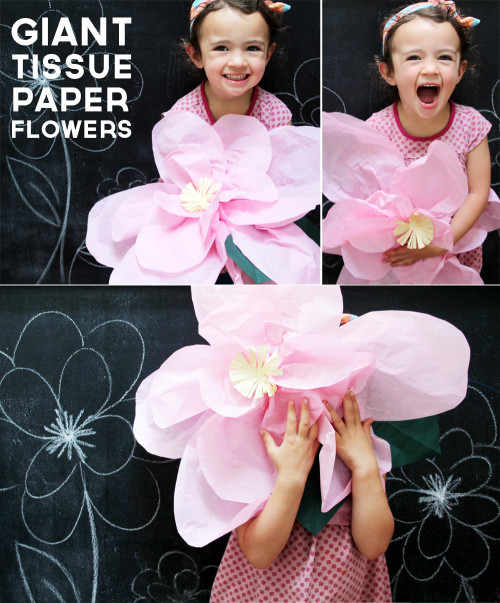
When Livy and I put together our little spring celebration, I thought that a main decoration of giant paper flowers would be fun.

Apologies that this post has taken me a while to pull together (for those of you who have asked for it) but it was very easy and I think you’ll love trying these! I actually referenced two tutorials (Ruche & Martha) to get me started, but then this project sort of took on a mind of its own.
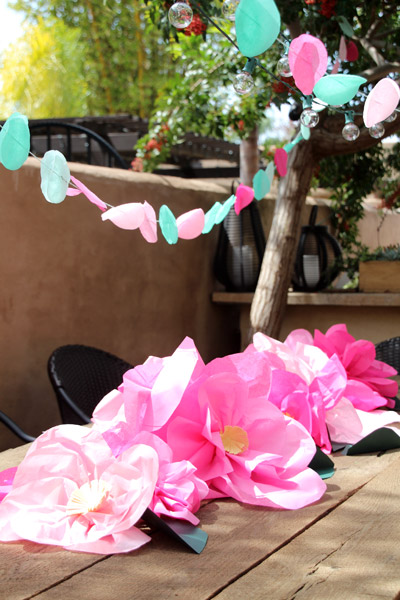
I love how they turned out! These would be so pretty decorating a wall as a backdrop or en masse for a big, colorful event.
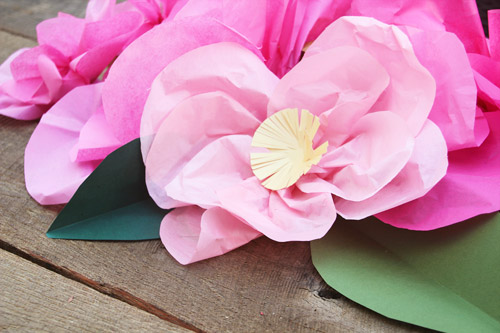
After testing out a few different paper options, I chose to work with tissue paper because it’s so malleable and light. I loved that the light could filter through the petals (if I strung them up) and that the petals could be easily layered for intensity. Plus the project was easy to prep!
Giant Tissue Paper Flowers
Materials: tissue paper in a variety of colors, yellow cardstock (for centers), green cardstock (for leaves), scissors, tape, double-sided tape
I made a variety of sizes of paper flowers and thankfully cutting these guys out is as simple as stacking tissue paper and cutting out piles of different sizes. The girls’ babysitter and I actually took turns cutting during naps and after bedtime over the course of a couple of days :). Each flower ended up receiving two or three layers of petal arrangements (see below) depending on the final size.
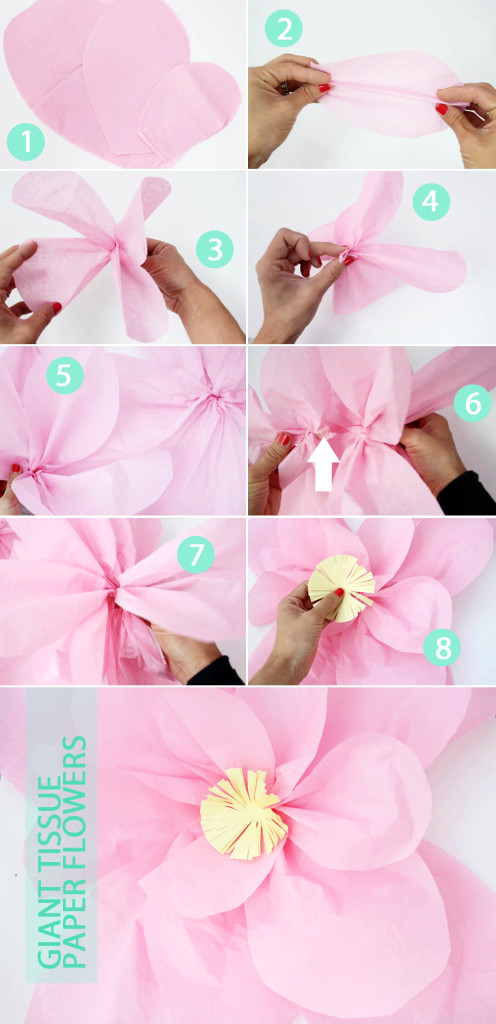
A quick overview:
1 | For the biggest flowers, cut out 4-6 petals in three different sizes.
2-3 | Take each petal and accordion it just a bit with your fingers. Each final accordion side should be facing up for best results (the petals will scrunch up rather than out).
4 | Gather your first set of 4-6 petals at the base of each petal, twist between a 1/2 to 1″ and tape securely.
5 | Repeat with the medium and large petals.
6-7 | Line the base of the small and medium petals with a ring of double-sided tape. Press the now tape-covered base of the small petal grouping into the medium petal grouping. Repeat for the medium into the large petal grouping. Now all three layers will share a center and all will be securely connected.
8 | Cut or punch out (with a crafter’s punch) a round circle in yellow craft paper. Using scissors, cut towards the center of the paper every 1/8″. Mold with your hands until the ‘stamen’ curves up. Use double-sided tape to secure in the center (leaves can be cut out of green cardstock and folded in half for a little added color).
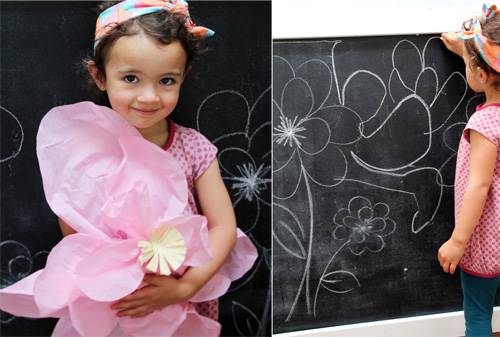
These big guys made such an impact! And we had fun making them :). Livy also helped me decorate her chalkboard wall so that we could draw out a ‘mommy, daddy and baby’ family of growing flowers. Love the way this little girl thinks.
On a more serious note, I might have to consider not including her in the pictures because she’s far too distracting. I mean, those eyes.
PS here’s a link to the full party, and a bunch more craft ideas can be found right here.

You know I love paper flowers, and you’ve put together another great tutorial. Tissue paper is fantastic for making giant flowers, and I wish I’d considered using more for T’s first birthday party. I bet they’ll be adorable if you put a few of them on the wall in the girls’ room, too!
These are perfect! Thanks for this tutorial.
http://jax-and-jewels.blogspot.com