
This is one of those off-the-cuff projects that sort of slipped into Liv’s party incredibly last minute. I thought I would share it today because it’s a quick way to put together any sort of favor, snack bag, Valentine’s Day treat (is that that holiday that’s just around the corner?) with just a few supplies on hand.
I didn’t think about favors for Liv’s camping birthday until the day before the party when a mom texted me to RSVP and noted: ‘don’t worry about a favor for us, I know we’re a late add’. Oops. Party favors were never at the top of my mind (especially since we’ve only hosted baby and toddler birthdays up until now, not preschooler birthdays where these sorts of things are totally normal).
It wouldn’t be the end of the world if we didn’t have one, but I figured that if we did have time, I’d come up with something with what we already had around. I put my thinking cap on and found some supplies from around the house and already purchase for the party, and then recruited family to help me assemble a batch of wax paper favor pouches.
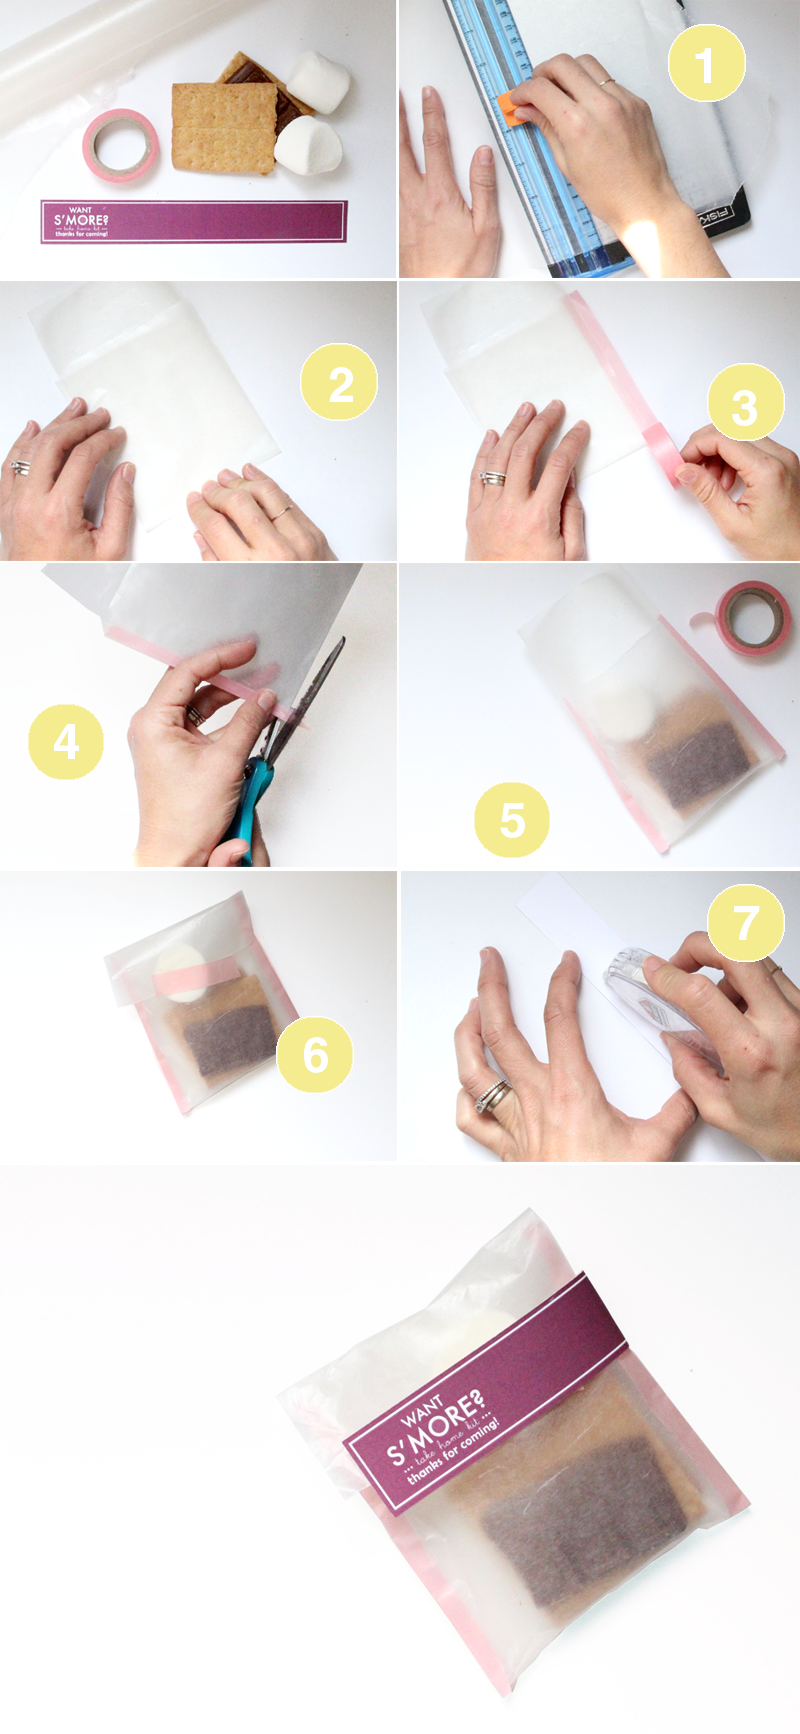
Super simple process. Materials include wax paper, washi tape, scissors or a paper cutter, s’mores ingredients, printed label and two-sided tape.
Cut wax paper into ~4×10″ strips and fold three quarters or so of the way up so that you’re creating a pocket with a fold over top. Run washi tape along each side of the pocket so that the edges are sealed. Use scissors to trim the washi tape at the bottom of each side for a clean finish. **Post-party we realized that the some of the washi tape was beginning to peel. I recommend using thin scotch tape under the decorative washi tape for pouches that are more durable (not pictured). Fill each treat bag with s’mores filling (or candy hearts or chocolates or whatever you’d like) and fold top of pouch over. Seal with tape. Option to wrap a label around the bag and secure with two-sided tape.

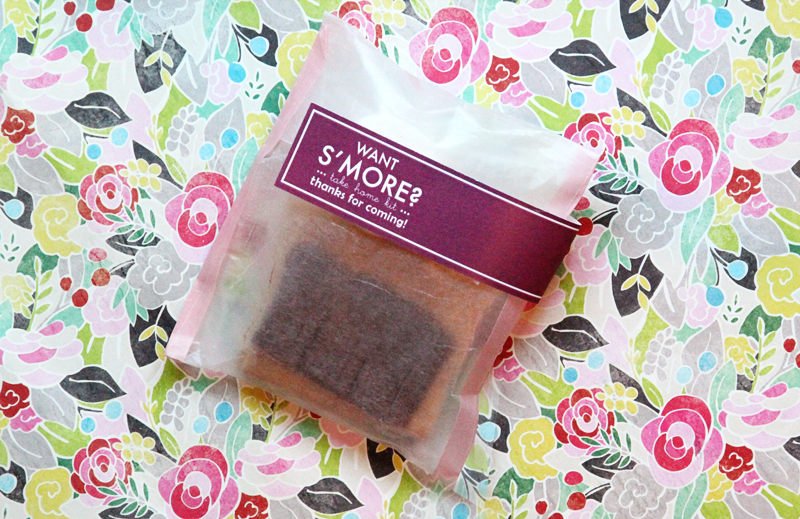
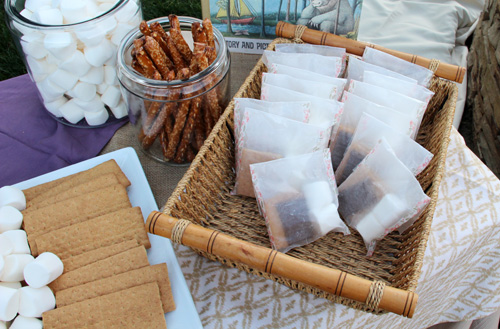
My printer broke the day of and my favors went into a basket sans labels, but I recreated the pouch to photograph and added the labels so that you can see my intention :-). You can download a pdf of the labels for printing here (right click and download saved link as, or open link and save to your computer).
The washi tape I used for the party pouches was slightly different as well with little leaves and berries on them (very girly camping – totally awesome that I had the roll on hand). Having that roll on hand made me definitely feel like I have ‘too much craft stuff’!
The washi tape is not a permanent adhesive so my bags were starting to lose their shape by end of night. If you’re looking for a wax paper pouch solution that’s slightly more durable, consider lining the sides of the bag with scotch tape before applying the pretty washi tape. The great thing about wax paper is that you can make any size bag! It’s very quick, very custom.
PS more pics from Liv’s little 3rd birthday here. More Valentine’s ideas here.

What a cute idea! We always used waxed paper for wrapping sandwiches when I was growing up- funny that it doesn’t seem to be used for such things any more. Your little bags are much cuter than ziplocks! :)
They look great! I love those bags for food, and the fact that you can see through them! I had similar ones in my husband’s birthday.
Such a great idea. I love that wax paper is so inexpensive, yet you made them look nice and modern with the washi tape and sharp crisp edges. We’ve had issues with washi tape not sticking long term too…so thanks for the reminder to use a slightly more permanent tape first.