Adorable a-frame tents have been all over Pinterest and the general blogosphere for some time, so I’ll admit that I didn’t reinvent the wheel when scheming a fun tent idea for Liv’s 3rd ‘Camping’ birthday.
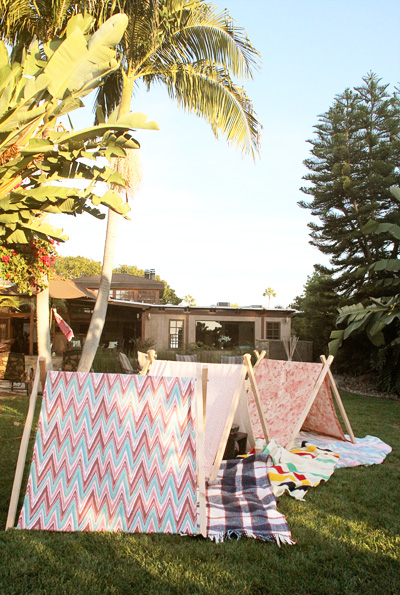
As I had mentioned last week, I was originally planning on a larger lean-to sort of sheet structure so that all of her little friends could watch an outdoor movie snuggled together – but plans fell through for that idea the day of the party – eek – and I turned to Pinterest and Google to search out a simpler solution. (Turns out running lengths of rope and draping sheets is not as easy as one would think).
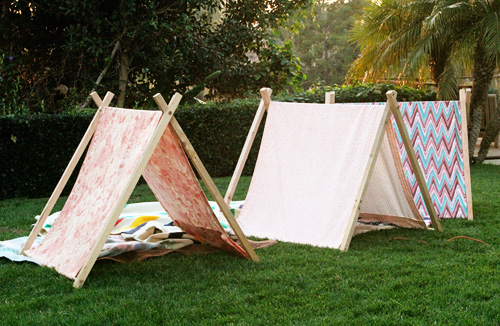
Luckily, I discovered that a-frame tents are super simple! A quick search led me to a tutorial by A Beautiful Mess (a blog I already love), complete with a cut list that I could text to Kev as he was headed out the door to the home improvement store. I won’t repost it here but I’ll give it an overwhelmingly relieved mom smile and two thumbs up for needing just a mallet (or hammer) and drill to assemble. Sand paper if you’re feeling detailed.
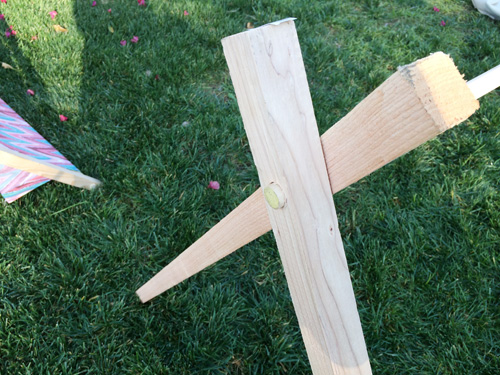
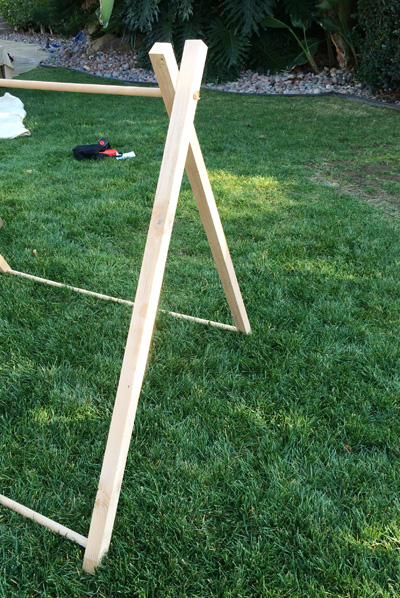
Screws, nails and glue were not involved in this diy. In fact, even knowing that those materials were not required made this project feel totally approachable and attainable in the couple of hours I had allotted for it. And we beat that record by about 90 minutes. Kev collected the supplies for me while I was running out to get fabric from our local discount store. We made three tents so he picked up 9 48″ dowels and 12 pieces of 2x2x48″ wood (if you can’t find them in that size at your hardware store, most will make that quick cut at no cost). That’s 3 dowels to span the gap between 4 pieces of 2×2″ wood that serve as the sides of each tent (note: the tutorial we were following called for 1×2″ wood but 2×2 is what Kev quickly found and it worked out great – I’m sure it’s even sturdier).
Each piece of 2x2x48″ piece of wood received two drill holes – one about 2″ up from the bottom and the other about 6″ down from the top. A dowel secured two pieces of wood together at the top to form a lopsided ‘x’, and the bases were held together by two dowels running to the base of another ‘x’. All dowels were ‘tapped’ into place through the lengths of wood with a hammer (or mallet).
Twenty or so minutes after sending Kev the cut list, I found myself in the 80’s department of my favorite local discount fabric shop (a converted old movie theater just down the street) with a plethora of choices. I remember wandering into this shop when I first moved to San Diego six years ago and thinking that the tables and tables of discounted fabrics were already to outdated for quality use. When would I use a pastel floral print??
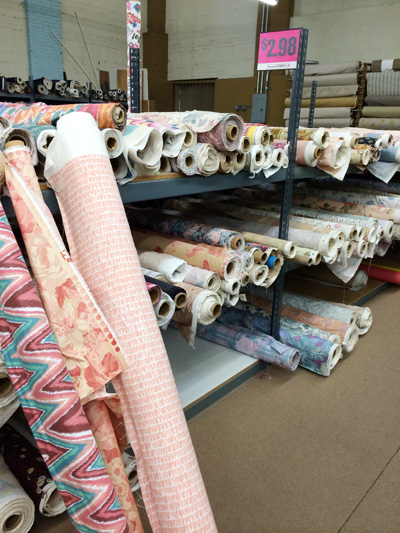
Well, give fabric a good 30 years to sit and it will totally make a come back.
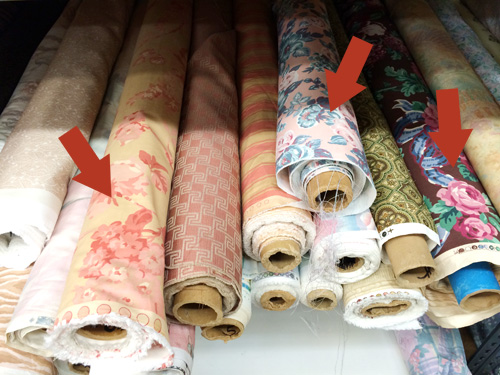
Check out those pretty florals!!
Some are still very outdated, but today I would scoop up many of those rolls if I had projects waiting for them. Funny how that happens.
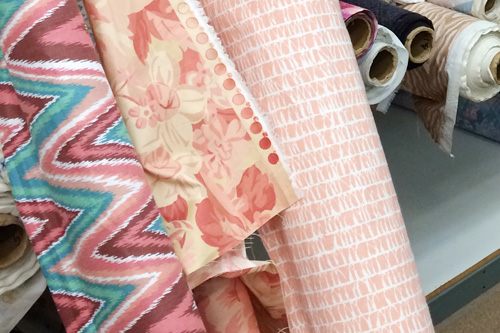
I had trouble choosing, but I had a deadline so I pulled three bolts that worked well together and ran with it. I purchased three yards of each pattern.
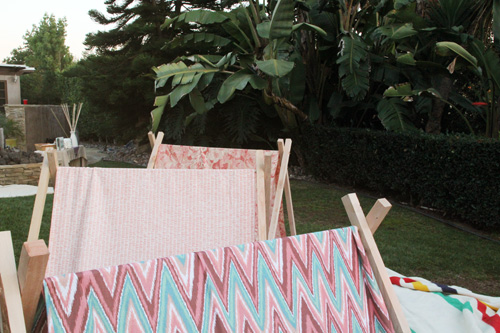
Now here’s where we made our a-frame tents simpler. I love no-sew iron on hem tape like I love my Bodie (that’s my sweet yellow lab). I love fabric spray adhesive like I love my children.
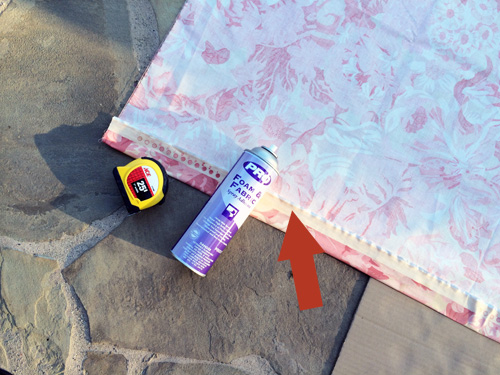
For projects that are temporary – like toys for kids that will come and go, tablecloth runners that will one day be ruined, curtains that need a quick lift – I don’t mind using a spray glue at all. So while most tent tutorials called for sewing the hems and pockets for the dowels, I pulled my trusty can off of the shelf. (Sure, it won’t last forever and I won’t be putting my glued hems through the wash, but I don’t anticipate these a-frame tents lasting ten years either. And if a bit of fabric comes apart I can always spray it in place again. Bonus.)
There are many great brands out there and I haven’t found one that I prefer over others. I used the one above because it was a left over canister from the foam portion of the cushions for the girls’ room.
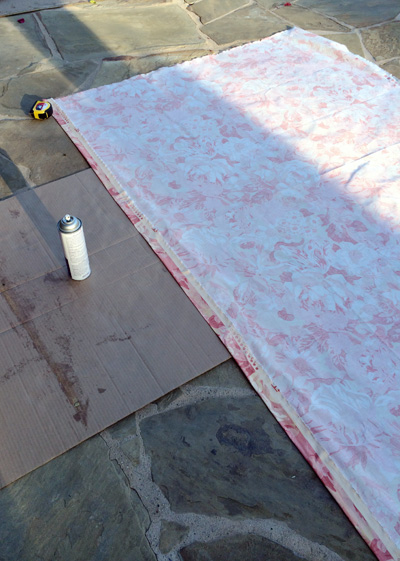
Soooo with spray glue in hand, my mother-in-law helped me trim my fabric into 42×96″ giant strips. For reference, I chose that width of fabric because the length of the tents (due to the dowels used in assembly) were 48″, and after connecting them to the wood on the frame the space remaining between each wooden ‘x’ was roughly 43″ (42″ gave a little bit of wiggle room). Once dry, the fabric strip was draped over the top of the a-frame. The extra fabric at the base of each tent side was wrapped around the dowels at the base to create a pocket around the dowel and the two adjoining pieces of fabric were sprayed together (not to the wood but fabric to fabric). Excess fabric on each side was trimmed.
Done!
And there’s the story of our 30 minute a-frame tents. That’s 10 minutes per tent. Supplies needed per tent? 3 dowels, 4 strips of wood, 3 yards of fabric, one canister of spray glue.
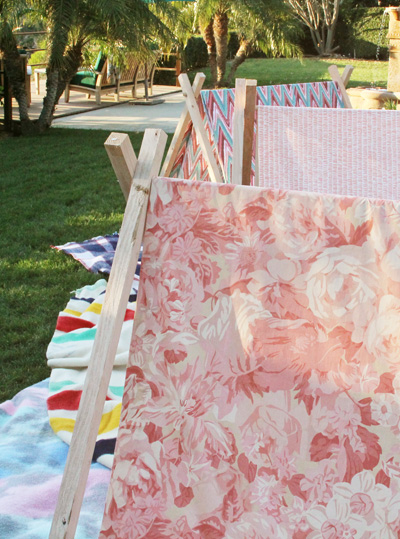

I love me a quick and satisfying DIY project, and I hope you consider giving this one a go. More details from Liv’s 3rd pajamas-smores-camping themed birthday posted here, and tutorial by A Beautiful Mess here.


I’m so impressed that you got each of those done in 10 minutes! I want to believe it’s possible…but somehow the Husband and I have a tendency to make every project take twice or three times as long to complete. Thanks for the tip on the spray glue for the fabric…I know that will come in handy!
Okay, maybe it took a little longer than 10 minutes :-), but I promise it was painless! Once we had all of the supplies – super easy. You should definitely make one for the girls!
This looks so adorable and pretty simple! I’ve been wanting to make one of these for my kids- so glad you posted this!
Thanks, Brooke! You should give it a go :).
It really does look easy!! Love the fabrics! So cute as a whole!
Thanks, Nina!