Update: our faux fireplace screen made it into This Old House! Check out the details here.
Six ish months ago we had to turn the gas off in our fireplace… which was such a downer as there’s nothing more amazing than flipping that little gas switch and watching a beautiful, blazing fire set the mood for your living room. Perfect for chilly nights that call for family games on the living room rug or for a late night Netflix. But alas, this is an older home with old fireplace issues and we had to switch her off.
Hopefully one day she’ll blaze again.
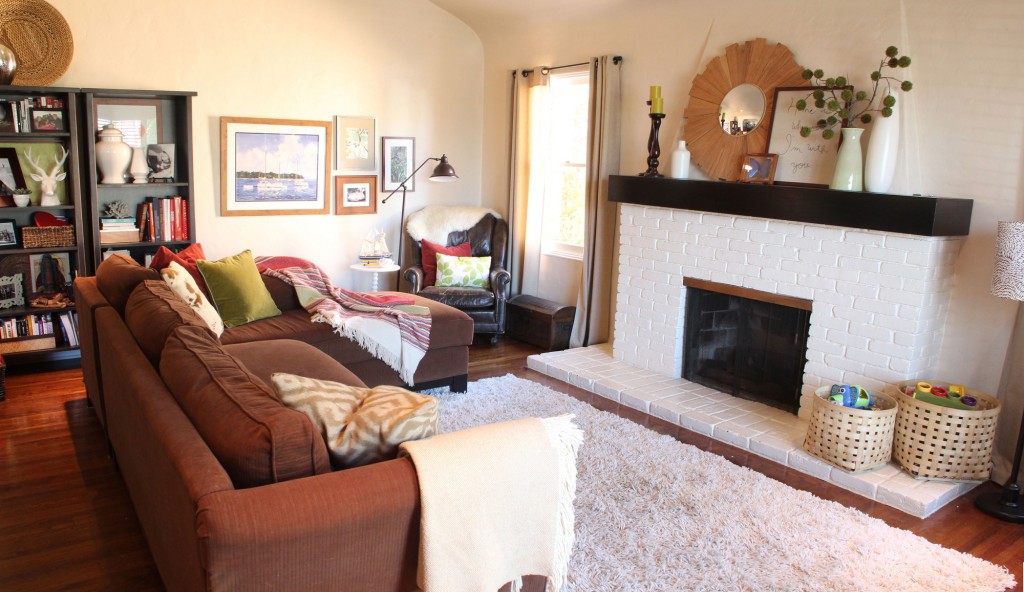
Until that day it’s time to turn the eye-sore innards of this old fireplace (black bricks, metal curtain and goldish top plate and all) into a prettier focal point for the room. Enter Pinterest Challenge, Winter 2013.
I love these little challenges because they provide the motivation to cross a big project off of the massive to-do list, and usually I can justify choosing a project that I more love and want to complete, and less of one I must do because it’s next on the priority list. Here are a few past projects that we’ve tackled around here, including painter’s tape wallpaper, gold chevron napkins and an ombre stool for Liv (one of my favorites) among others.

With a little motivation, a week to track down materials and a great inspiration picture, I had an idea of where to start.
Oooo I love the above image! What a great way to utilize the empty space in a fireplace while still keeping a room cozy and comfortable (fireplaces and stacked wood have a way of doing that…).
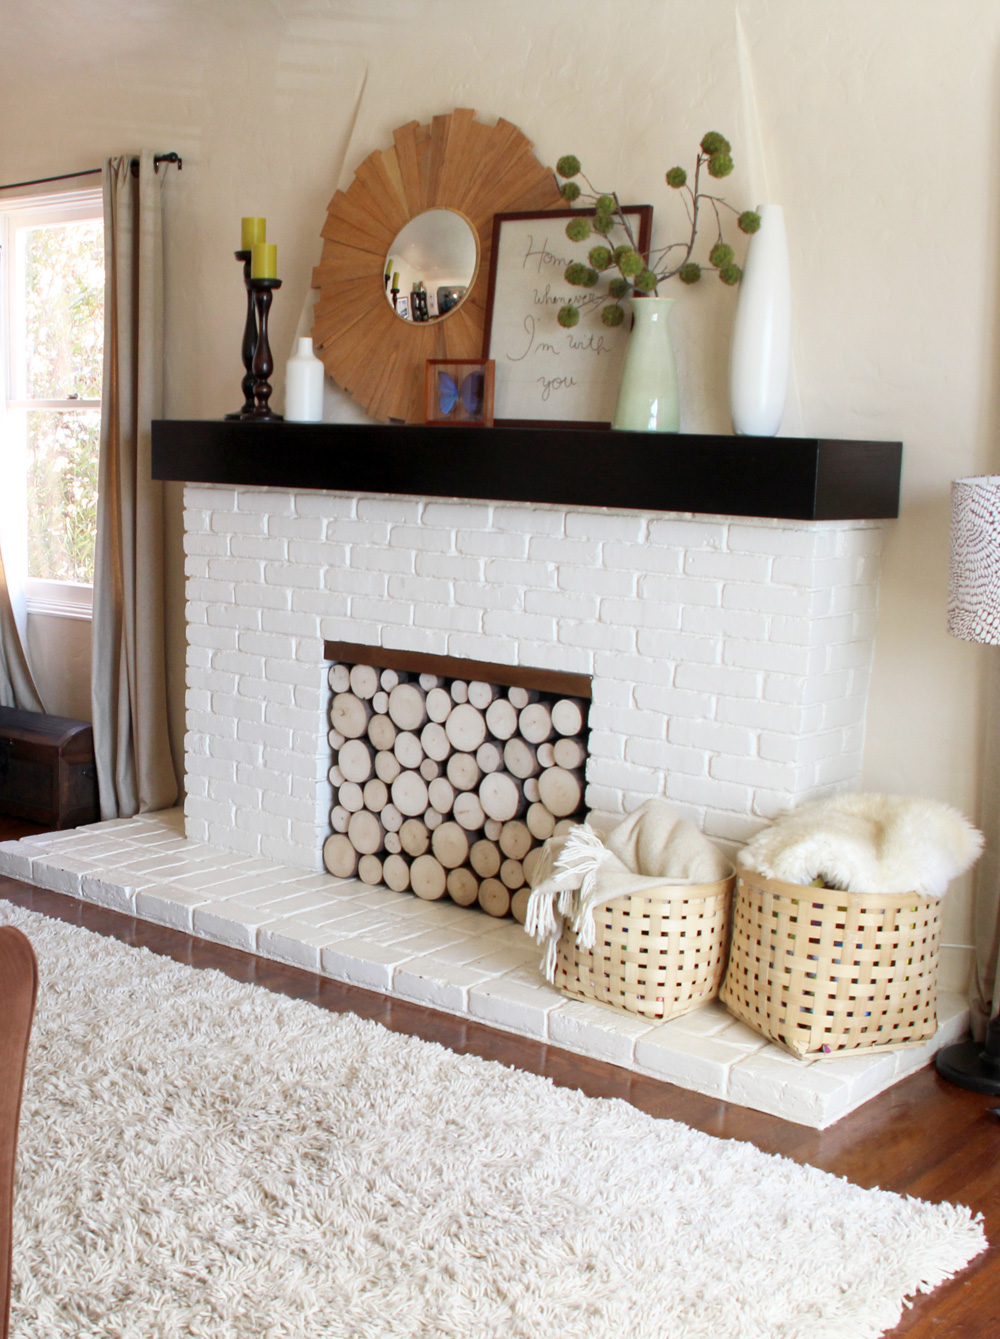
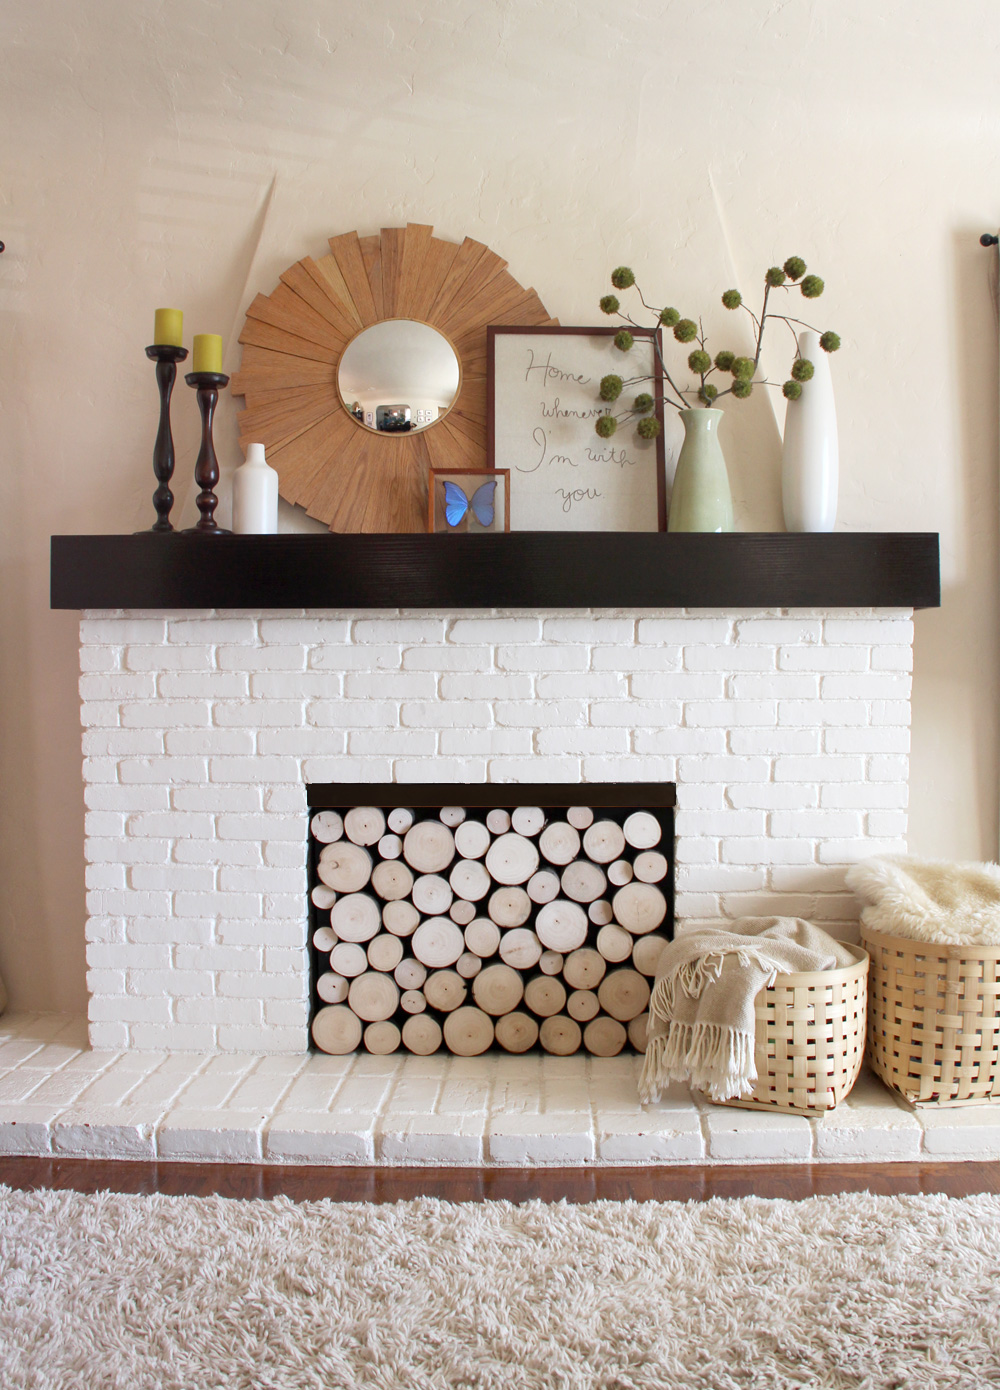
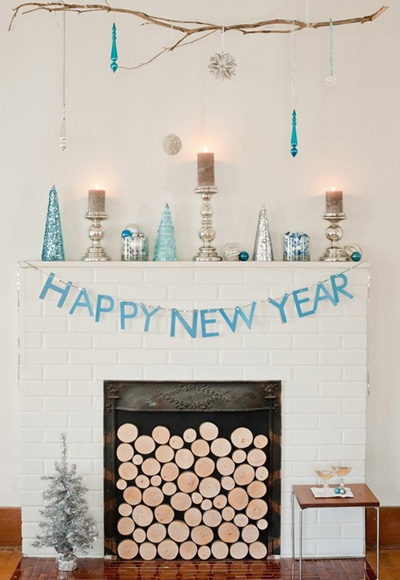
Our finished project… drumroll…
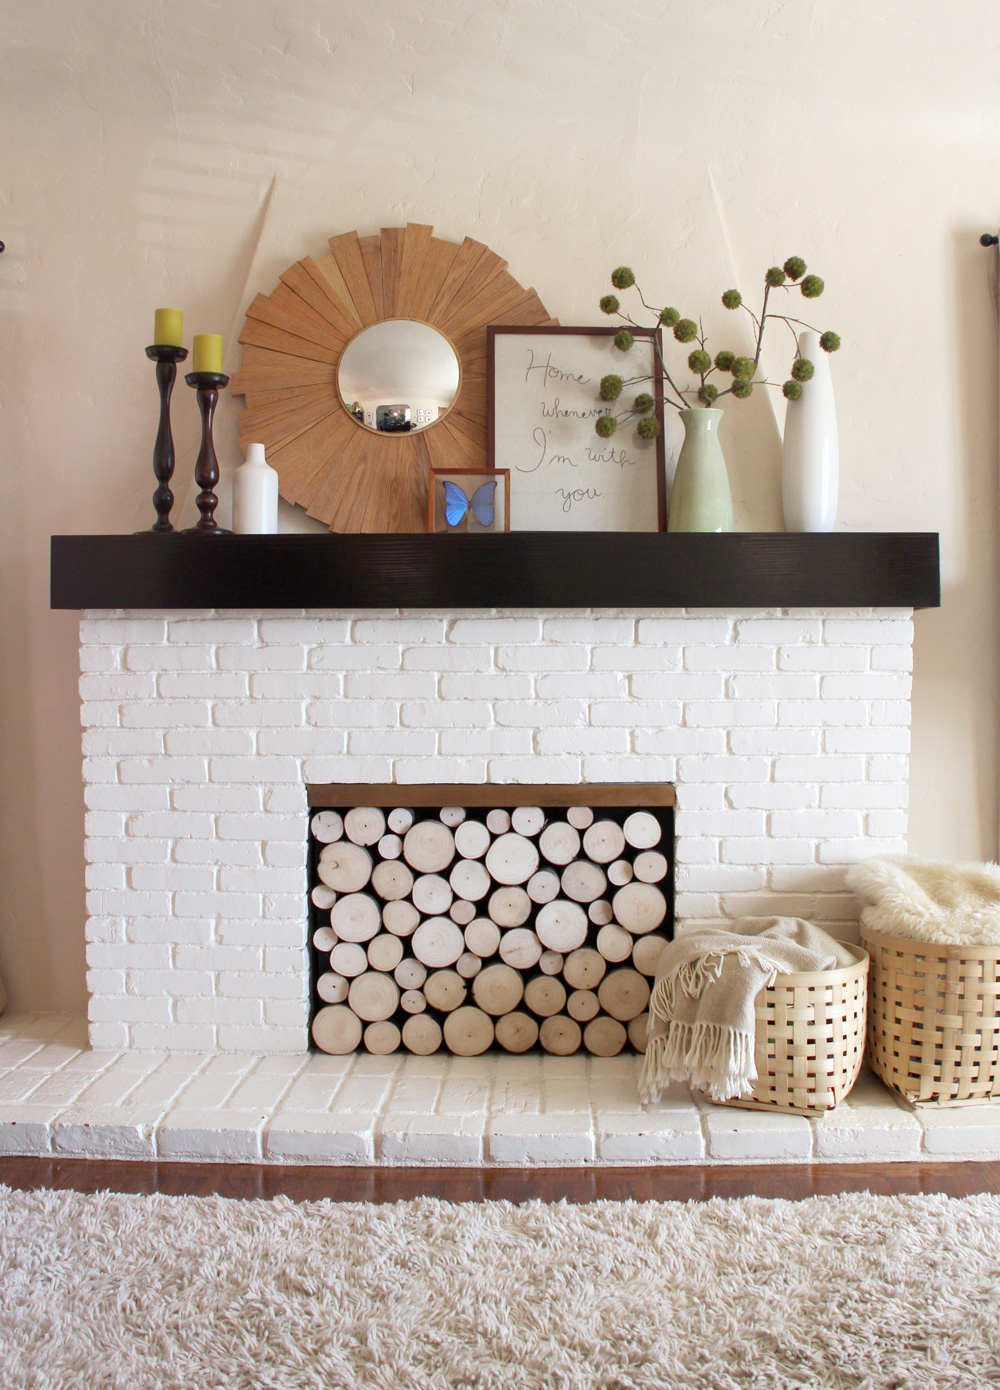
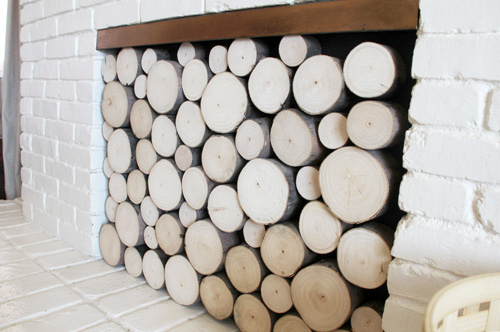
I would be very happy if you thought we went and stacked a bunch of logs in our fireplace and called it a project! But I promise it was much more than that. The goal here was to build a faux log stack facade that we could remove when we were ready to use the actual fireplace, and replace the next day once the fireplace was cool again.
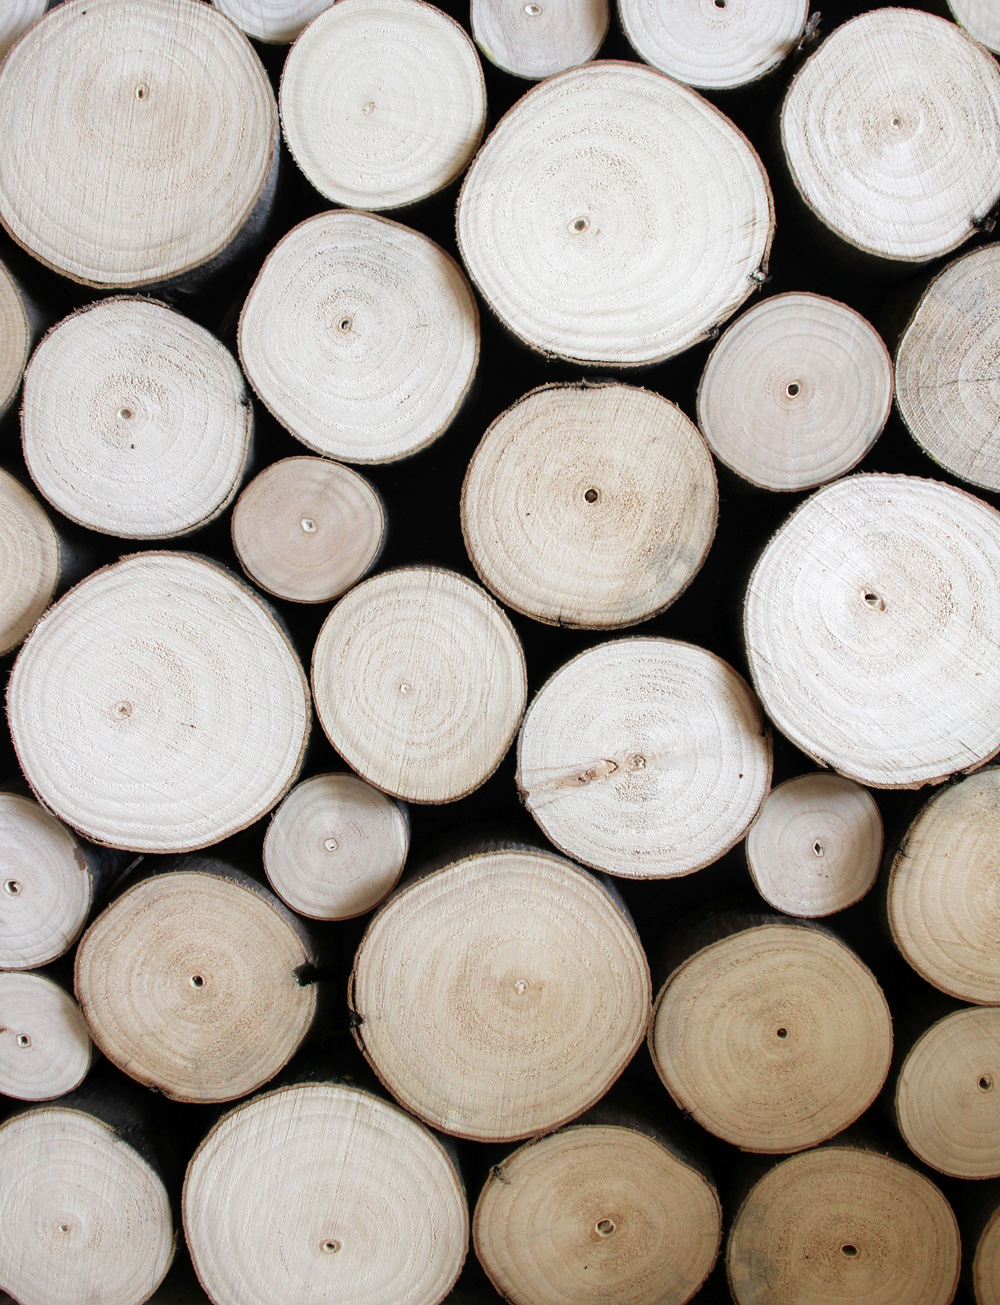
The hope was that the screen would give the depth and perception of a a bunch of stacked wood, but really it would be just a few inches thick and somewhat easy to pop in and out.
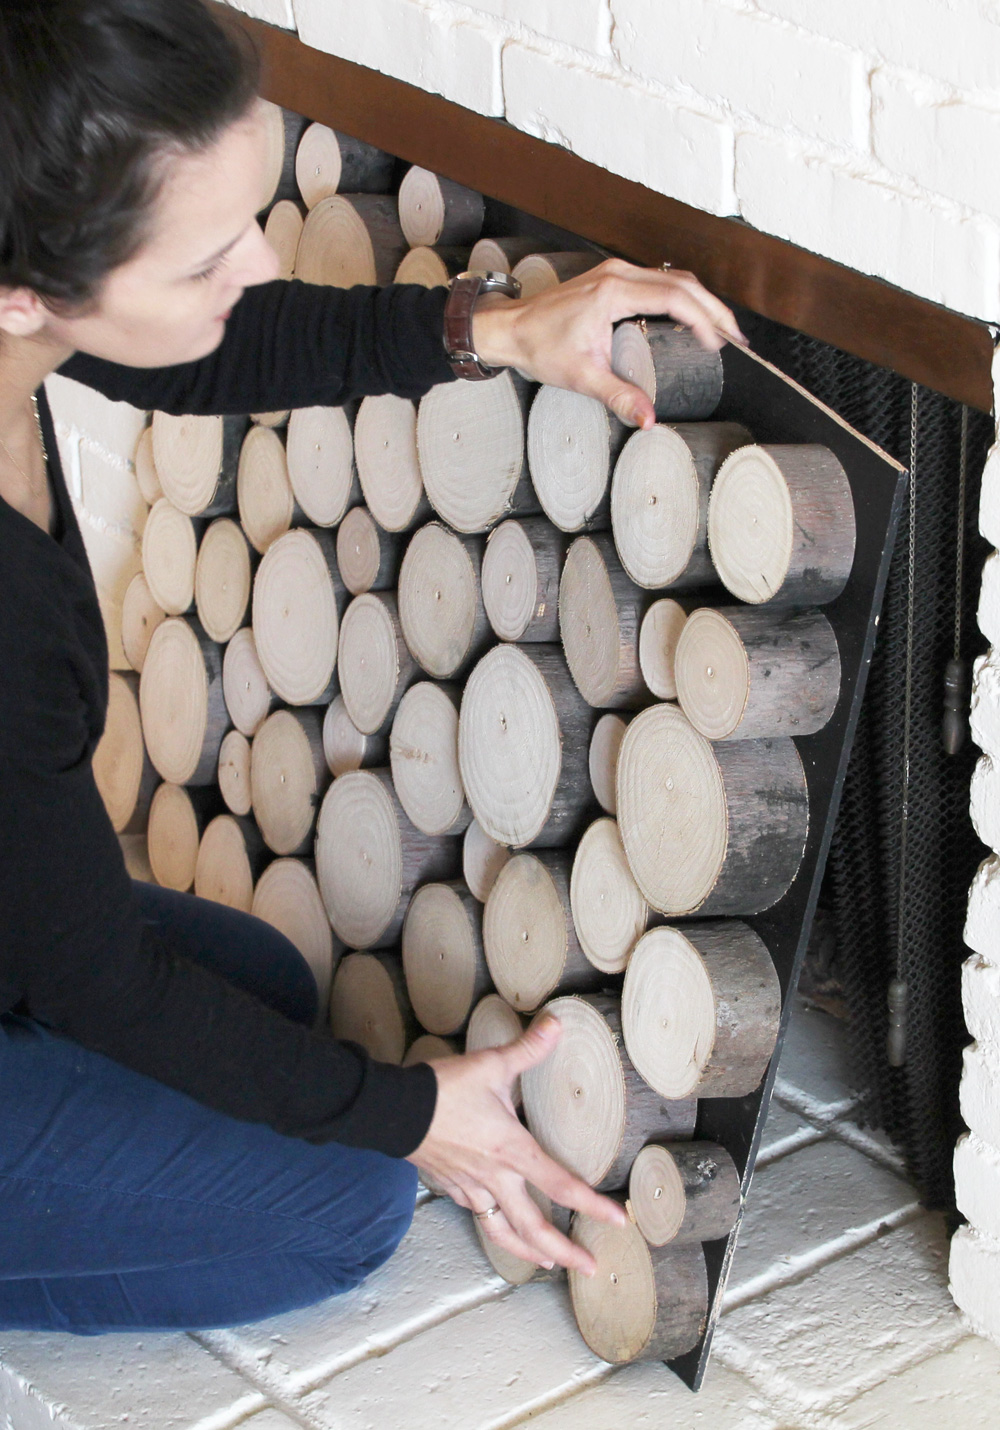
What do you think? Are we fooling anyone?
Now on to building the screen!
*******************************************************************************
Fireplace Faux Wood Stack Facade
m
Materials: ~50 variously sized log slices, plywood cut to the shape of your fireplace opening, black matte paint, wood glue (or nail gun)
I ran into the first big road block while tracking down the actual logs. You’d think that this would be fairly easy… but turns out smaller logs (unchopped) in lighter wood colors (such as birch rather than oak or redwood) are not always readily available in these desert parts of San Diego. Who would have guessed.
I really lucked out when a friend of ours suggested eucalyptus and then found a huge pile of firewood for the taking! And he generously handed over variously sized logs for me to include in the project (thanks, Dave). Other resources that might be useful? Craigslist and Etsy (turns out you can even purchase sliced logs for the right price).
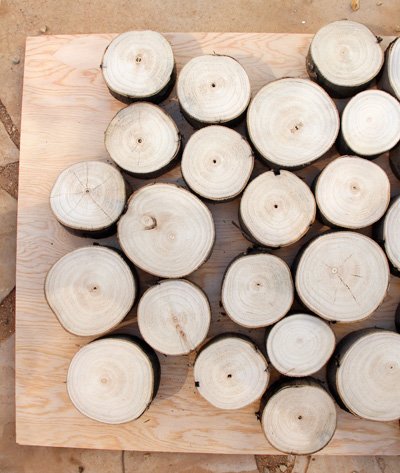
Kevin chopped up my logs into 3″ slices and I began assembling my faux stacked wood.
The backing for our fireplace screen is a piece of plywood measured, cut to size and painted black.
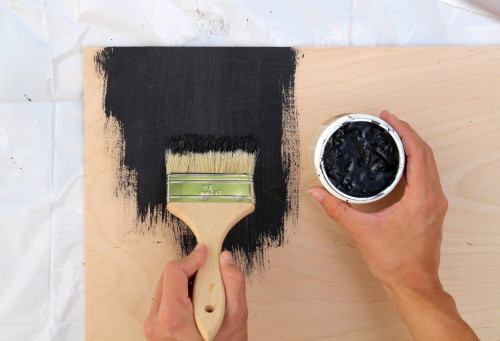

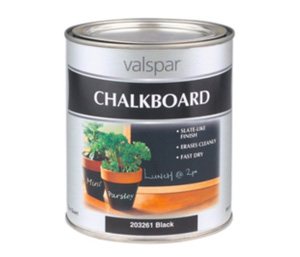
I considered spray painting it but we had only a satin finish in the paint closet, so I used up a bit of leftover chalkboard paint that we had on hand (from this and this project) to achieve a more matte finish (the above is still wet, but once this paint dried it was more than perfect).
Our nail gun is out on loan at the moment or I would have simply lined up my log slices, laid the backing over the top and fired away to secure the slices to the backing and to keep the logs from moving, but instead I lathered each slice individually with a thin coat of wood glue and allowed the entire project to dry overnight (that stuff is tough). When we get the nail gun back I’ll add extra reinforcements to ensure that none of these logs come sliding down, especially with toddlers at play.
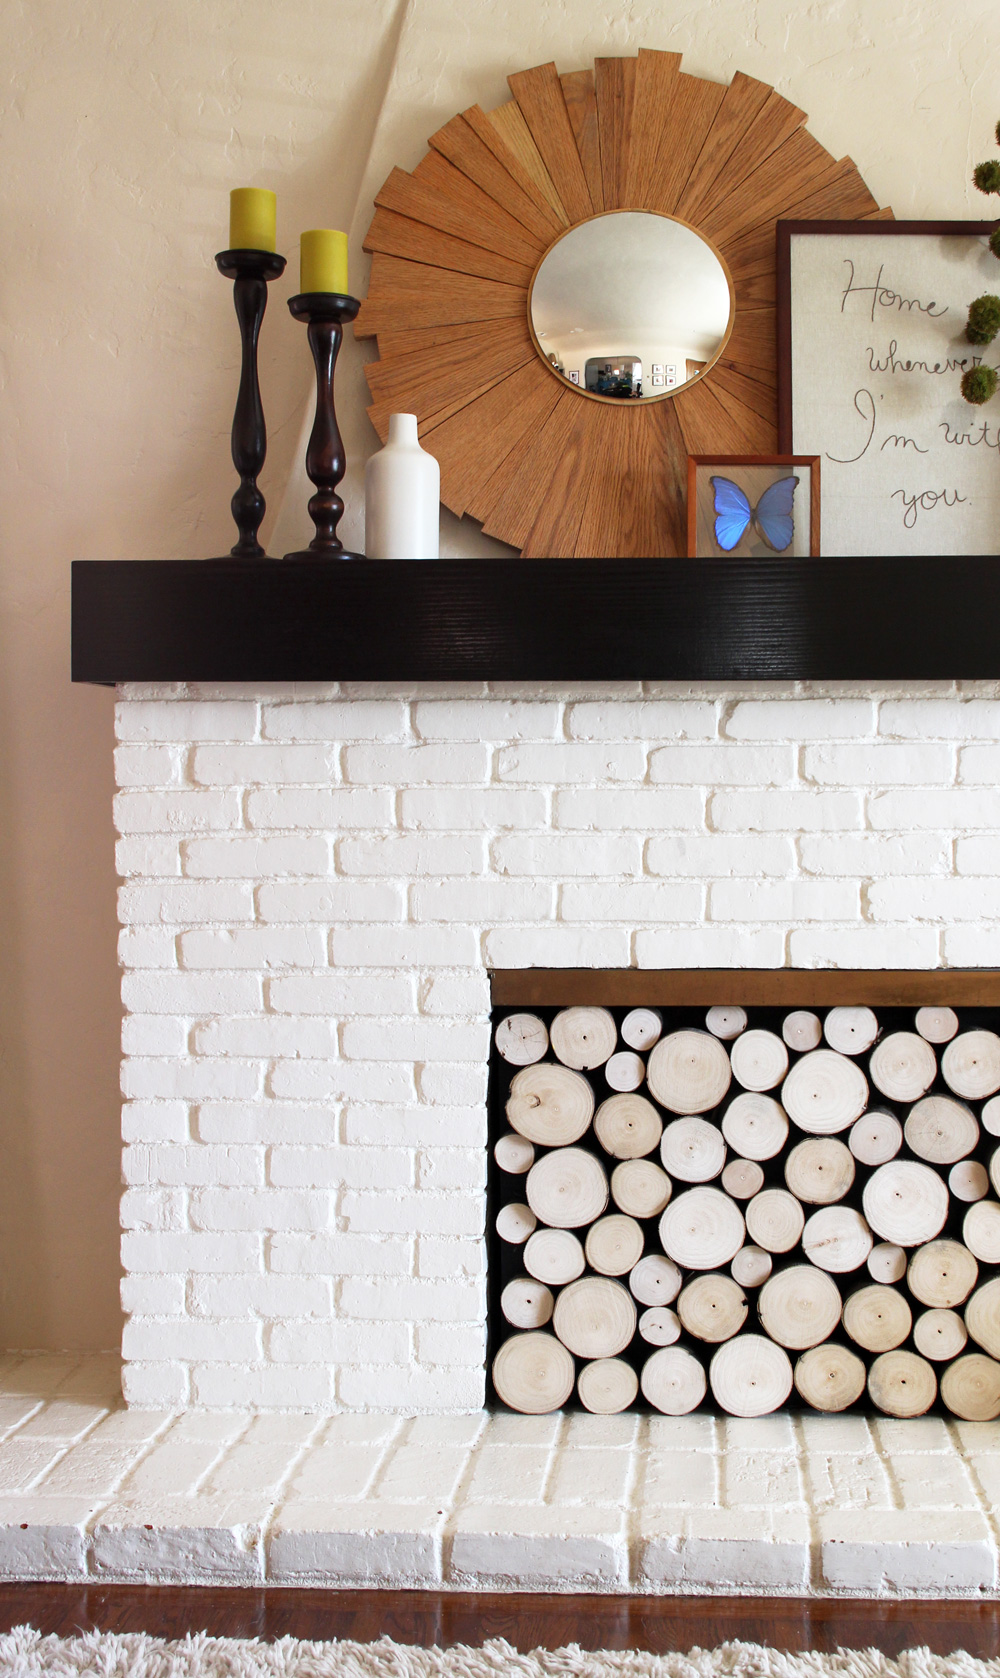
I opted for a 3″ depth on the log slices (rather than 1/2″ or something easier to manage/less heavy) so that they would add more depth to the fireplace and (hopefully) make the black backing a bit more invisible. In person it’s obvious that this is a faux fix to our little fireplace conundrum, but it’s a neat faux finish at that!
Should I paint out that gold top plate a darker, oil rubbed bronze color?
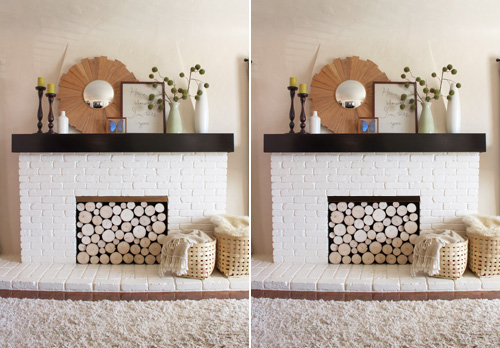
That might be step two to this project, looks kind of nice!
*******************************************************************************
I’m linking this project back to Katie’s, Sherry’s, Megan’s and Michelle’s Link Parties today!
PS all Pinterest Challenge projects are sorted here, and all living room projects can be found here.


Love the idea. Plan on doing the same on my “unused” fireplace.
I love it. The only change I’d make is to screw the logs from behind so that the mounting method isn’t visible.
Actually the mounting method isn’t visible – those little holes in the front of the logs are from nature :), our nail gun holes are on the back. Hard to see in the pics.
Ah, good to know. That’s what a computer screen does for a photograph. In that case, no real changes. :-)
Thanks for sharing this idea, now I know what to do with those cedar logs I saved from one of our trees.
Awesome!!
ND
CREATIVIDAD INGENIO ME ENCANTA ESTE ENORME PROYECTO DE LA CHIMENEA
UNA MUY BUENA IDEA … ME ENCANTA EL INGENIO LA CREATIVIDAD … FASCINANTE ..
I loved this so much when I found your blog that I’m preparing to do it in our fireplace as well. Would you mind sharing the height and width of your fireplace opening and the various sizes (diameter) of log you used? I’ll be ordering wood for the project and would so appreciate your help to make sure I’m on the right track with the sizes and quantity.
And congrats on making it into This Old House! So cool.
Hi there! The diameters of the logs varied with what we found, but most are between 2 & 4″ across. The height and width of the board I used to mount the logs was just over 34 by 24″, but that’s because that was almost the exact opening of our fireplace. Good luck :)
I LOVE this so much! You were my inspiration!! I did the exact same thing & love the results! Thanks so much :)
I love how it turned out! Looks great!! Thanks for sharing your ‘after’ shots :).
I totally love your idea, but I also would paint the brass bar – black. It looks more finished when I compared the look of the two pictures of the fire place. Just my opinion and it doesn’t seem that I am in a majority. Oh, well.
What an awesome idea! love it
Weird question…What kind of saw was used to cut the wood?
Hi Mechelle, we used a chop saw for this project.
Love this and I would not paint the metal piece of the fireplace. It looks like rustic wood in the picture, not bronze. Love it! I really like your mantel decor too!
That’s great feedback – thank you! Haven’t painted it yet and the brass is growing on me :).
Don’t paint that brass trim… judging from the photo it goes with the trim along the hearth & looks softer. Great job
Very clever! Will be looking for some ready-sliced logs.
Sheila
Thanks, Sheila ;)
Omg. I love this. Our fireplace is identical to yours and has one of those mesh-type fireplace guards which our little crawler goes and tries to pull off. He also tries to get inside the fireplace (its not running of course!) but this will be the perfect cover up. Instead of using plywood I might use superthick foam board – now to find the perfect sized log to slice up!
Thanks, Lola :) – good luck!
Great project! Did you use a saw or chainsaw to cut these? Did you do any sanding? They look terrific!
Hi Jamie, we used a chop saw to cut the wood, no sanding necessary. Hope that helps!
Did you just vary the height of the log slices naturally or cut so many at a certain height, then another, etc. Since they are not all 3″ exactly? The slight variation makes it look really good.
Hi Josh, I started with 7 or 8 logs in varying sizes and then cut them all to rough 3″ pieces without keeping track of how many I had at what widths and what heights (just making sure they were about 1/2″ in variation and no more). Then I arranged them until I liked the uneven pattern and attached them to the board. It was more happenstance than planned, but I love the variations in sizes too. Good luck!
Looks great, I actually have a very similar looking fireplace. Just wondering where did you get the mantel shelf? It’s exactly what I am looking for.
Hi Marlene, we actually made it! (or I should say, collaborated with a local lumber yard to make it). Here is part 1, 2 & 3.
Love it!!! Thinking of doing the same thing. Curious, though, how did you secure the board upright? I had a toddler that would touch it too and it would need to be secure!
I actually just slid it under the lip of the brass firebox top in the fireplace. I made it to the exact size so it’s sort of shoved in there, even my two year old couldn’t shake it loose if she wanted to. Another thought is to put a tripod on the back of it to help keep it upright.
I was thinking of attaching some magnets to the back so it can stick to the firebox frame. My toddler is persistent! Lol
That is a great idea!! Thanks for sharing :).
great looking and I like the brass up there myself :)
Thanks! The brass is kind of growing on me :-)
It looks BETTER than the inspiration. Says the newbie necro-ing a post from 8 months ago!
It looks great! How did you clean the wood? Did you treated or stained it with anything?
Good question! We made sure the logs were completely dried out (after hearing about rot and bugs that can live in them for some time) but other than that no pre-treatment. And happy to say no bugs!
I have been wanting to do this project for moths now but was so daunted by how many logs I would need (some say over a hundred?!) Thanks so much for sharing I am truly inspired! Looks amazing and I can’t wait to start on it!
Thanks, Nicole!! I bet 100 would be a great bet – we used 50 ish slices but that’s without actually stacking them in the fireplace. This is definitely an easier alternative.
UH-MA-ZING! That was not your actual fireplace… Why didn’t I think of that? This is such a great inspiration Morgan! Thanks for sharing!
Thanks, Beckie!!
Looks amazing! I love it!
Well you had me fooled, Morgan. What a creative way to resolve your innards issue! You continue to amaze.
I think the ORB would coordinate nicely with your mantle! ;)
There are very few projects I like more than one that is actually useful and pretty – and this fits the bill. I love that you made it a temporary screen, because the very thought of removing a bunch of logs from a fireplace to use it just seems so tedious! Here’s perhaps a wacky thought: If the back of your board is in decent condition and you still have some leftover chalkboard paint, why not paint that side too. Then you could turn the board around and Liv could color on it. I’m also envisioning a chalk fire drawing…corny perhaps, but it could be a fun change of pace. (Can you tell I wish we had a fireplace?)
I LOVE that idea!!
You had me fooled- it looks great, such a clever way to get the look and still be able to use your fireplace when you want. Love it!
I’m also trying to decide if I should paint the brass piece on my fire place. At first I hated it, but it seems to be growing on me. I like your idea of keeping it metal, but giving it a little more character.
Exactly my thoughts… leaning towards an ORB but can’t get past the brass.
Mor, I absolutely love it. I totally have been enjoying seeing the little touches you’ve added in that space to make it even more warmer and brighter. Love it, love you!
Mer, come visit!
That looks really great. Congrats!
In your pictures it looks totally real. I never would have thought it wasn’t if you hadn’t told us. :) It seems like laying the logs would have been a been a fun little puzzle.
I totally would’ve thought they were full length logs!!! Love the way it looks. I do have to say that the picture of the darker painted gold plate looks like it flows better.
Thanks, Sabrina! That’s great to hear on the plate – I’m thinking the same too… but it’s a hard call. Once it’s painted there’s no going back! Thanks for your vote.
I like it! I know if I had a fireplace I’d be looking for something to do with it other than fires. And this way it will keep the drafts out more than some other options I’ve seen.
Angie, I hadn’t thought of that! Great point!
I love this look!! So perfect for your fireplace. It looks right out of a magazine, well done!
Thanks, Katie!!
That looks great!