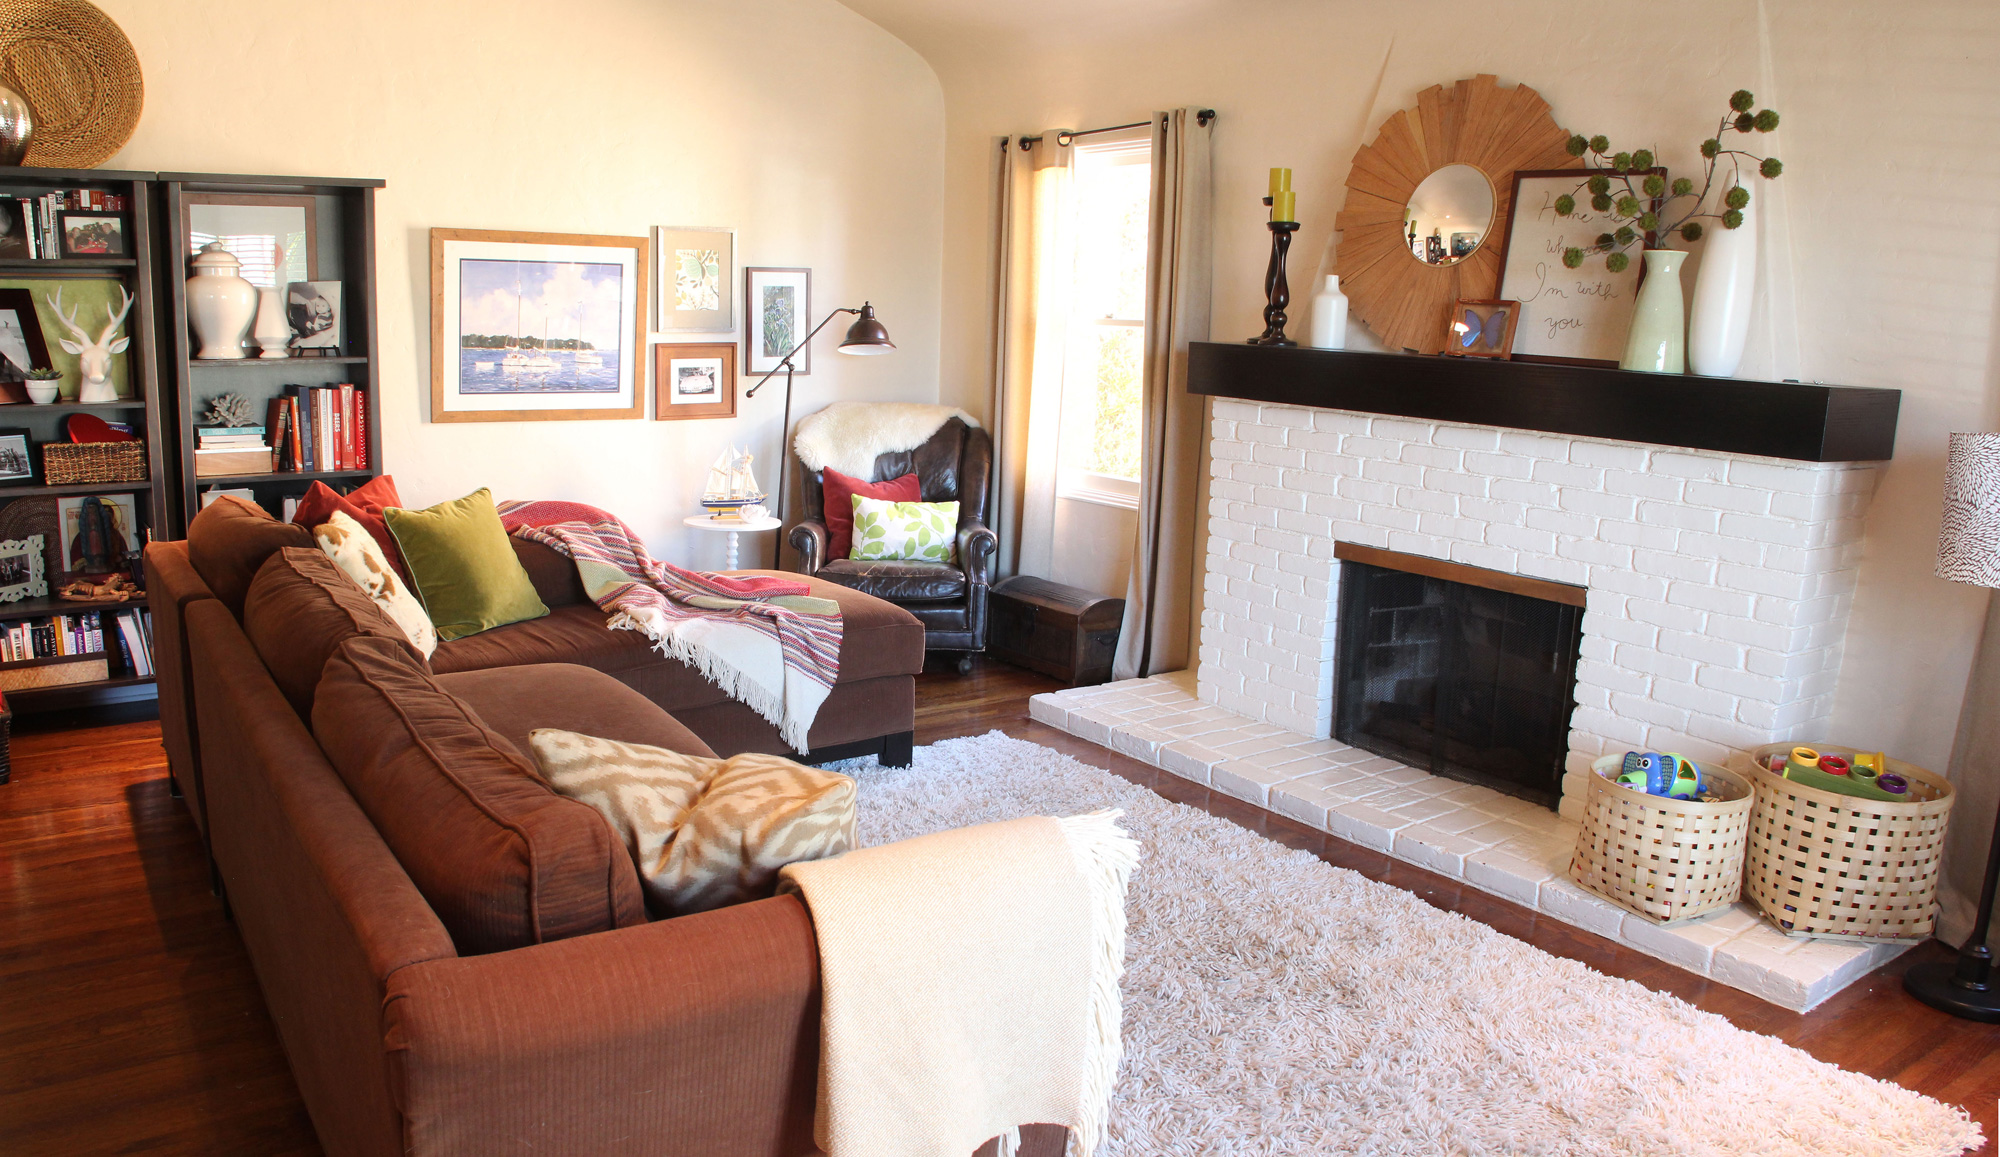
So excited to share this DIY project with you all today! It has been ‘in the making’ for some time now (you know how certain projects can get…), but my new giant sunburst mirror is finally finished and hanging and photographed.
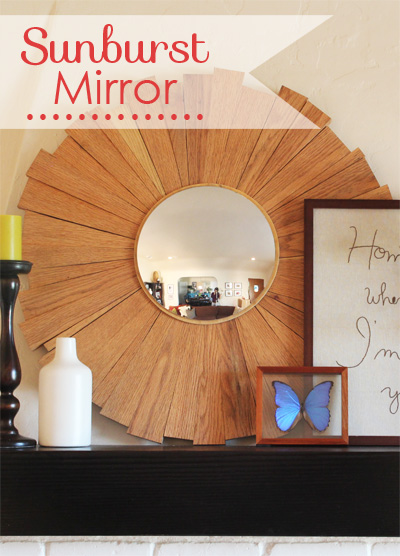
What do you think?
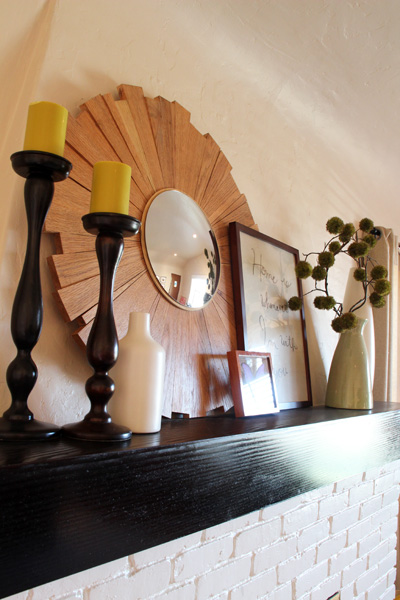
It’s a little too much on trend and a little too expected in a living room these days, but I couldn’t help myself. Our Spanish-style casa needed one more sunburst mirror. And a wooden one too, since that happens to fall well into my sort of cozy-rustic-wood tone loving style.
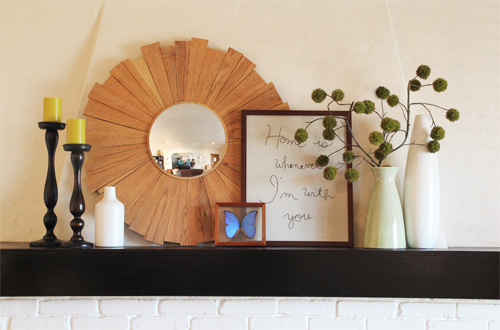
I’ve been searching for the right living room mantel piece for a while, and while I loved the giant mirror that used to sit there (plucked from the dining room last year) and the extra light it reflected into the space, something of a different shape and color was calling my name.
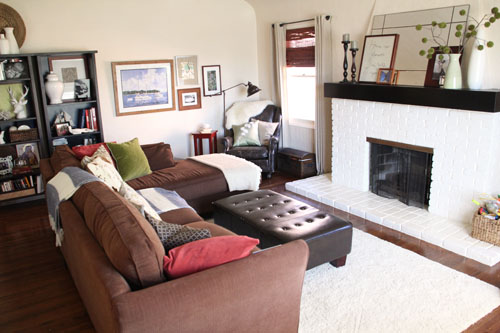
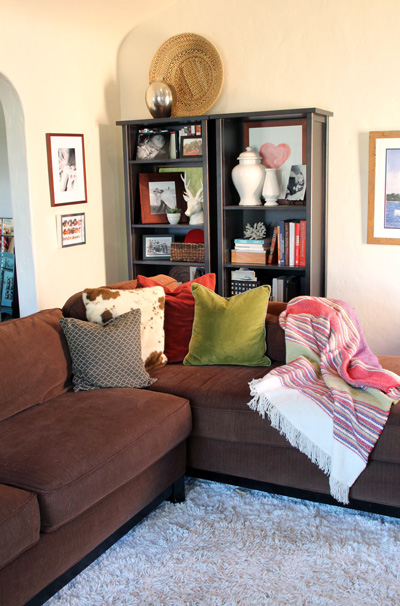
It might be the only big update the living room has had in a little while… other than my heart art for the bookcases:
My inspiration for the mirror included these two guys:
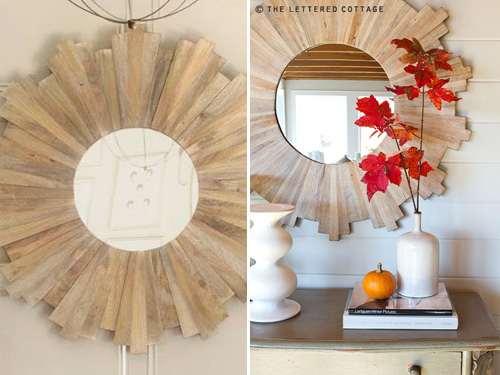
Before launching into the DIY idea, I first did a quick add up of cost of materials and time to finish, and I decided that if I could find one of the above at their last listed sale price I would nab it. The left is from Ballard Designs (but they discontinued that beloved mirror in December – and I called every outlet shop, searched eBay and Craigslist, and hounded the catalog for the better part of January before giving up) and the right is from a Pottery Barn outlet (oddly enough, I learned that by covertly blog stalking the lovely family that The Lettered Cottage partnered with to redecorate their cabin – and the family is WONDERFUL and shared the source. But the PB source is sold out as well.)
Or how about this inspiration piece from Houzz? I’ll just leave it at waaaaaaay over budget.
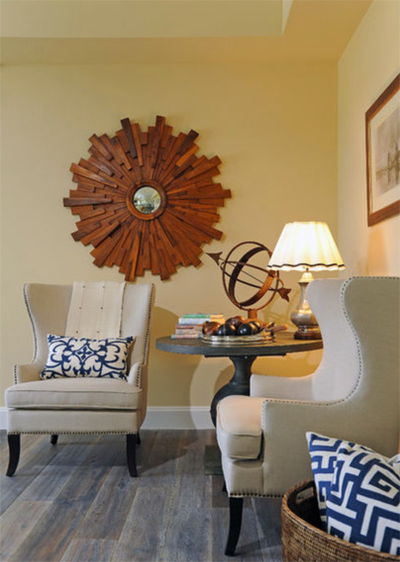
Plan B? Build one ourselves.

**********************************************************************
DIY Sunburst Mirror
m
Materials: 8′ of 1×12″ red oak, 12.5″ circular wooden round, 12″ convex mirror, 18×18″ (or two smaller pieces) of scrap wood to use as a backing, stain + rag for application, stain sealer, chop saw, nail gun, staple gun, sanding block or electric sander, wood glue
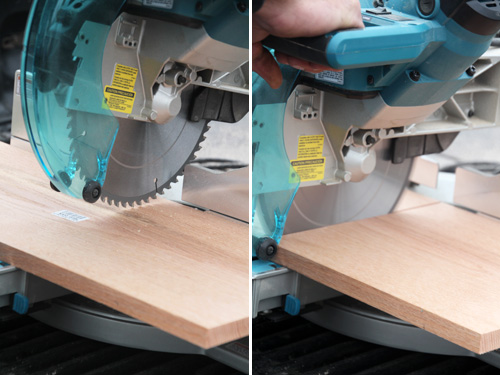
Once our materials were assembled it was time to begin the 40 sum pie wedge cuts that would result in a circular shape.
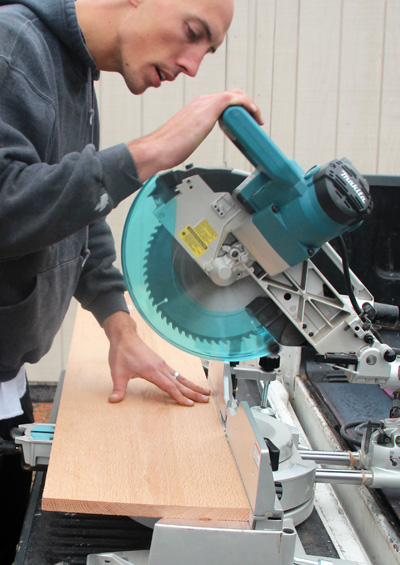
A chop saw that cuts at particular angles is crucial, but if you don’t have a chop saw it’s very easy to take your lumber to a milling yard (your local mom & pop hardware store probably has one) and to request that they do your cuts for you. I wasn’t so sure that Kev would have time to squeeze these cuts into his weekend so I double checked with my favorite milling folks and they offered to make all cuts for $60 (or about the cost of an hour of their time). Not so bad. But Kevin did end up finishing the cuts for me and that saved us a significant chunk on this project. Thanks, love!
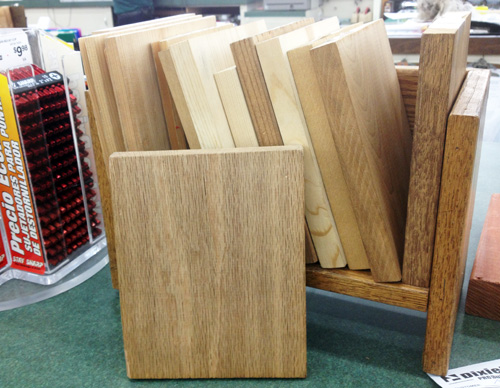
Before we get into determining the angle sizes, let’s talk about the choice of lumber for a moment. As I began researching this project I was at first concerned with choosing a hard wood over a softer lumber for my mirror and opted to use red oak for the sunburst. But now that the mirror is complete I’m positive that you could make this guy out of recycled wooden pallets if you wanted to (with the proper backing), and that the lumber choice shouldn’t be too expensive. Note that hard woods usually run between $7-9/foot and soft woods around $4-5 foot. I love the pop of color and the stronger contrast that the red oak brings to our living room, but here are a few other choices (including pine, douglas fir, poplar, oak, redwood and mahogany – and I sometimes wonder how it would look if I had chosen a more ashy, lighter poplar or white oak like the inspiration photos show):
Determining the angular pie shaped cuts was tricky. I knew that I was looking for about 40 ish pie shapes (as determined by the inspiration photos) and so I turned to my PhD candidate brother to help me do the crazy math. To which he replied via text: “Is this some sort of trick question? 360 degrees/40 pieces = 9 degrees each.” Geometry – you and I never did get along very well.
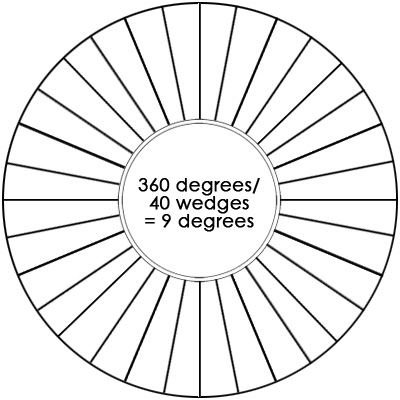
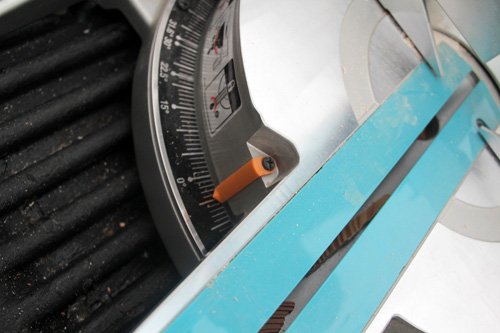
Each side of the pie when added together needed to equal 9 degrees, so we set the chop saw for 4.5 (or 9 degrees/2).
If you’re looking for fewer cuts (resulting in fewer pie slices), simply divide 360 by your desired amount of pie slices (for example: 360/20 cuts would = 18 degrees, or a 9 degree slice on each pie side).
And set your chop saw accordingly:
Because I wanted the grain to run vertically though, we first cut the long 8′ board into 12″ pieces and then sliced away at each 12×12″ chunk so that the grain was running the right direction.
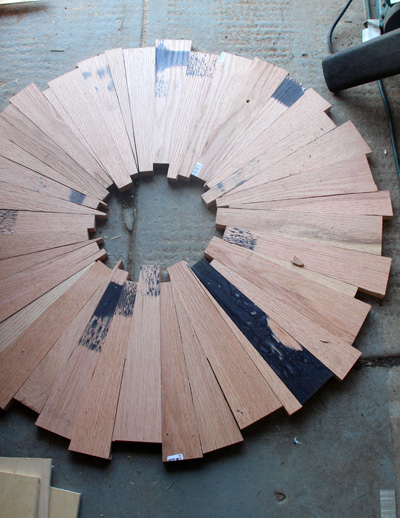
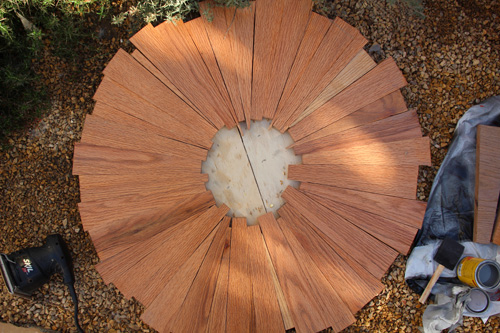
But of course we didn’t end up with 40 exact pieces. Here’s the backside (hence all of the ink staining that I didn’t worry about sanding out) of my future mirror on the garage floor as I’m piecing together the pie wedges . You get to a point in your pie wedge assembly where you’re almost there and then you piece in odd size pie slices to make it all fit. We ended up with several oddly angled slivers in there to keep the mirror the appropriate size and shape (playing around with the cuts of the last final pie slices was helpful here as well since I was staggering my wedges a bit, too).
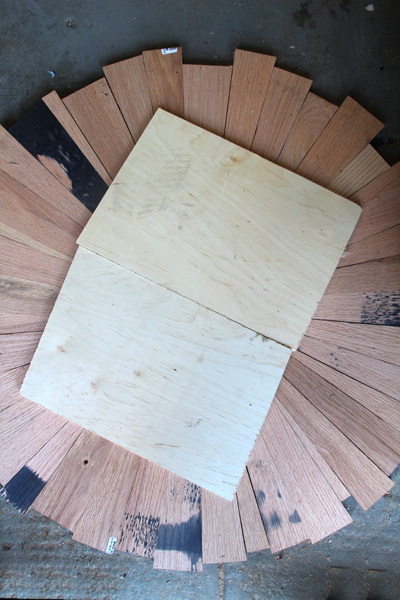
Next up was adding a piece of wood that would hold the pie wedges in place. No one will see the back side so it wasn’t super important to me that the backing was pretty, I simply found scrap wood from our pile that roughly fit the bill:
And then I used a nail gun (with 1″ nails so that they would not pop all the way through and show on the front side of my 1″wedges + 1/4″ backing) to carefully connect each wedge to the backing.
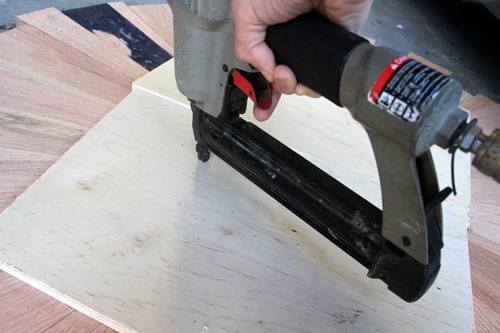
This is my careful job :):
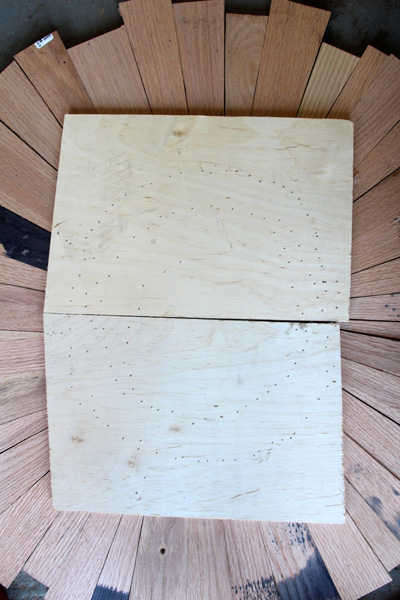
I went a little crazy. Better secure than not.
After standing the mirror right side up and adjusting it a bit, I ended up adding one more piece to the very back. Just for good measure.

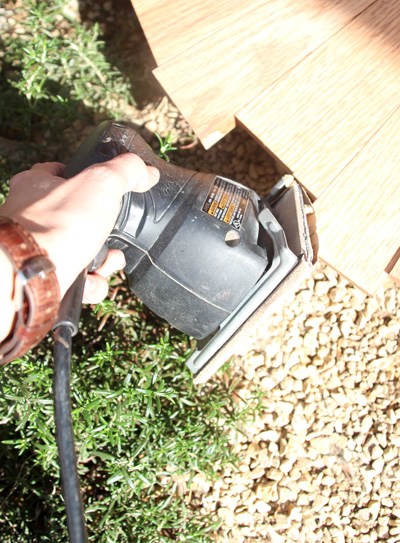
And then we headed outside for sanding and staining. Any edge that felt too harsh was polished just a bit, and any obvious imperfections were sanded down with a sanding block or an electric sander.
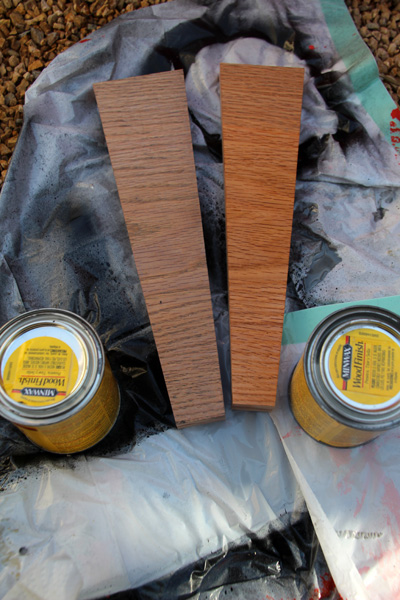
I actually used a combination of stains from the paint cabinet to achieve the desired finished look. My first layer was more of a golden/transparent sheen (there on the right) and the second, a very light ashy-grey swipe over the entire mirror. My testers:
I should be wearing gloves in the below photo… but essentially I brushed on my stain with a foam brush (working in 8-10 wedge chunks) and then wiped off the excess (or in the case of the grey, most of) stain with a rag. Let air dry in a well ventilated space overnight.
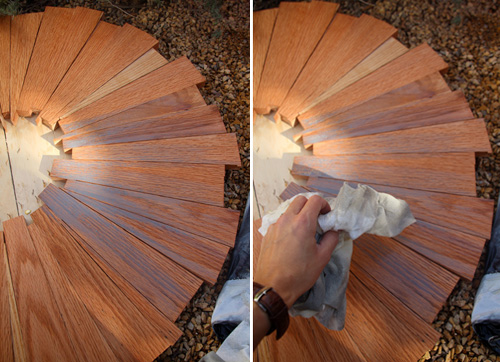
One last coat of a wood sealer and one more night of drying (I used a left over sealant from our deck but I’m sure any ole’ sealer would work well here).
The round-ness (?) of the mirror looks a bit odd here, but because of our unusual pie cuts there at the end + staggering of various pieces to give the outside a bit of dimension, it truly was just about round. Just ignore the odd shape there in the center :).
Coming up with an idea for the mirror at the center proved to be one of the trickiest. I couldn’t find the perfect flat mirror, but when I came across this guy on Amazon I realized it actually might be really cool to add a convex mirror! Plus I can always change it out later if it’s not what we love in the long term…
But I didn’t want the mirror to sit directly onto the sunburst shape, I thought that if I mounted it on a slightly larger round piece of wood it would give the entire mirror a more polished, finished look. Cutting a piece of plywood into a circular shape is way beyond tough – so I was really thrilled to find The Junk Man on Etsy. He proved to be a wealth of knowledge and helped me out by cutting a custom round wooden circle just large enough to fit my mirror (and for only $5 + shipping). I highly recommend his expertise for small wood working projects.
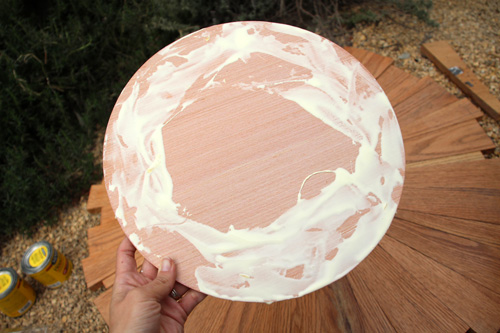
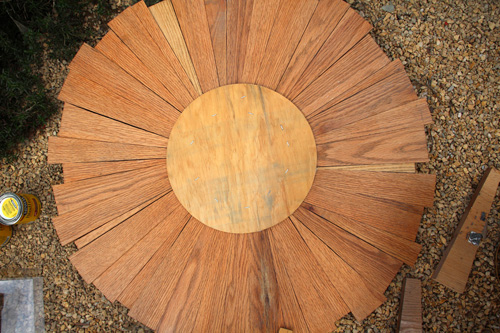
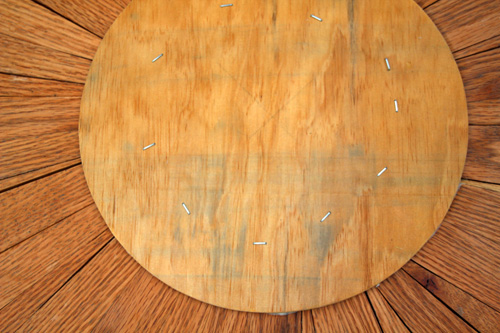
The plywood was the perfect depth as it didn’t cause the mirror to pop out too much from the rest of the wooden frame, but it was a little messy to stain it and I’m not sure where those grey streaks came from. The pro? No one would see as they all were hidden behind the mirror :). Here’s a shot of the staples from the staple gun that were used to adhere round wood circle to sunburst frame.
Finally it was time to attach the convex mirror to the sunburst. A lot of wood glue later (and another chance to dry overnight) and the mirror was finished!

Really, really happy with how it turned out and how it fits on our mantel:
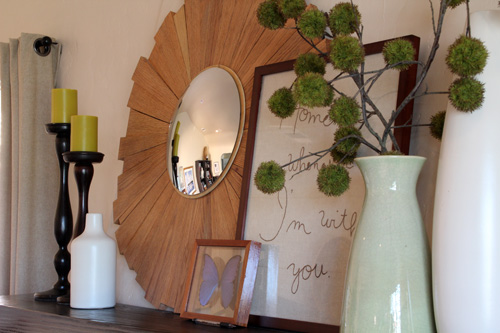
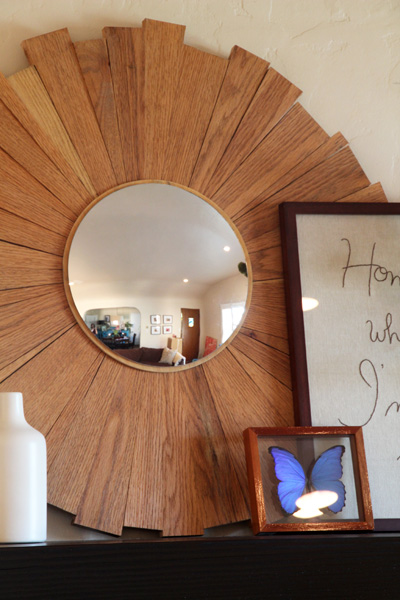
Kevin calls it the ‘eyeball’, not yet sure if that’s good or bad.
**********************************************************************
Goes well with our Spanish casita, no? A wooden sunburst mirror feels right in this space with the unusual rounded ceilings and the plaster walls… and I love the oversized shape and wooden tones that help to draw the room together.

Little by little the living room continues to evolve and change!
PS for more living room posts, sort all posts here.
PPS I entered this project into a fun contest (see below) and if you think it’s cool, I would be honored if you’d head on out to the contest page and ‘click’ on my link! They tally the clicks as votes and you don’t have to enter any personal info, promise :).


Absolutely one of my favorites as I am about to do my own. Thanks for sharing!
Thanks, Janet! Let me know how yours comes out :).
very beautiful .
Figuring angles makes my head hurt! I can never understand from which side I’m supposed to be measuring the angle, so I don’t do projects like this. I just envy those that do! Your mirror looks amazing! :)
Love this mirror! So great!
Thanks, Kellie!!