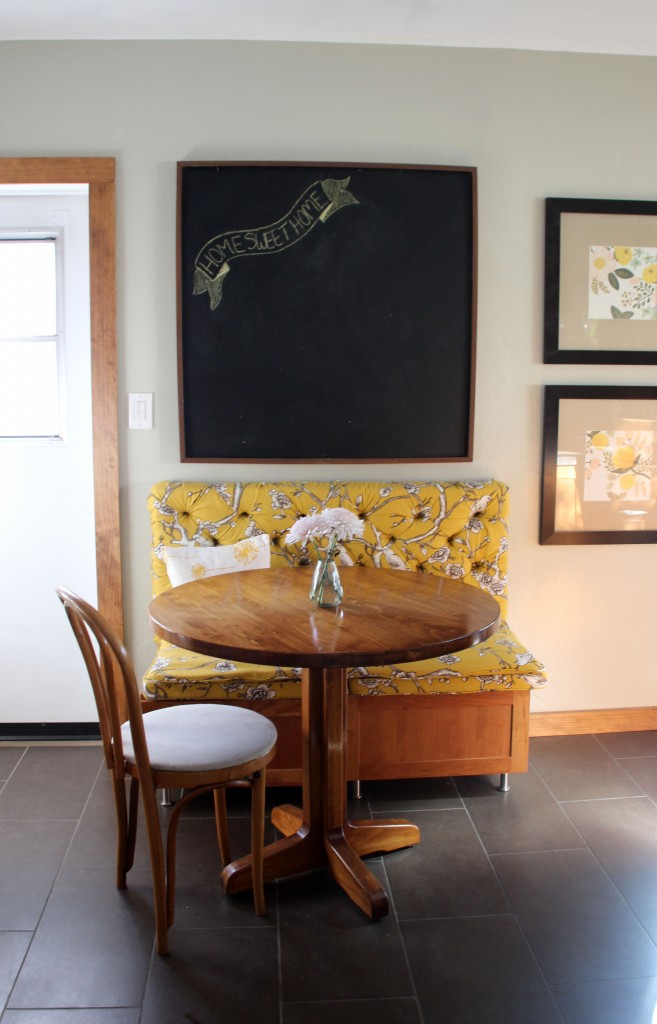
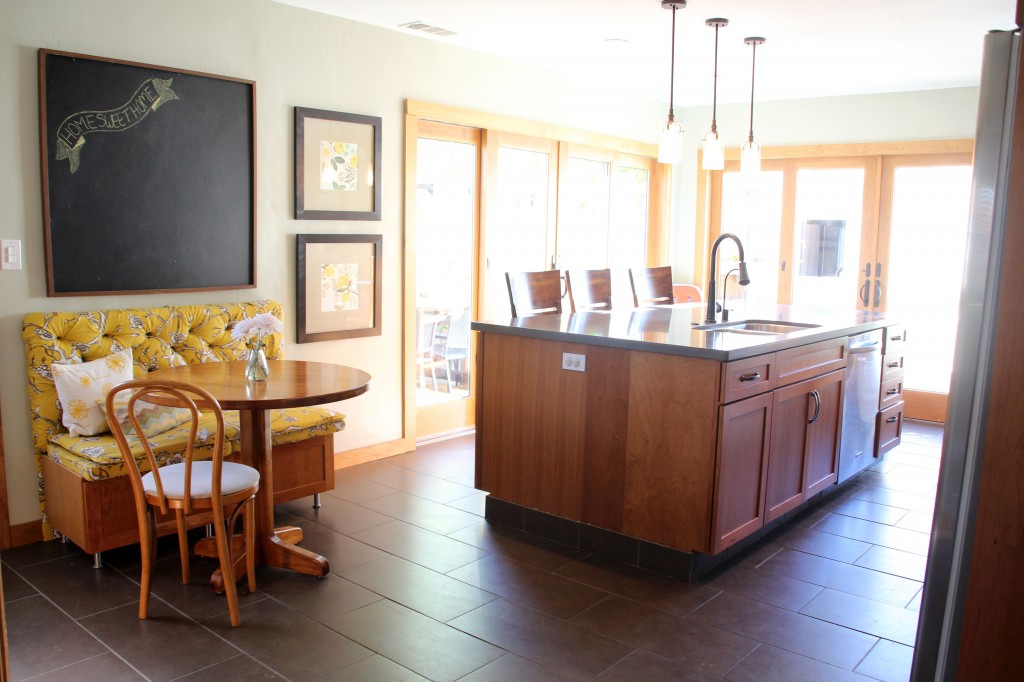
I have one more quick project to share from building the breakfast nook in the kitchen. See that big ole chalkboard above the new bench and table? Figuring out how to fill that space proved to be one of the hardest puzzle pieces with this entire project.
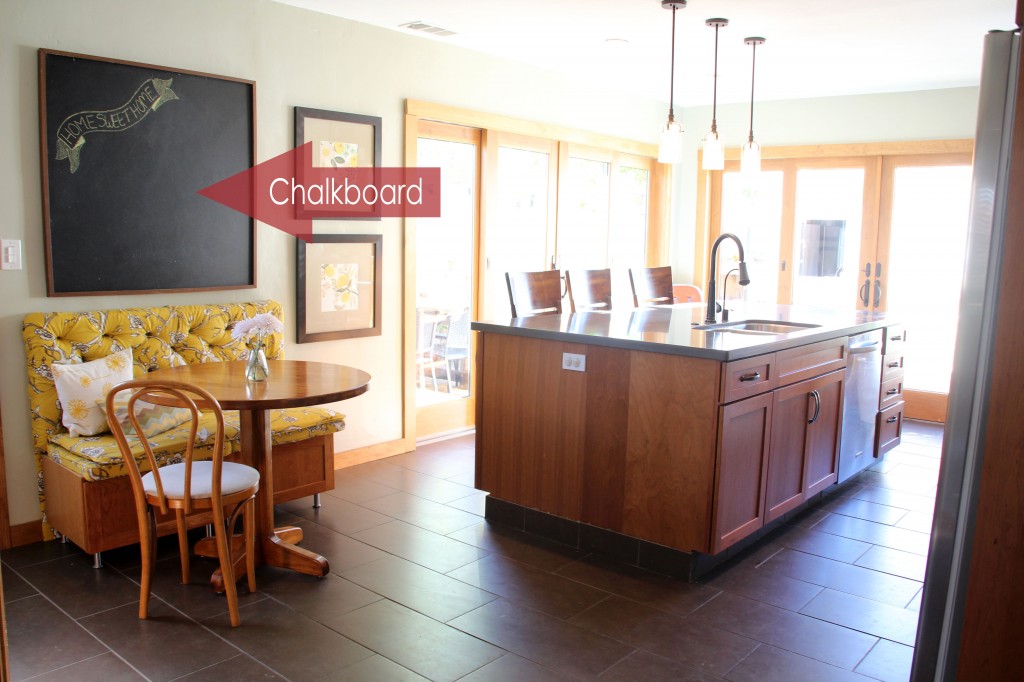
I love the final solution and it has already been a fun spot to share family messages (like Liv’s 2nd birthday!) but it took me a while to figure out how we would temporarily cover that massively large gap (and old window that’s hiding behind plywood and needing repair – on the list for this summer) that was left in the kitchen when the bench was finished.
We brainstormed ideas ranging from framed fabric wall art (one of my favorites), finding actual wall art, hanging a whiteboard or cork board, creating a faux roman shade (very clever, Mom) to a chalkboard. Nothing too permanent because we may end up opening up that window again this summer or trying something brand new with the space.
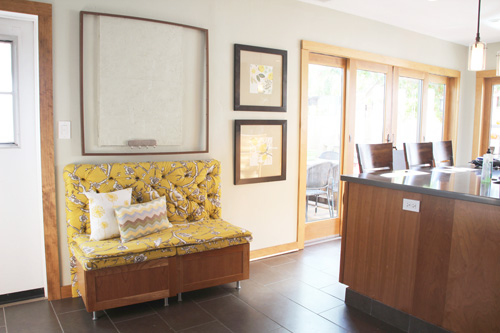
I thought a cool piece of fabric (like a remnant, silk scarf or even a chunk of something random like a tablecloth) framed would fit the bill, but then struggled to find a fabric that I wanted to hang as a focal point in the room — and one that also played nicely with the new tufted bench seat, pillows and bar stool cushions. No luck. I love me some mixed patterns but there were just too many in that little space.
My back up plan was an awesomely large frame to house a chalkboard. You can never have too many of those.
I made the frame first because it was such an awkward size. It had to be tall enough to cover the window and wide enough to look like it’s supposed to be there (and is not just covering up a flaw in the wall, which it actually is).
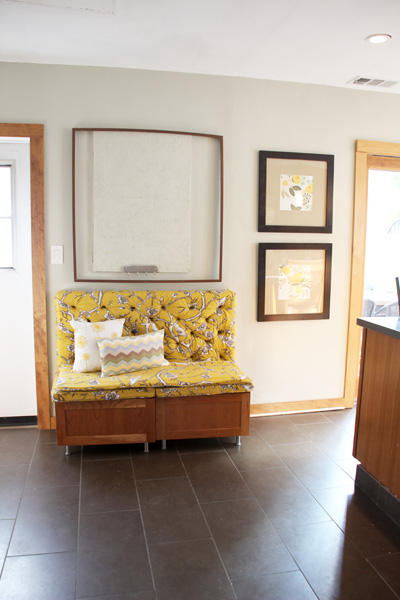
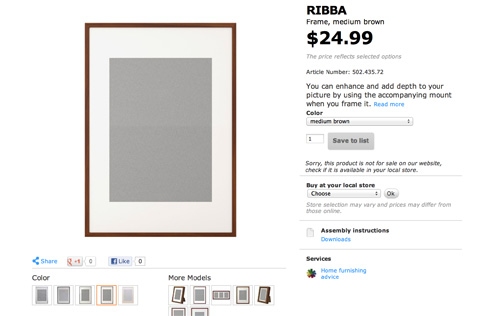
I could have built a frame from scratch, but that felt very, very daunting. I priced out purchasing a custom frame at that crazy size. Waaaaay out of budget. Then I stumbled again upon these giant Ribba frames at Ikea:
This frame is the same poster frame that I used on my semi-DIY fabric canvas artwork in the living room (my local Ikea doesn’t carry the birch version anymore :(). It’s SO big at just over 28×40″, and at $25 it’s a killer steal in the framing world.
One would have not looked purposeful, it would have oddly sat above the breakfast nook and would not have tied in in the two Rifle prints to the right of the seating area. The chalkboard needed to go big. After carefully measuring, I purchased two of the Ribba frames with this plan in mind:
First disassemble both frames, next reassemble one giant frame using just the longer 40″ edges.
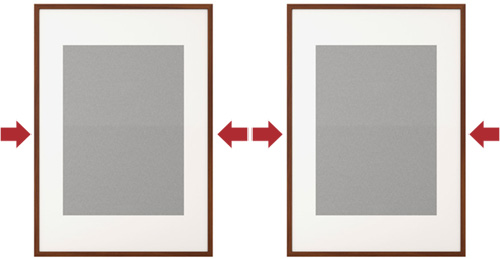
Disassembling was actually quite tricky! You would think that an Ikea frame would pop easily apart. Oooohhhh no. I assumed I could pull out the staples that held the perfectly mitered corners together (the hardest part of building your own frame) and re nail gun the edges. But after a little sawzall action late at night and about 20 nail gun holes later, I managed to reassemble my giant frame.
I wish I had pics of that night! Me, my red slippers, an air compressor and the power tools (don’t let anyone try to fool you – power tools are just larger versions of the craft tools we ladies know and love).
But it looked something like this when I was done:
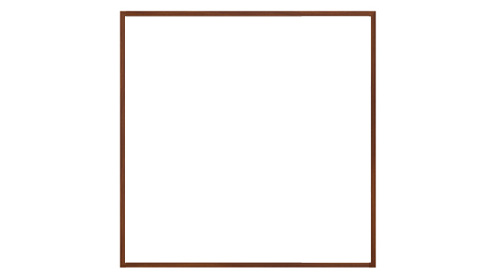
Except that if you’re ever over at the house, don’t look so carefully at the corners. They are not so pretty with their wood glue remnants (who knew it wouldn’t dry perfectly clear?) and nail marks. I just keep telling myself it’s a great temporary solution.
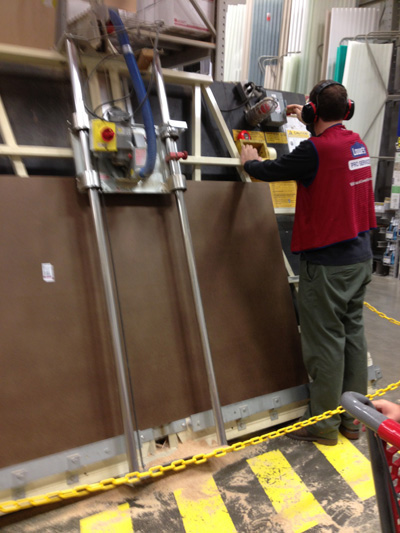
For the chalkboard on the inside, I headed down to my local Lowe’s, found a sturdy and flat piece of particle board and gave the nice milling guy my dimensions.
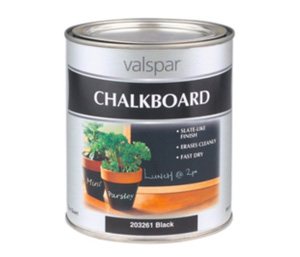
Three coats of chalkboard paint later and we were done! Also don’t look too closely at the black paint either – you might see an accidental footprint. For the record I also added three coats of magnetic paint under the chalkboard paint but the finished product is not quite strong enough to hold anything up. Ah well.
Hanging the frame and board was a bit of a challenge… the Ikea frame was not sturdy enough to hold such a large board (even particle board) so I reinforced the entire frame by driving a few nails directly though the chalkboard and into that plywood window that we were trying to cover up. Very convenient that it was there! An alternative might be to use a much lighter type of board (perhaps even plexiglass?) or to build a much sturdier frame to support so much weight.
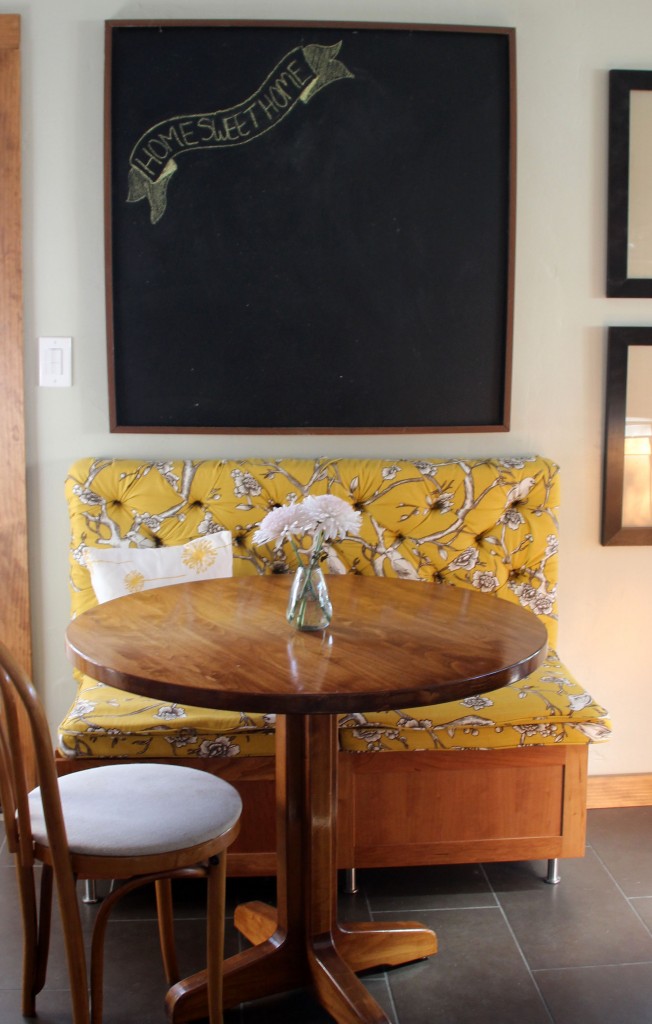
And that’s the story behind the giant chalkboard :).
These days I love how the black paint looks against the black of the botanical frames and the grey floors, it really is the perfect solution for this spot.
PS More kitchen renovation posts found right here. And breakfast nook building here: part 1, 2, 3, 4, 5, 6, 7
PPS Thank you so much to Calico Corners for including my breakfast nook project in your most recent newsletter! Such a big honor, thank you, thank you, thank you.


Such a pretty little nook! I know you really struggled with what to do in that spot, and your solution is fabulous! I love chalkboards…except for the fact that I have HORRIBLE handwriting.
Ahh it was a struggle, and that darn frame was not easy ;) – but I love how it looks now!
The chalkboard looks really great. Way to get tough with the frame, Morgan! :)
Congratulations on being featured in the CC newsletter – how exciting!
Thank you, Janelle!
That’s such a clever way to get the size frame you need. The chalkboard looks perfect in that spot. Congrats on the CC feature!
Thanks, Sheila!