Great news! The deck is stained and sealed and it’s looking awesome.
Just as a quick update, you can see the jungle that this space started as by hopping back to the first post in this series, or catching up with parts 2, 3 and 4 to see the full transformation.
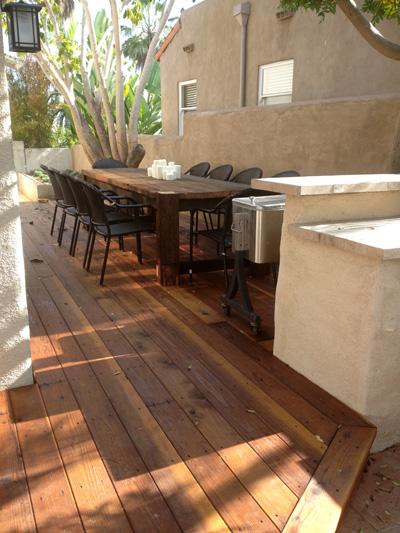
The entire staining and sealing project from prep to dry time took about five days, with just a few hours of that dedicated to full on painting.
Here’s the before:
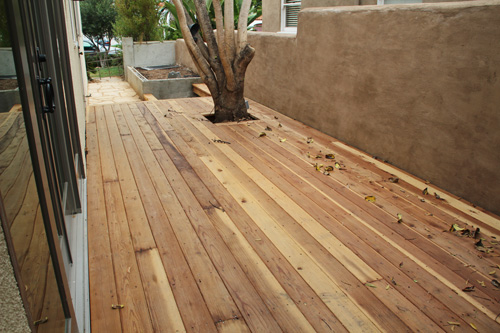
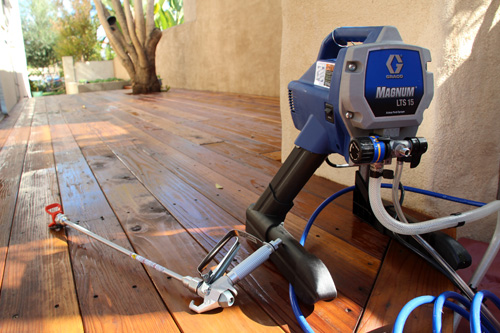
The deck is a decent amount of square footage so for this particular project we pulled out our Graco Magnum paint sprayer (the kind folks over at Graco teamed up with Lowe’s to sponsor our curb appeal efforts this year, a huge honor so thank you again, Graco!). This is one excellent example that paint sprayers, once you have an area thoroughly prepped, can make a painting project fly by.

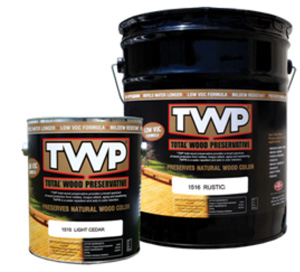
As far as a stain and sealant is concerned, we chose a two-in-one penetrating oil sealer that prevents wood damage and adds a slight natural color to the grain. We will have to reapply annually, but the process is supposedly easier than other coatings because there is no sanding involved. And an oil-based sealant means that this stuff is absorbed into the deck wood rather than just a layer on top.
Other benefits of this particular stain include: eliminates mold and mildew, helps prevent wood rot, helps to prevent warping, cracking or splitting, low VOC and is excellent at repelling water. Click on the above picture to learn more about the stain/sealer, we chose ‘Natural’ of the options listed.
Up first was thoroughly taping and papering off any areas that we wanted to make sure were absolutely not in the ‘spray zone’. Kev and I woke up bright and early one Saturday morning to completely secure the side yard while Liv was sleeping .
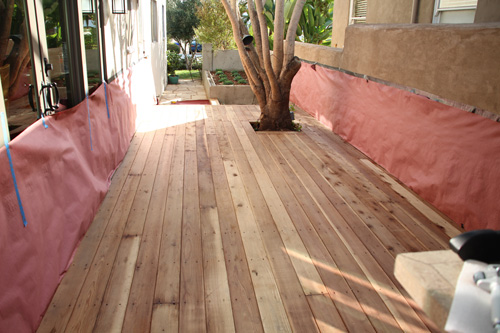
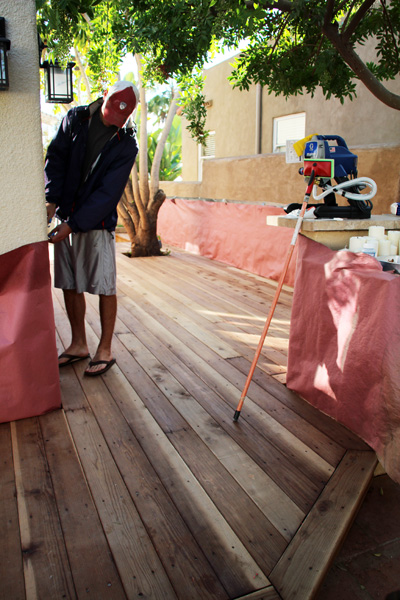
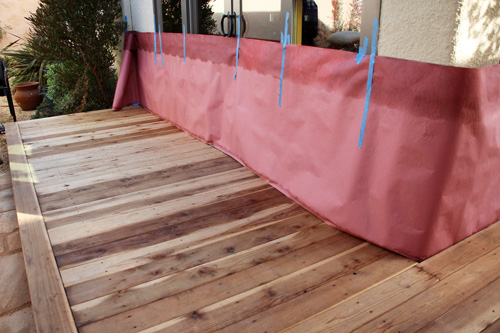
Next it was time to stain. I should first mention, backing up two days, that we power washed the deck and then allowed the deck to naturally weather and dry out before this particular Saturday (aka the day of the sealing). This is a step that is easily neglected and if skipped, can turn into an issue when it comes time to apply the actual sealant to the wood (aka make sure that moisture content isn’t too high – the wood is like a sponge and needs time to completely dry out before it will soak up the sealant appropriately). Check with the manufacturer of the stain/sealant that you choose and follow all the guidelines for surface preparation and application.
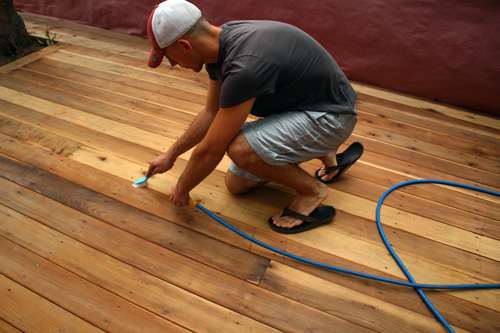
Then Kevin came back through and used compressed air to blast the last little bits of residue from the cracks and crevices of the deck. You can see that he found a new (and better) use for my just-purchased vegetable scrubber… (don’t worry, he literally stole it out of the grocery bag, it’s brand new).
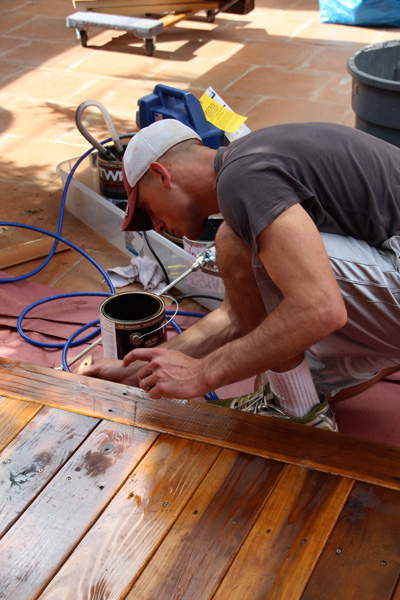
Now it’s time to paint! Keeping the contents of the paint sprayer and various buckets (the front paint bucket contains the stain, which is being sucked up into the sprayer, the back bucket is the mucky bucket, full of all output and solvent from the sprayer) in one large container – an extra under-the-bed storage bin did the trick for us – is a really easy tip for moving your entire set up around the deck as you go while also keeping items orderly with fewer potential accidents (hose knocking over a bucket of paint, etc).
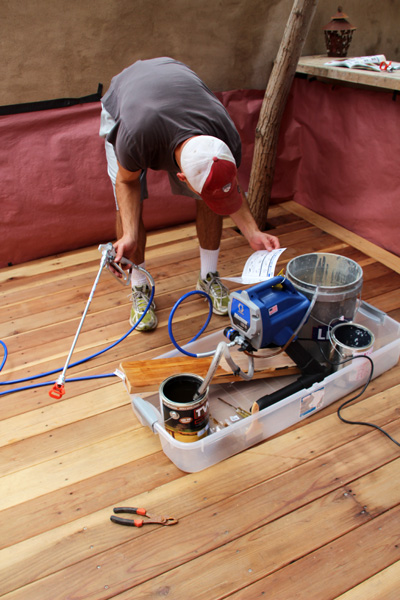
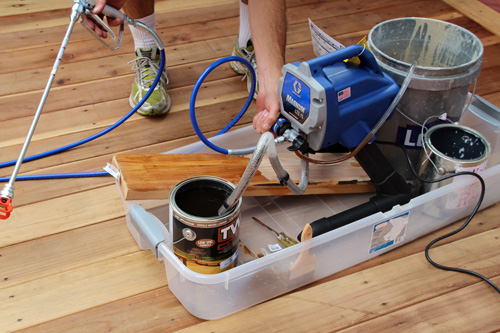
Deck in progress! The deck itself was a quick spray once all equipment was ready to go.
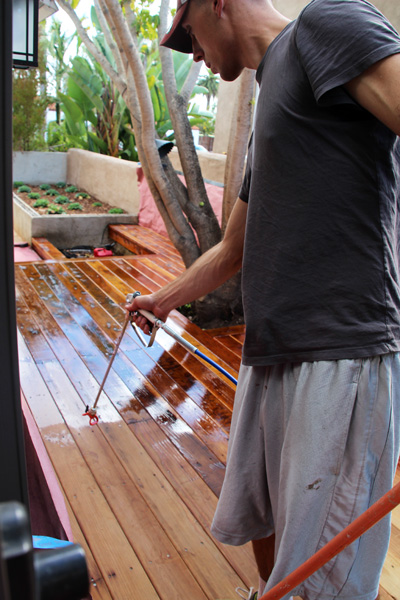
The paint sprayer has a two foot wand attachment that can be purchased to help focus your spray directly onto the targeted area (and not leave you with a hunchback). Kevin being the super tall man that he is especially enjoyed this feature.
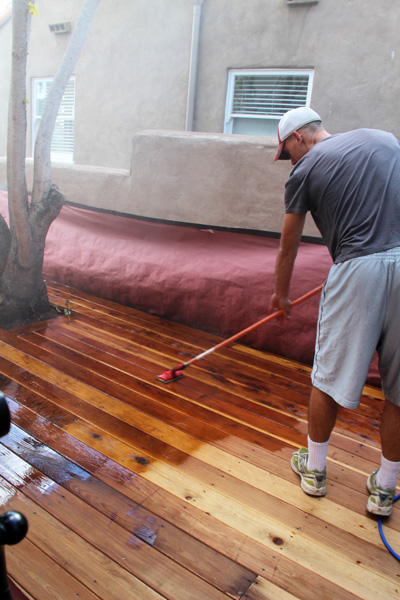
Once the sprayer had coated a generous amount of sealant directly onto the deck, Kevin used a squeegee/sponge (there has to be a proper name for this, but we couldn’t find one) to push the liquid into each and every crevice and deck crack (don’t want to leave those cracks exposed ;)). The pattern went something like: spray, spray, spray, squeegee, squeegee, squeegee, repeat.
Using a paint brush, Kevin applied a coat of sealer directly to the sides and stairs of the deck. Possibly the most time consuming portion of the morning.
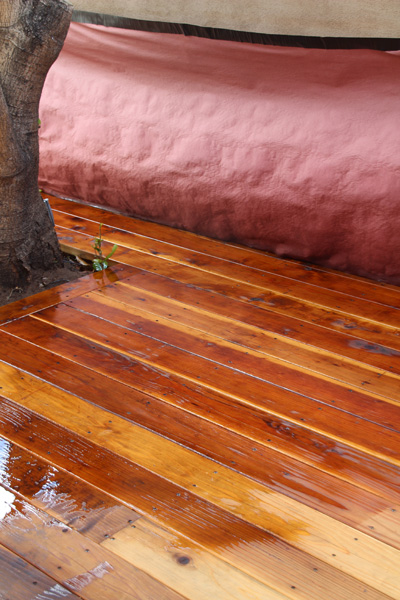
And she’s done! After drying for 48 hours (per instructions for the oil-based sealant), the deck is a pretty golden hue now. The entire project took Kevin a few hours (including prep) and another hour or so for clean up, pretty darn great for such a large space.
Here’s the man behind the machine, finished and ready to enjoy his Saturday.

And after a recent overnight sprinkle, the sealant is already proving to be worth its weight in deck gold.
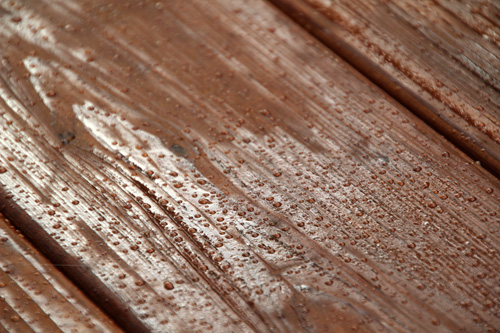
The warm, natural color that we chose will continue to lighten with time to reveal the beautiful, natural redwood color variations and grain beneath.
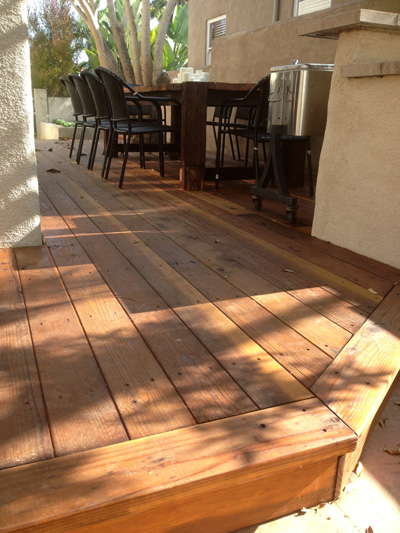
A near-finished deck to bring us into fall.

And before I forget… a big thank you to iVillage for featuring Liv’s felt Christmas tree in their Christmas Tree slideshow, honored to be included amongst those creative bloggers who were also showcased!
We are incredibly excited to have partnered with Lowe’s and Graco for various parts of this project. All opinions are always our own and as usual we try to keep it as real as can be.


Everything looks fantastic! We have two HUGE decks, so we go for a 5 year stain and have it professionally applied. No kidding…it took two guys a full week of 8 hour days to seal and stain our deck last time. I’m definitely going to have to look into oil-based stain next time, though!
Two guys and a full week? Wow that is a big deck!
Your deck is so, so beautiful! I could stare at that gorgeous wood grain forever. Also drooling over that stunning table with tons of seating!
Thanks, Kelly!
Hi Jessica! Absolutely, I have a post coming out on these very soon but the chairs are from Lowe’s (super great price) and Kevin made the table out of reclaimed wood :).
Awesome job! The whole project turned out looking great. Would you mind sharing your source for the black chairs with the wood table? Thanks!