Happy Thanksgiving week! We are up to our ears in holiday events, projects, work stuff and family (always, always awesome) and I’ve discovered (I am a late, late comer) the most amazing tool to document all of the holiday-wonderfulness that is happening at the moment! What have I been missing out on all of these months without Instagram? Count me in as an immediate fan. Lately I’ve been posting on projects-in-progress, Liv-isms, travel adventure updates and sweet Sunday mornings with the family.

You can meet me over there by searching for ‘morganspenla’ (I know it’s not so original when it comes to Instagram names… I’ll try to be clever next time. but you’ll know it’s me when you find me because there’s none other ;)). Really, there isn’t. There are perhaps 20 Spenlas on the entire planet and likely you are related to us if you are one of them (don’t be confused by the alternative sugar substitute, most telemarketers and grocery clerks are. But it’s all good.).
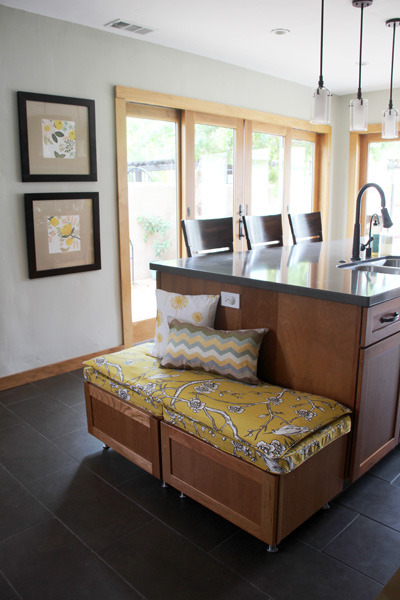
The true purpose for the post today is to share the progress on our kitchen nook. The cushions are finished and are in place! And the bench functions as a real bench! It’s wonderful, it’s the bench that this kitchen has always needed.
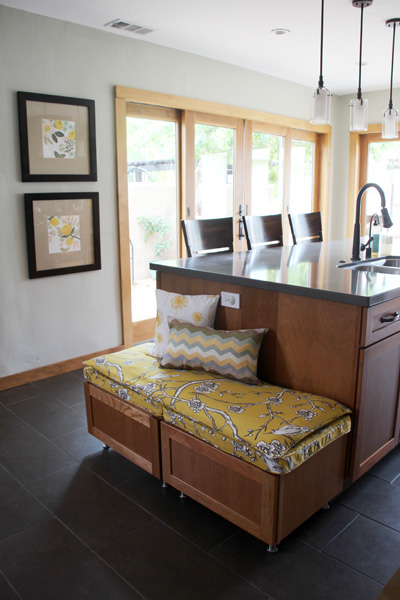
Last I left you, we had purchased over-the-fridge cabinets from Lowe’s (because of their unique height and width) and had added legs to prop them up off of the ground.
I specifically chose a yellow for this space to help cheer up the empty color zone between the dark floors and the grey quartz countertops. The yellow up close is a great mustard that is not quite too bright but happy enough to make you smile when you walk into the room.
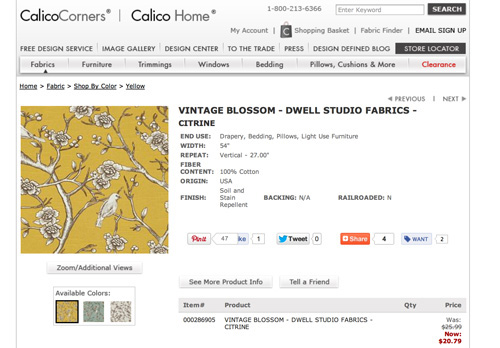
Here is the link online over at Calico Corners (who teamed up with me on this project, I’ll be sharing the full, finished breakfast nook next month ish on their blog as well once the tables, chairs, etc are in place! I’m assuming it will take me a bit to hunt every little piece down… :)).
I really labored over the type of fabric to use here… everything in my gut insisted on an outdoor, easily wipe-upable canvas fabric that would repel any future kid (or adult) stains. But I couldn’t find anything that I loved, and I looked and looked and looked for a long while. When I came across this Vintage Blossom print I immediately fell for how it would tie in so well with the rest of the kitchen and how it would also function as a ‘base’ for additional patterns in the form of pillows and chair cushions. The colors are simple – mustard, brown (which is also prevalent in the bar stool cushions) and white.
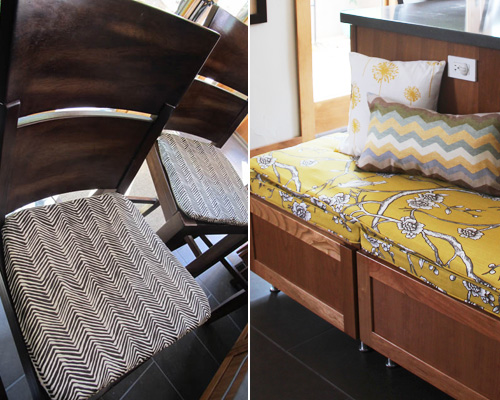
The colors also tie in nicely with the existing calendar artwork.
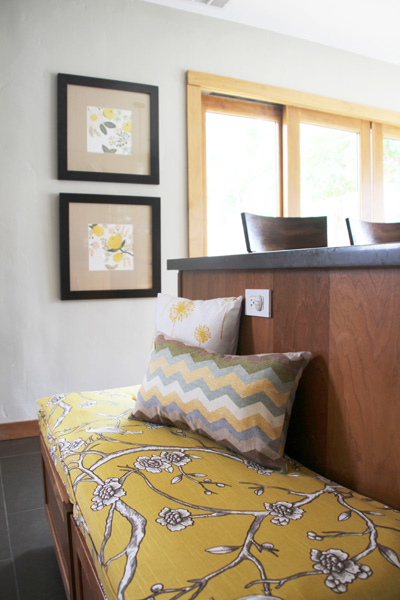
But rest assured it will get a healthy coating of a stain repellent spray like Scotchguard.
The lumbar throw pillow with the fun zig zag print is by Etsy artist PillowMio and the dandylion print by MyModernHome. I purchase most of my inserts at West Elm because of how deliciously cozy and reasonably priced they are.
The photos are one step too close to washed out, but it’s hard to capture that light through the doors in contrast with the dark floors, which pulls everything down.
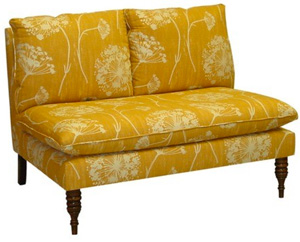
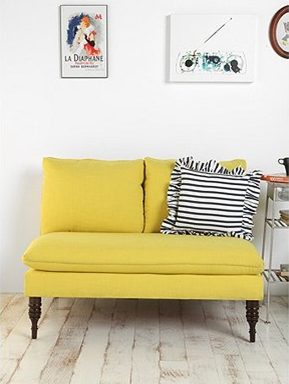
My inspiration for the style of cushion was to use a settee pattern, kind of like this one:
Or this one from Joss & Main (which I considered purchasing when it was up for a steal of a price before this all started, but the seat depth on a traditional settee is too overwhelming for our kitchen).
I used this pattern in reverse so that if I were to separate out the two benches, the tops would come with easily. The ‘topper’ is one long piece that can also be used as a bench back. Thinking out of the box here ;). I need to add more padding though, now that I’m looking at all of these photos.

Here’s a shot of what I mean about separating out those two bench pieces:
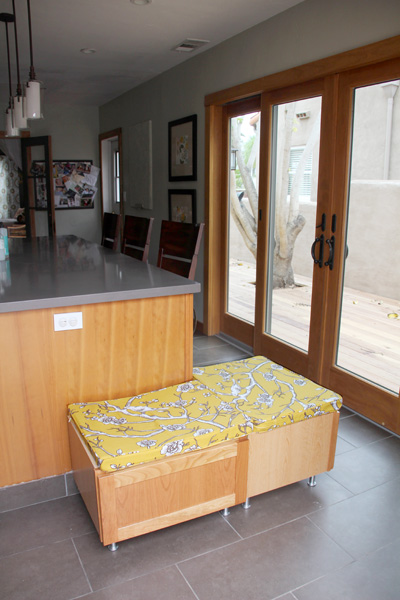
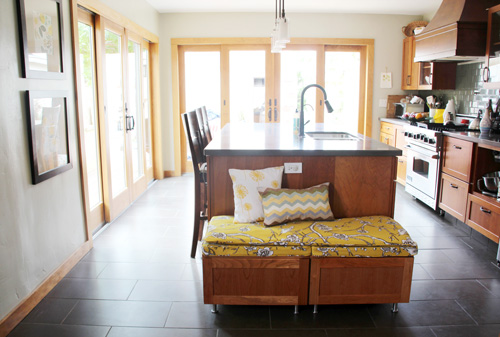
Here’s the opposite end of the island, and see how these benches might be used for extra seating when we have the big french doors wide open and guests are mingling about (with a glass of wine and hor d’oeuvres?) from deck to kitchen? Ah, lovely.
In fact, I may not even keep the bench where it is now. It might find its way over to the wall to the left of the doors and kitchen where there is currently a rather large gap of space.
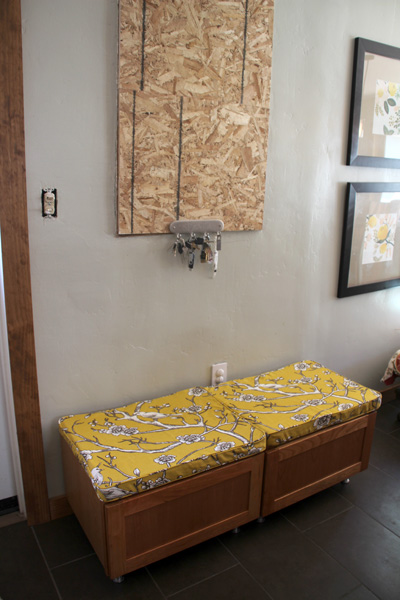
The plywood hides the remnants of an old window from the previous layout of the den. I currently hide it with canvas art or by covering it with pinned up finger paintings by Liv and what have you, but here is the eyesore in all of its glory. I suppose it does function as a key holder. There is its purpose in life.
When it came to the cushions themselves, I left it to the pros. I gave my amazing dry cleaning lady – my secret weapon – (who made these awesome slip covers for my nursery rocker) the dimensions of the cabinets and future cushions, the roll of Vintage Blossom fabric (purposefully adding enough for welting, which she added for $5 per cushion), and invisible zipper material for all. I believe the entire sewing portion ran me about $20 for each full cushion.
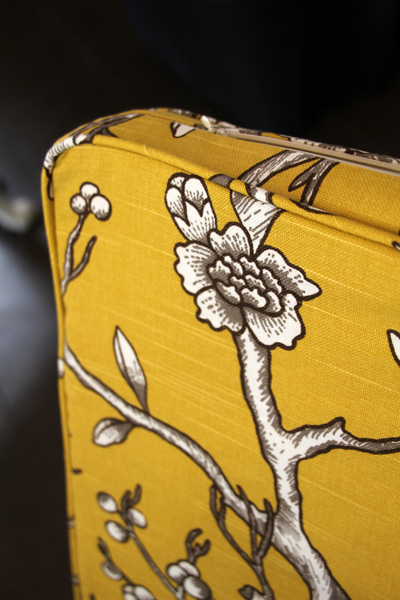
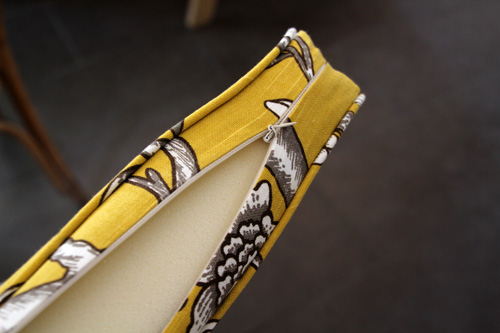
I could have attempted it but the quality and price of outsourcing this project was absolutely worth it! With that much less of a chance of me and the sewing machine getting into a fight over box cushions (perhaps I will one day learn).
We are that much closer to finishing up the entirety of this kitchen!
Still left? A table, chairs (bistro? bentwood?), a neat piece of art for to cover up my one-day-we’ll-fix-it window, and few additional molding touch ups. Perhaps a big pendant to go over future table? Happy Monday!
PS you can catch all of the kitchen posts (which started as this den) right here.


Great ideal. I live in Houston and need a place to store my small chair cushions from my pool area. I have the space to put a bench at the end of my 6 ft. Island. I feel a project coming on. Thnx.
Love that fabric! You have one of my favorite kitchens in the blogosphere. I love the all the white kitchens, but it’s nice to see something different so beautifully done.
The cushions and fabric are perfect for the space! I wish I had a secret weapon- that is a steal of a price! Does she have any relatives in Atlanta?! ;D
Haha, ship them over!
Your bench looks great! The cushion fabric is perfect, and it’s so practical that you can use the two pieces separately :-)
Thanks, Kelly! I see us pulling apart the benches and using them all over the kitchen, I’m so glad I ended up ordering two separate pieces.
(I meant “your kitchen”)
Thank you so much! :)
I love that fabric! And you’re kitchen is beautiful :)
That bench has turned out so incredibly cute! It looks like the perfect height to remove some cushions and let Liv help out with the cooking, too!
Yes! You nailed it exactly. It’s the perrrfect height for Liv to help and now she insists at eating all meals and helping out at the counter right at that height! No more highchair, haha.
I lurrrrve those cushions! The color and style are fabulous! I’m super jealous of your secret weapon- Miss Dry Cleaning Lady. As a fellow San Diego girl, I’m tempted to ask for her contact info since my sewing skills are definitely subpar in the cushion making category. I’ll stick to sewing curtains for now!
Thanks, Kate! I think I’m pretty safe posting their contact info right on the blog since it’s a business number. My amazing lady is Tu and the company is ‘Charles Alterations’ at 619.283.1574, tell her I sent you! :)