Happy start to the week! Getting those cake posts together last week wore me out… but I have several new home projects to share with you this week and I’m really excited about this first one.
I have been looking for a large piece of art for the living room for some time, but everything I come across is either out of my price range or the wrong size/look. But I’ve found a solution. Using a one yard piece of fabric from Spoonflower + a couple of tubes of oil paint/acrylics, I channeled my inner artist and created a piece of art for the living room.
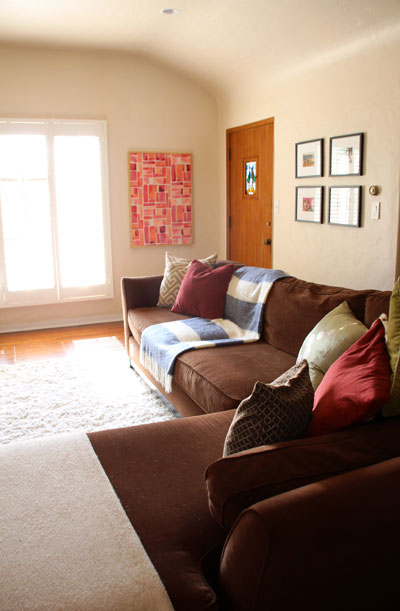
The fabric did 90% of the work, but maybe that’s why I’m so thrilled with how it came out :).
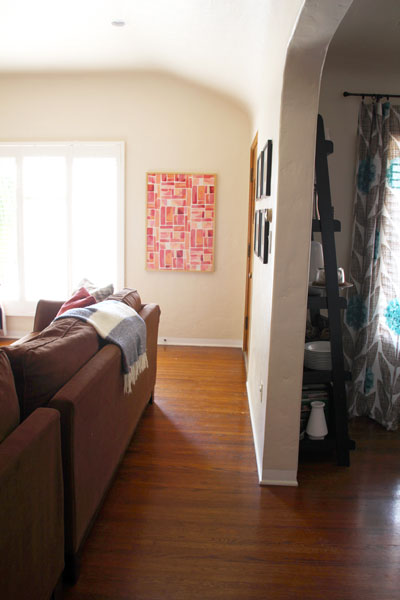
Here’s a reminder of how the space looks when coming in through that above door:
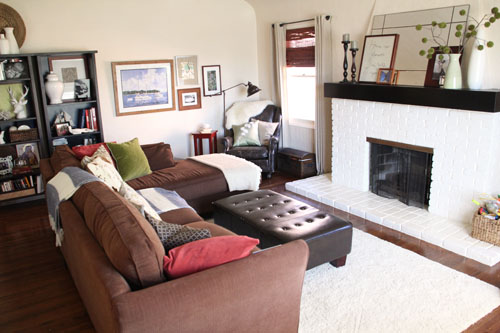
The color palette in this room includes plenty of neutrals plus the occasional bright pop of green and raspberry red.

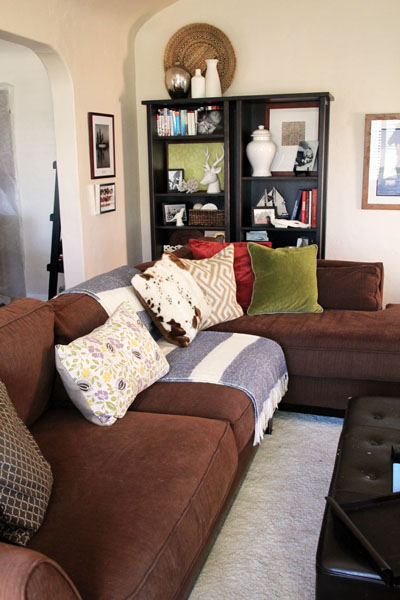
And this new painting ties in perfectly with the scheme.
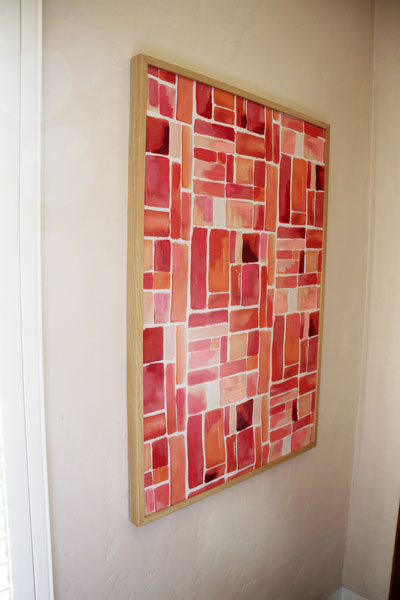
The inspiration behind this piece of art came from when my family traveled to Australia two years back to visit my younger brother who was studying abroad in Perth. The aboriginal art was absolutely stunning, full of brilliant colors and beautiful abstract patterns and I badly wanted to bring a giant canvas home. That wasn’t quite possible, mostly due to luggage and price reasons, but it did cause me to begin a search for a potential DIY solution.
What’s kept me from trying this out? The thought of hanging art in the house where I am the artist. I know that sounds crazy, but I’m very critical of my own work and art is very much ‘on display’ – as opposed to maybe a repainted chair or even a room that we’ve completed. Fast forward to this spring, and my finding Ish & Chi’s and MadeByGirl’s absolutely stunning aboriginal pieces of art by artist Jeannie Mills. What a fantastic pop of color for the space! How beautiful!
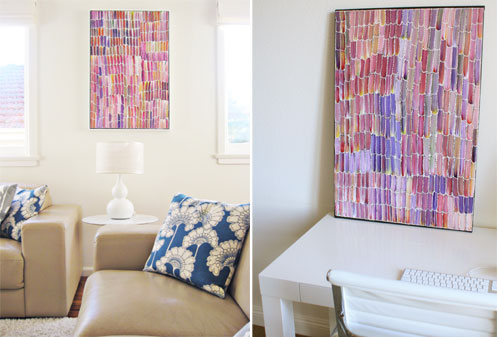
I know, I know, mine does nothing to contend with the originals. But if your’e not familiar with where my inspiration came from, it’s a fun, extra large piece to have in the house and to bring in that bright coral color.
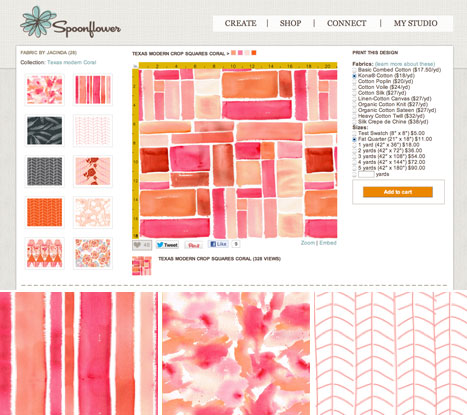
Original oil paintings (unless awesome thrift store finds – I’ve picked up a few small ones) can be pretty expensive, but when I came across thisfabric on Spoonflower while searching for other random project fabric, a semi-DIY art idea was born. Here’s that exact fabric, plus a few other designs that I loved by the same artist. (Maybe I’ll move the painting to Liv’s future big girl room and use these as the accent fabrics… that watercolor version is amazing.)
That fabric sparked the idea of creating my own canvas art to hang, and the best news yet? Spoonflower gives you the option of ordering on a canvas cloth! It’s not really as thick and sturdy as a gallery canvas, but it is hardier than your average cotton and gives a similar look to the pattern printed on it.
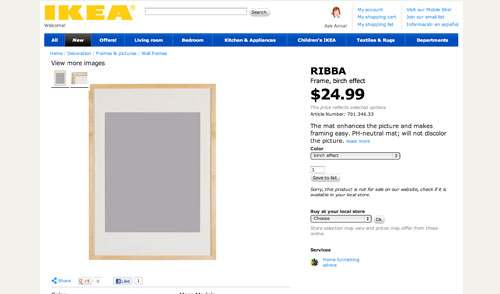
I really love art that is edged out in a simple wooden molding. It’s usually attached to the canvas post-production and sits maybe 1/8″ from the edge of the art (Ish & Chi actually had hers framed just like this but in white). I have a friend who’s aunt makes her own and I was inspired by her birch versions to use this Ikea frame, which worked just perfectly! and for a great price.
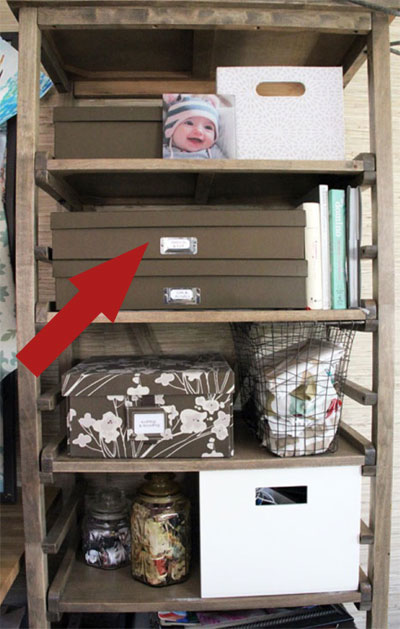
The third component to this project was a set of oil paints or acrylics. I have been collecting these little tubes for years and years and was so excited to finally pull my ‘painting’ box off of the bookshelf.
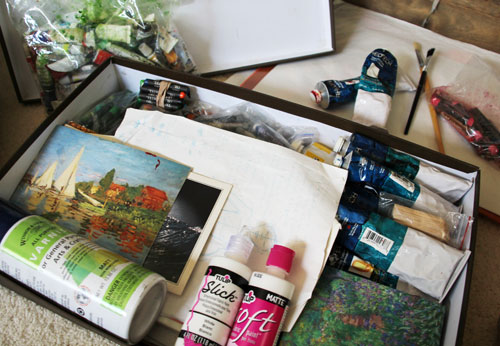
This box holds all kinds of trinkets that I’ve been saving for my future art days. {sigh}
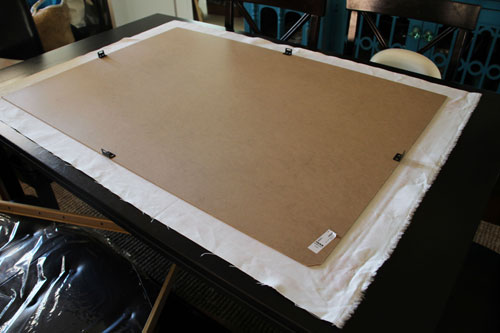
But back to getting that frame all ready to go. First up was ironing out my fabric (Spoonflower ships with fabric folded rather than rolled so there are always a few decent creases) and then flipping it over and cutting to size.
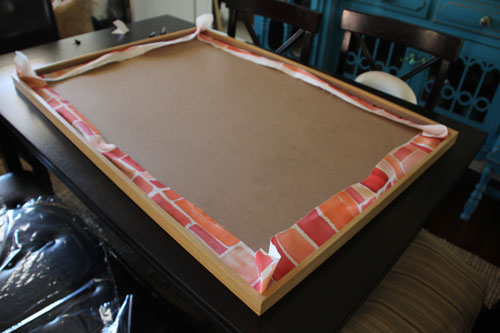
I pulled the fabric nice and tight and added to the frame (with glass and mat removed).
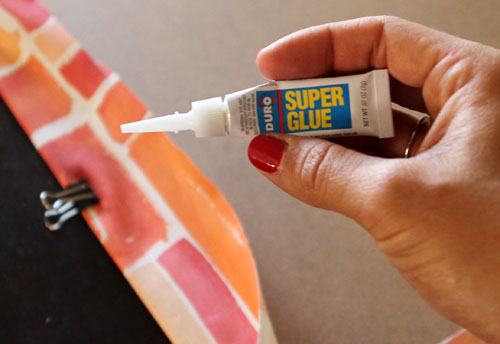
A little super glue along the inside helped to reinforce the position of the fabric. (Photo below shows clamps which were helpful in lining up the fabric on the front side of the frame before securing in place.)
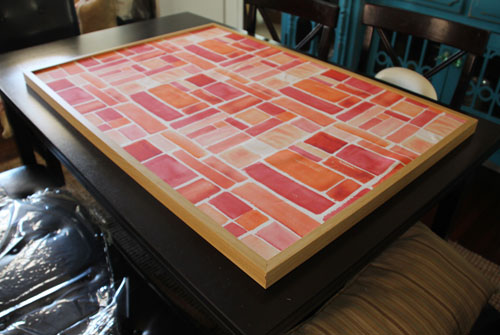
Now we’re ready to paint! Though this particular fabric would have looked great just framed and on its own. (No, I have not kid-proofed my bench seat in seran wrap ;), that’s just the plastic from the Ikea frame above that I eventually used to protect my table from paint smudges).
See what I mean about little creases? I used the steam option on my iron to get out the last of em before applying paint.
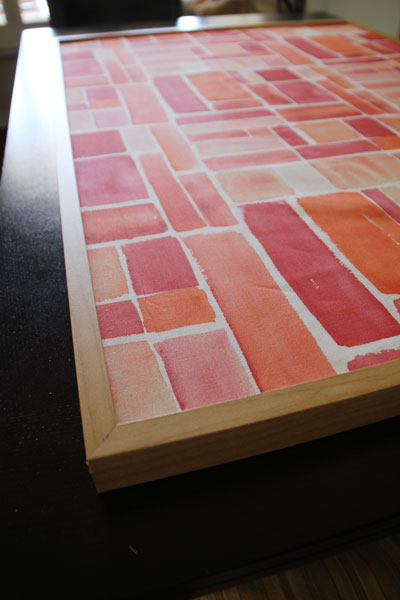
I chose a selection of reds, corals, crimsons, yellows and whites from my paints and began mixing up various shades that could be found in the fabric.
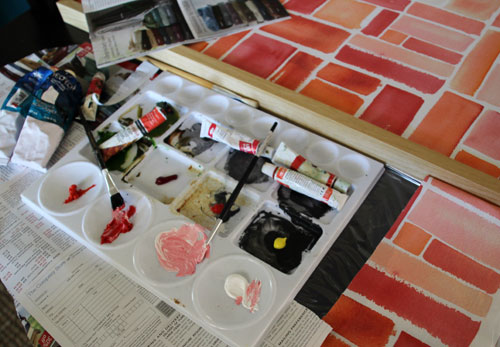
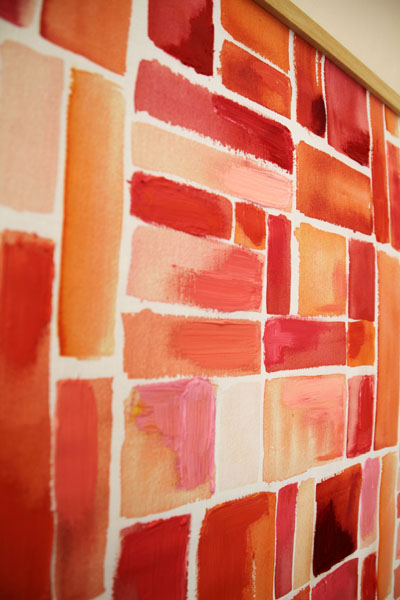
Then I tested my paints out an an extra piece of fabric and gingerly began applying small accent pieces of color throughout the canvas.
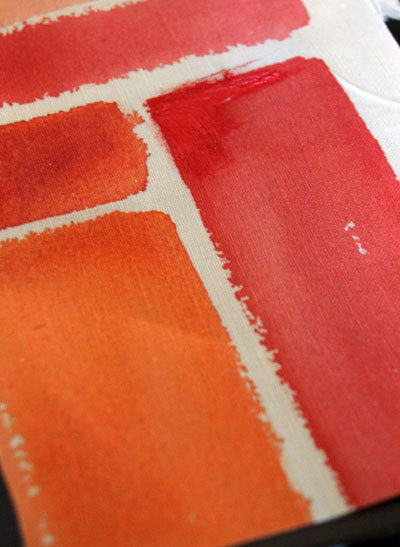
But soon enough I realized that the texture of paint brush strokes is really the look I was going for, and before long I had huge globs of paint on my square brush!
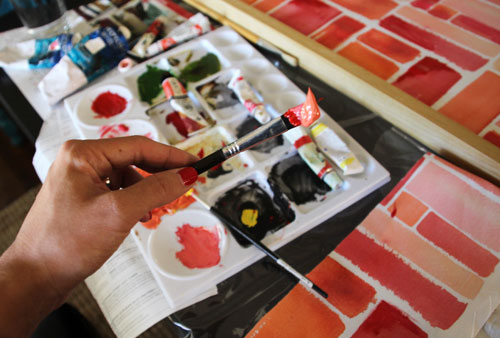
(My paint tray has plenty of dried paint in greens and blues and what not, but I used just reds and oranges and yellows for this project).
I slowly began to fill the canvas until nearly all of the squares in the pattern had an accent of real brush strokes (I like the look of highlighting or shadowing one corner).
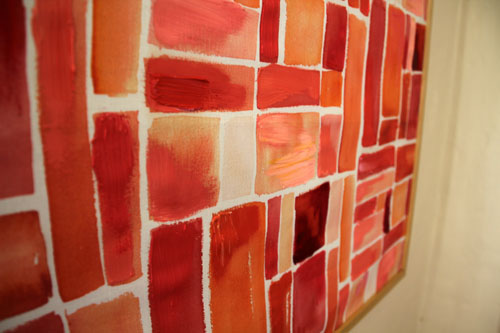
The project took me an hour, maybe two. Which, in the art world, is like running a marathon at a sprinter’s time (you just can’t beat that!).
I really really love to paint. I don’t have the time (or maybe I should admit that I have had the same half finished canvases in my garage for years – one that’s maybe 15 years old?) but I do have the passion. Maybe a hobby for when I retire ;).
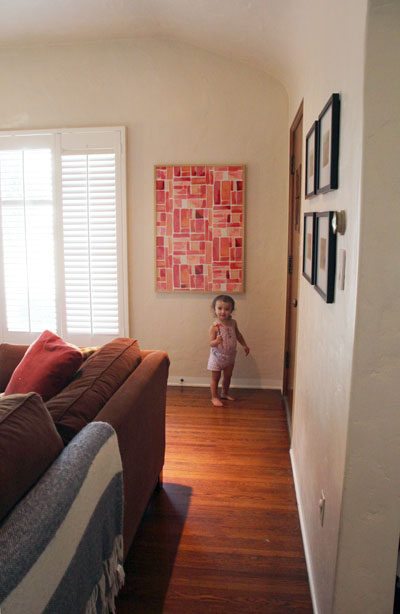
Liv helped me hang the piece. If you look closely you can see a tiny little hammer in her hand.
In case you’re curious about the door, here’s a shot that shows that the stopper halts the swinging front door just in time. The door couldn’t physically swing that far but it does make me a little less nervous knowing that there’s no glass involved with this art, either.
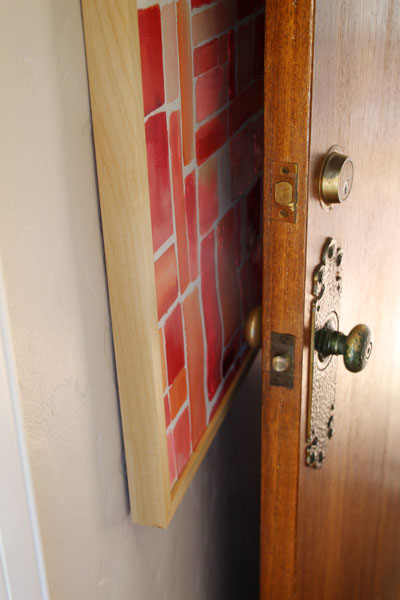
You can also see here how the weight of the paint on the fabric has caused it to sag a bit. I should probably go back and restretch it – or should have made that a final step before hanging. And to those of you familiar with Spanish-style homes, that’s the original solid door and hardware! It was produced in the 1930’s and while I don’t necessarily love it, it’s probably a crime here in San Diego to replace it.
Total cost for semi-handmade art? (Sandra Lee, anyone?) $25 for that great birch Ikea poster frame and $18 for a yard of canvas fabric from Spoonflower. I already owned the various paints and brushes (yard sales are a great place to pick up extras) so my grand total came to $43, which for such a huge piece is an awesome steal.

More living room posts can be found right here.


Hi,
You did a fabulous job with your home, it looks beautiful and I appreciate your taste and style in choosing artwork. As a matter of fact, I have a similar passion for canvas prints and a dear friend suggested that I get a print or two from http://www.magnipic.com/. I had some beautiful snapshots of the Alaskan wilderness and had the magnipic folks transfer them to canvas. They did a fine job and the prints now hang in my living room.
Hey, the canvas art looks beautiful and so are the pictures. Thanks for sharing.
This is so inspiring!!
I also LOVE that vase on your mantle, filled with those cool-looking green flowers – would you mind sharing where you got those? Thanks!!
Hi Jenna, Thank you! Those green billy ball-ish branches are called ‘Chestnut Branches’ and are from Crate & Barrel: http://www.crateandbarrel.com/chestnut-branch/s566047
how great is that art. you are deserve for it. because its a awesome
I LOVE this! I have been thinking of hanging framed fabric in our kitchen for some time now, and now I’m even more inspired to do so. I love the texture your paint adds — a very creative touch!
Thanks so much, Katy! Good luck with your kitchen project!
Fantastic idea! Spoonflower has so many amazing fabric options. I love this.
Thank you, Jennifer! Spoonflower fabric is absolutely delicious. So much to choose from!!