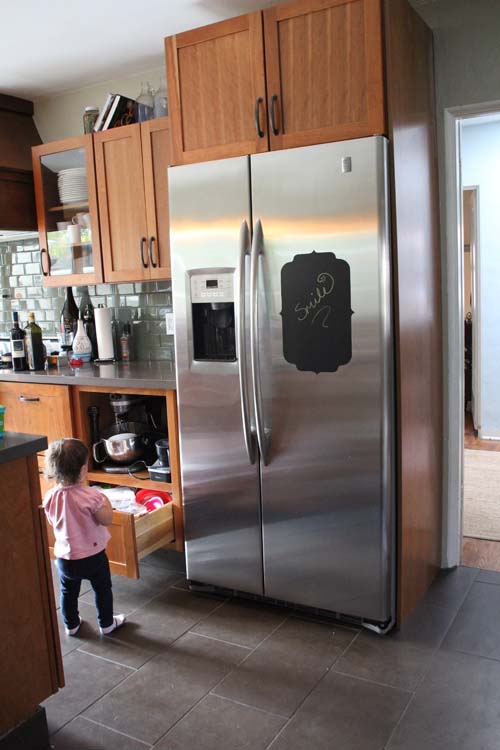
Have you seen those adorable chalkboard decals floating round the web? I was initially inspired by this one, but decided that it was a bit ornate and pricey for our space. So instead I ordered a long sheet of chalkboard vinyl off of Amazon and made my own.
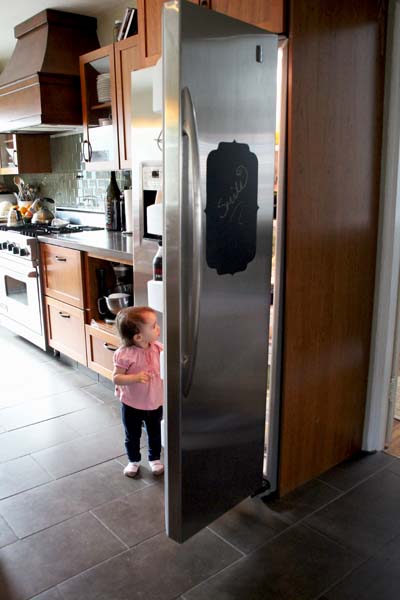
Our fridge is stainless steel so it doesn’t hold on to magnets for lists or invites or pictures that we want to hang. It’s usually nice to keep it clutter free (and we actually have a little white board for proudly displaying invites, cards and Liv drawings in the corner of the kitchen) but I thought a memo pad for the fridge would be nice.
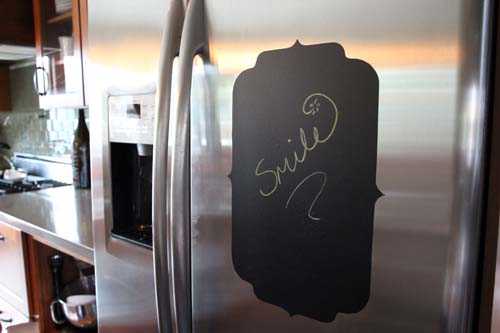
It’s proved to be a pretty little addition to the space, too!
************************************************************************
DIY Chalkboard Decal
m
To create the chalkboard memo pad, I designed a little swirly edged rectangular shape in Adobe Illustrator and printed it out on 16×20″ paper (here’s a link to download my high res version). The graphic ended up being about 12×18″ to accommodate the size of the vinyl.
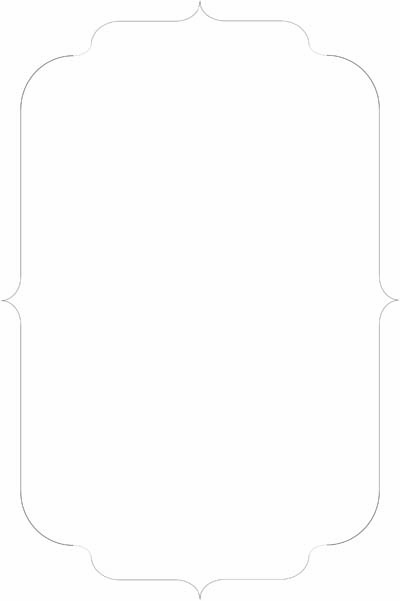
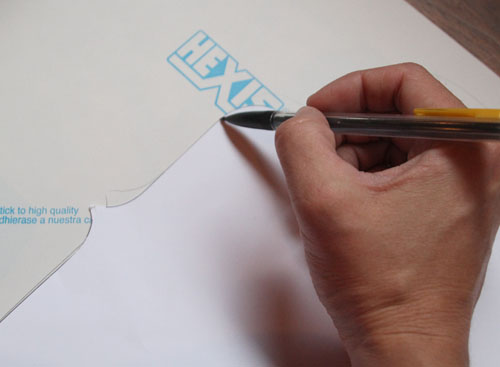
Then I cut the above out and traced it onto the back of my vinyl paper.
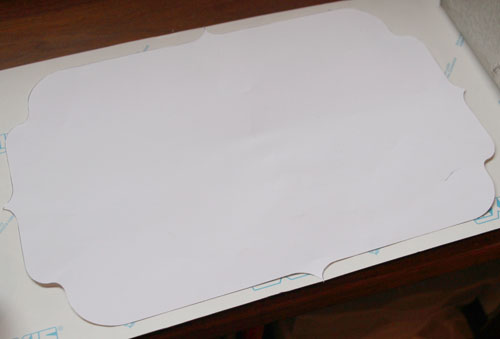
And then carefully cut out my vinyl decal.
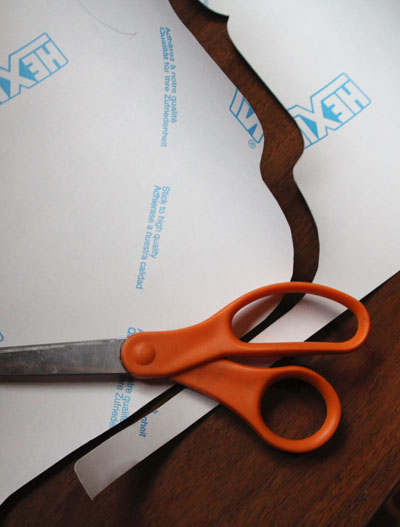
Easy peasy.
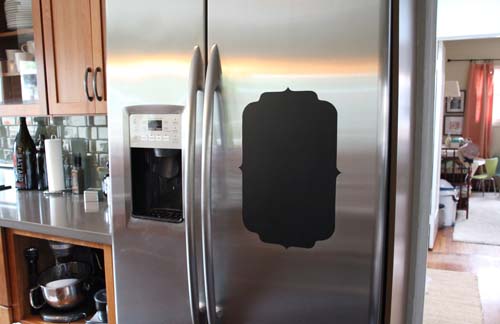
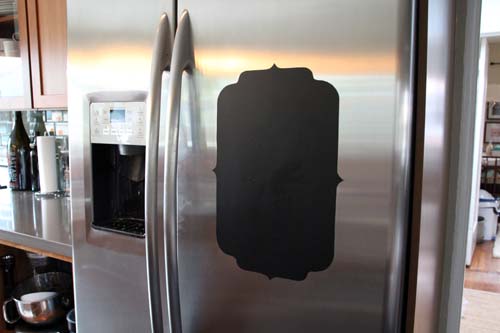
Attaching to the fridge took a little bit of time and a lot of smoothing (my Driver’s License worked great for slowly smoothing out bubbles as I applied the decal). I used the ice and water fridge door insert as my guideline for where the decal should sit on the door. This stuff is completely repositionable! I must have pulled it off and reapplied it 5 or 6 times before settling on the final placement.
Will the vinyl decal leave a mark when it’s removed? I love my fridge too much not to double triple check! The packaging said that absolutely no residue would be left behind, but I tested anyhow.
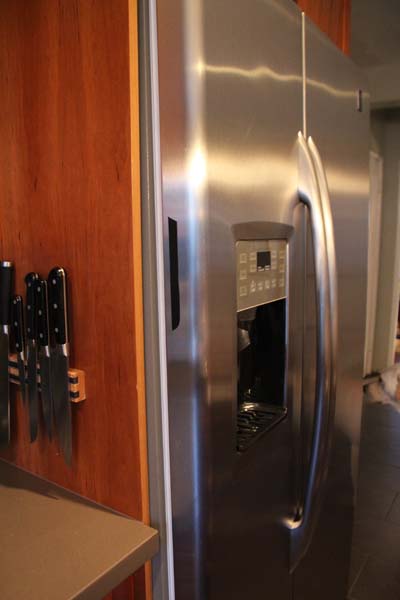
I cut a little strip of the decal and left it on the side of the fridge for a couple of hours and no residue – and then a second strip for over two weeks! with no residue to be found when I gently pulled the decal up.
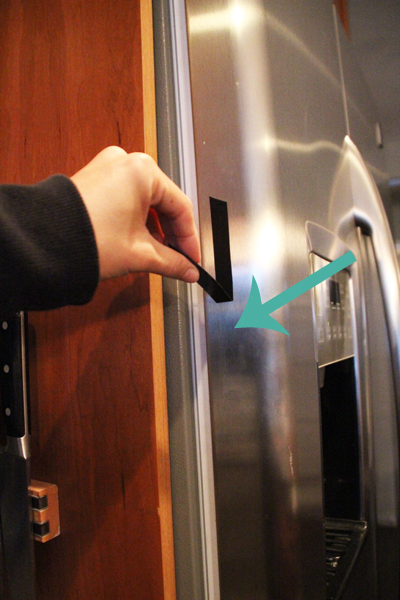
There was a faint outline of where the decal had been placed, but I think it was a little bit of moisture build up because a dry cloth was all it took to gently wipe it away.
************************************************************************
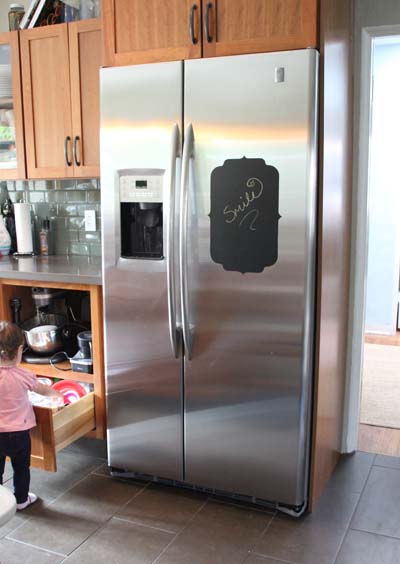
Now the memo pad is available for little grocery messages or inspirational reminders. The easiest way to memorize a helpful quote or saying is to see it everyday, after all! I think that that probably becomes especially useful as kids get older. But, if we change our minds long before Liv can read, I can rest assured that this baby should come off with no problems and no damage, at least as far as our particular fridge is concerned.
Kind of adds a little something, don’t you think? A little curvy art to a big grey box has a nice look to it.
No eraser needed if I want to remove the message, just a soft cloth and a little water and it’s completely gone. Not a trace of chalk left behind. In that sense it’s not really chalkboard material – no opportunity to screechingly scratch nails (thank goodness), the decal is actually more of a vinyl feel.
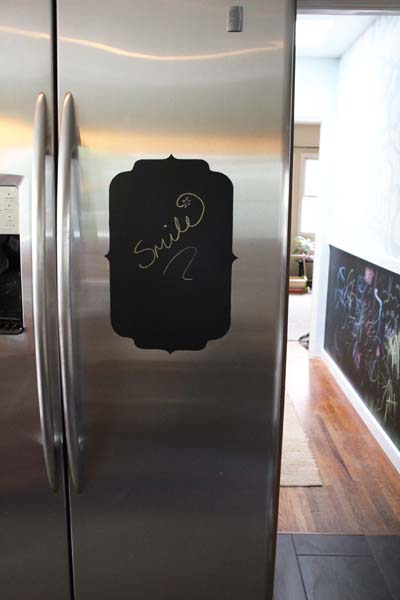
Now both chalkboards are in full use at the house! Liv loves her kid-friendly height version, and my list-making side loves my kitchen version.
If you’re not interested in making your own, here are some great Etsy options, too! There are so many great options out there.
But now back to the refrigerator, which Liv finds incredibly fascinating. So many good things come in and out of it all day – I wonder what sort of magical box she must think it is.

All kitchen makeover posts can be found right here.


Nice idea. Having chalkboard decals on refrigerator is good then using sticky notes.
Design With Vinyl.
Great idea!! I love it!
I love the decal idea! It looks great.
Thanks, Jennifer!
Love the decal idea! It looks great.
Well of course you made your own! (I like it much better than the fancy version) Once again Morgan, thank you for a wonderful tutorial for the rest of us to follow.
Your little Liv looks so cute in this pic! She looks like she’s going to be a tall girl!!! :O
Haha, thank you! Yes – I had to give making my own a try. And Liv will likely be tall! She’s already over half my height at 16 months and her Daddy is 6’3″.
Love your memo board! Our fridge is black and textured, so wouldn’t work on mine, but surely I can find SOMEWHERE to do this. :)
Yes, definitely! Would look super cute on a kid’s bedroom door (even the backside) or on the inside of a kitchen cabinet :).
Hi,
I really like the chalkboard Idea… I made one for my son, he has a desk that he can paint and use chalks as well.
Finally I met someone from San Diego blogging about home improvment and I love it! I live in San Diego as well and we just bought a house , 7 months ago. Hope we can become friends :)
Leila
Welcome, Leila! It’s nice to see another San Diegan around here! Congrats on the new home purchase, too :).