Liv’s a little young to fully appreciate how fun it is to dye Easter eggs, but I was excited about the idea (it’s been too long since I was a kid!) so I decided to give it a go anyhow.
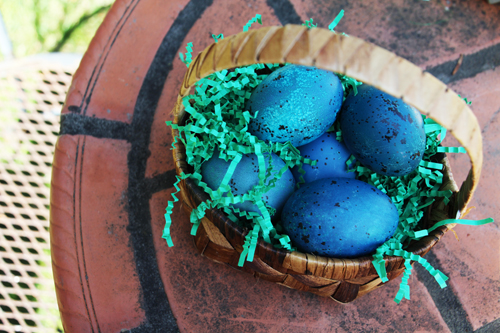
I wanted to keep it simple with whatever we could find easily available in the kitchen, so my first attempt was to create my own natural dye using this awesome tutorial. Vegetables, fruits and spices can create some pretty neat, saturated colors, check out these beautiful examples! And I’d imagine older kids might find it pretty neat to see how dyes and colors were originally derived.
My goal was blue speckled eggs, so I defrosted a frozen bag of blueberries from the freezer and boiled them down (with about two parts water) into a rich, dark liquid. Sadly, after just a few hours my blueberry concentrate left my eggs looking black and rotten…
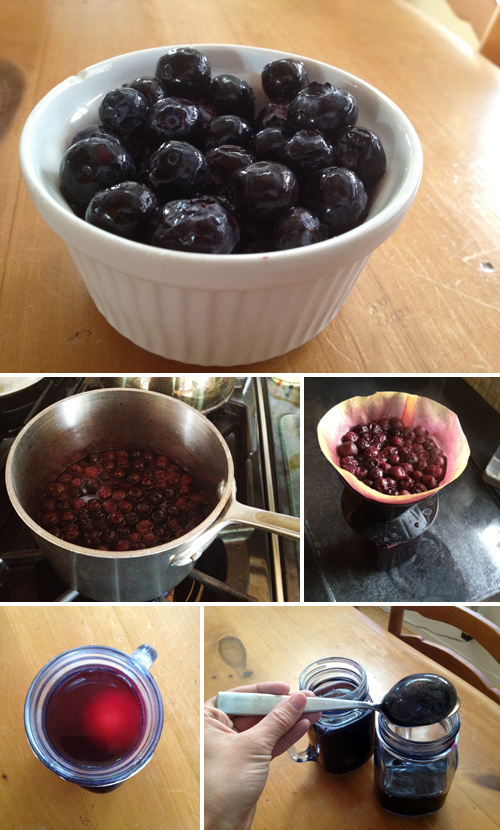
Muahhhhahaha, perfect for Halloween! So blueberries aren’t the way to go, but I would definitely try this method with another fruit again in the future!
Plan B: trusty food coloring + vinegar.
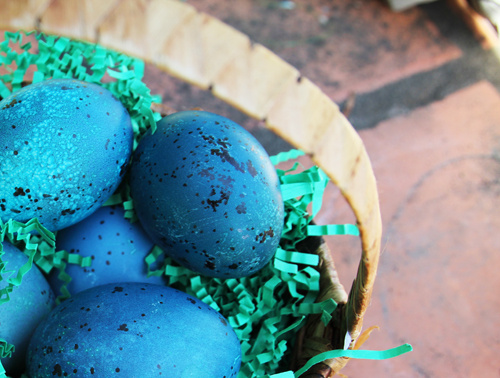
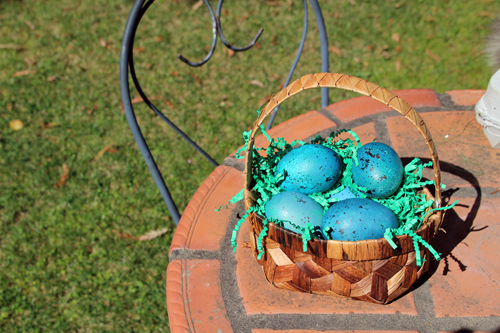
Two hours later and the eggs were looking quite blue and quite beautiful! I dyed a mix of white and brown eggs from the fridge, and I actually prefer the darker tint of the brown underneath that very saturated blue.
To achiever the speckled egg look, I improvised brown dots in clusters and speckles with a brown sharpie once the eggs were completely dry.
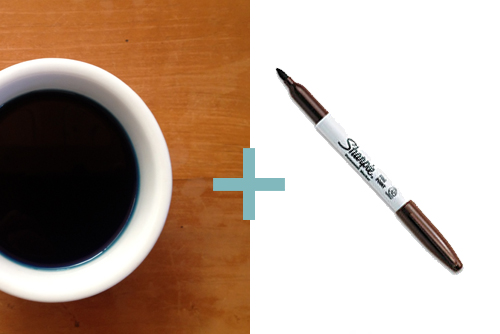
Such an easy project and such a fun result!

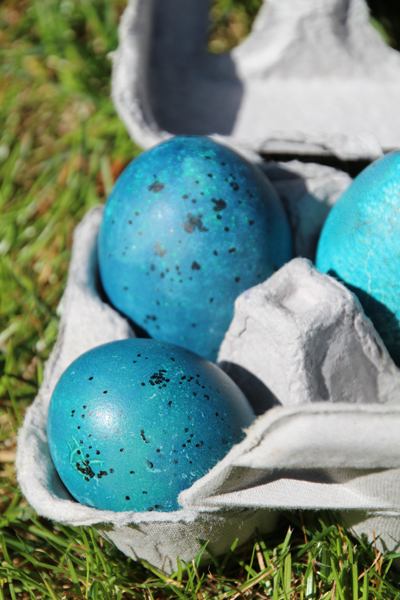
We carried the eggs around the yard for a bit, unloaded the bunch from a basket and filled it back up again.
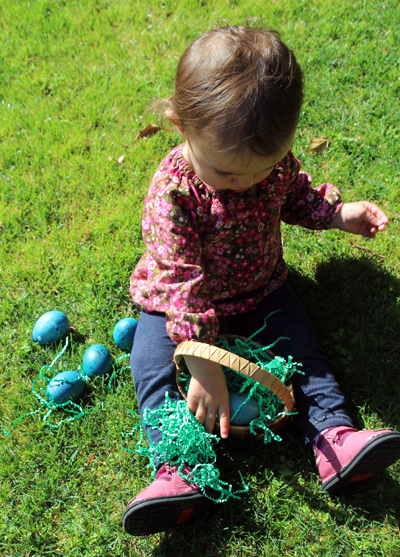
We’re practicing for Sunday.
We also made a few simple solid yellow and green eggs, and then a few polka dotted versions!
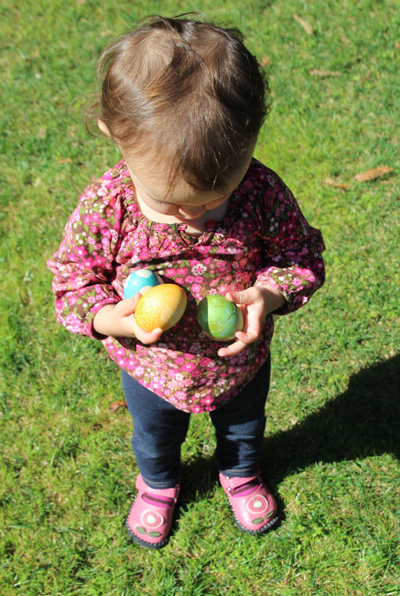
Egg hunting under way…
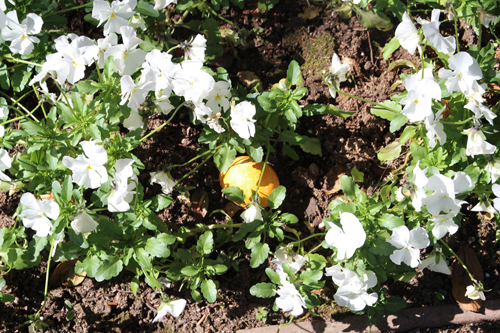
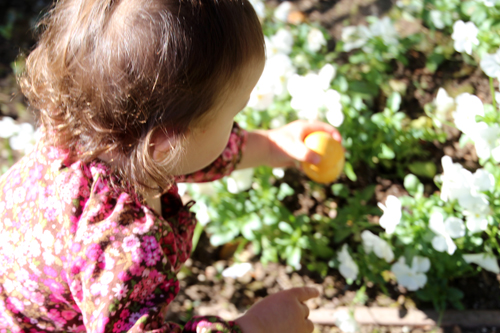
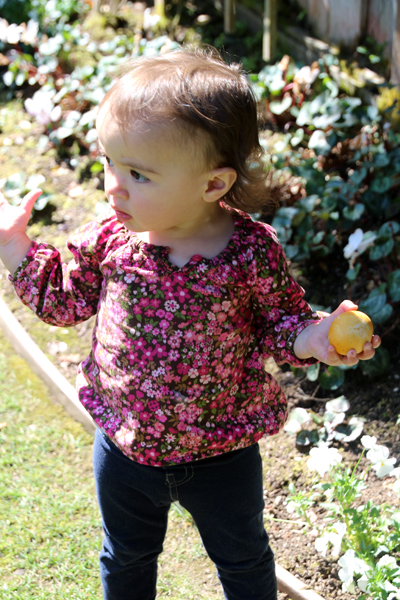
Here she’s wondering ‘where are the rest?’, Liv just picked up the two hands out posture when she’s asking a question in baby talk, it’s adorable!
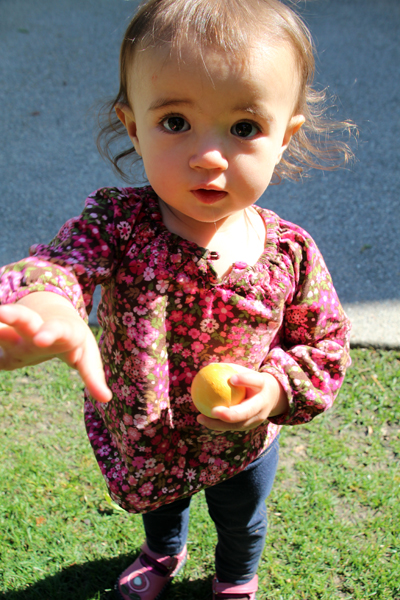
Look at those big brown eyes! What a cutie.
And then mid outdoor play time, Liv realized that she could smash the eggs!
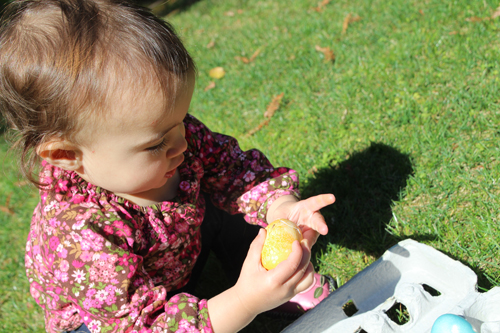
And that if she squished them between her palms just right, pop! The hard boiled inside would come bursting out.
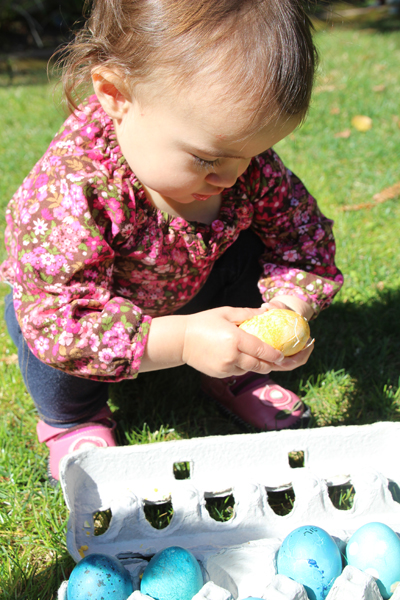
A half dozen smashed eggs later and our hunting adventure was officially over. So much for keeping these guys around until Sunday ;). But they served their purpose and we had great pre-Easter fun.
A few more reminders of those pretty speckled eggs…

*Sigh*
The polka dotted eggs were a fun project for us to tackle together. I covered a few eggs in small metallic smiley face (they have the best stick) and round office label stickers before letting them sit in the dye. When they were finished and dry, Liv helped me pull all of the stickers off.
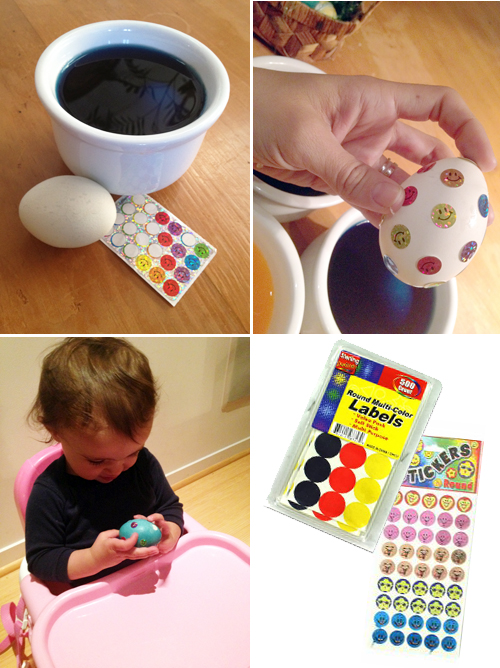
It is tough to get a clean circle without any blue leaking underneath a sticker, but the dryer and more room temperature your egg is, the closer you’ll get. Here’s a great tutorial on polka dot eggs, check it out if you give these guys a try!
Have a wonderful Easter weekend! Hallelujah, He is risen!


I don’t know what’s prettier…Liv or the eggs! Hope you had a great Easter!
Oh your eggs turned out beautifully!! So glad that I found your blog!
Thank you, Alice! Welcome :).
Liv is such a cutie! It’s so much fun to be a part of their firsts, isn’t it? I love the blue eggs, so pretty, such a rich color. Happy Easter- He is risen indeed! :)
Thanks, Sheila! We had such a fun Easter and she LOVED hunting for eggs!