I just recently realized that I haven’t had a chance yet to share about the cake from Liv’s first birthday. It wasn’t so much the cake really, that was a yellow box mix (I figured Liv wouldn’t know the difference), as it was the super easy frosting and polka dot fondant decorations that made it a favorite of mine.
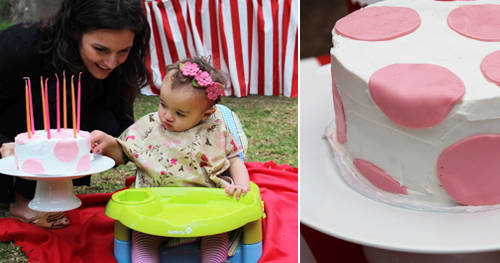
And I think Liv liked it too.
I’m a big fan of baking my own cakes and I think that sometimes fondant (or icing, food coloring and all of that stuff) can be mistakenly daunting. My very first experience working with fondant was for the biggest cake I’ve ever made – a wedding cake for 250 for Kev and I’s own big day nearly five years ago.
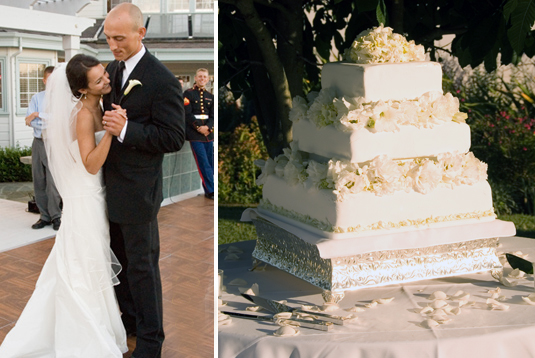
(I have some great pictures of baking that cake… I need to track those down…) I had always wanted to make my own cake and I researched and researched before finding myself elbows deep in flour and cocoa two days before the wedding. For the record, the cake was a chocolate espresso with a rich chocolate ganache filling, and it was delicious. I’m so glad I stuck with that little promise to myself, even if I stayed up through the wee hours of the night trying to produce it and an entire diy wedding on time.
But since then I’ve learned more tricks of the trade including taking a fondant flower class that introduced me to the art of water coloring actual fondant petals. Too time consuming. But really, really pretty.
Liv’s cake didn’t take much in the ways of preparation. I shelved the homemade idea because I knew that she wouldn’t know the difference – at all – and instead baked up two cake rounds out of a yellow box mix, eggs and oil. My white frosting was right out of the can, too. Sometimes you just have to keep it simple, simple. When it comes to round cake pans I love 6″ best because it’s smaller than the traditional and gives the cake a more straight-from-the-bakery look. I prefer working with the perfectly vertical sides of a spring form like this one. It’s makes everything worlds easier. I also suggest investing in two good pans so that you can bake multiple layers at once – and the better the pan the longer it will last (I have a super cheap one that rusted after one use – spending a little extra is definitely worth it :)). 6″ is my go-to and I use it all of the time.
My first step was to cut my three layers of baked cake. A tip here is to use your serrated knife as a measuring stick to create little teeth marks all the way around the cake before you start cutting.
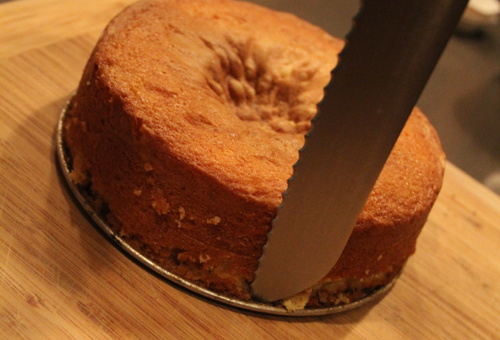
Sorry for the dark night time pics, if I had thought this out I would have finished this guy during the day so the pictures weren’t so dark.
Using one hand as a stabilizer, I gently saw through the cake following my measuring guides. And don’t worry about those sunken holes that you sometimes see in the middle of cakes right out of the oven, it often has to do with the temperature of the eggs when mixing up your batter and can easily be patched with scrap cake and frosting.
The below picture looks crooked but that cake split into two near perfect pieces.
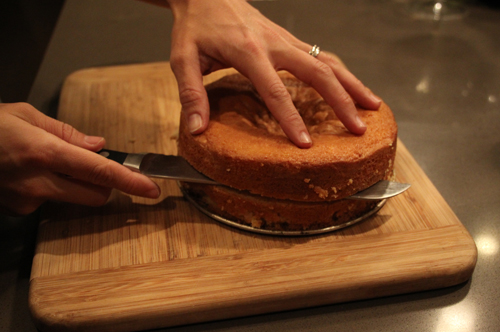
Had this been a cake for an adult birthday party I would have doubled my layers and would have made them half as thin for the prettiness of it, but the thicker the layer the sturdier your cake. And kid’s cakes can be made less pretty… because they’ll be torn apart rather than sliced :).
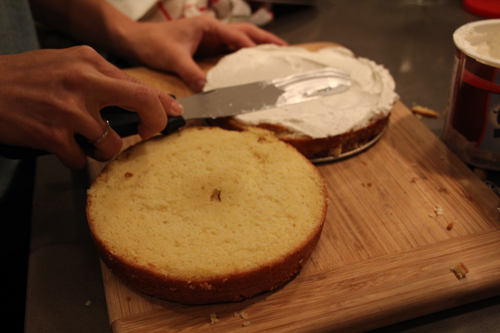
I repeated the above step one more time to end up with three layers and lots of cake scraps. All middle layers received a good smattering of frosting using a frosting spatula.
Using my cake pan as a guide, I cut out a round circle of parchment paper just slightly bigger than the cake layers that will now serve as my new base. This means that I can transfer my frosted, messy cake to my clean white cake pedestal (that you see in the party pics) when the frosting of the cake is finished.
Another trick is to frost your cake on your serving tray but to wedge rectangles of parchment paper under the edges so that at the very end you can pull those out for a clean, nice presentation. I didn’t want to travel with the cake on the pedestal to the park, so creating a parchment paper base that I could slide onto my cake stand was the best option for me.
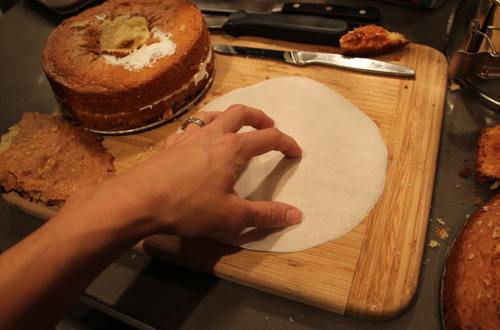
You can see in the below pic that I slid my third single layer onto the parchment paper base and then slid the first two layers on top of that first layer. If I had a had a fourth, I would have made sure that that was upside down as the very top layer. (For stacks, you want to make sure that two flat edges are butted up against each other and two tops are against each other – rather than a flat and a top, if that makes sense).
If I was creating a tiered cake (like I did for the wedding cake) this is where I’d add several sturdy dowels to the center of the cake that are the exact same height as my tiered base.
After my layers are stacked with a layer of filling in between (you can also add berries, nuts or jams to be creative), I begin applying my crumb coat. The crumb coat is essential. It’s my very first layer of thin white frosting and it traps all loose crumbs from showing up in my final coat of frosting.
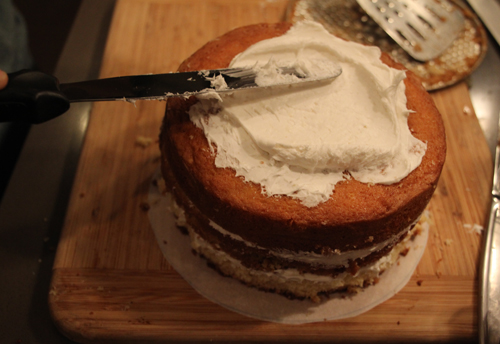
This vertical shot shows that one of my layers was trimmed to size to match the other two, this isn’t a problem if you add a crumb coat because this first layer of frosting will secure all raw cake edges, too. Sorry for the awkward angle, the cake is actually quite straight at this point.
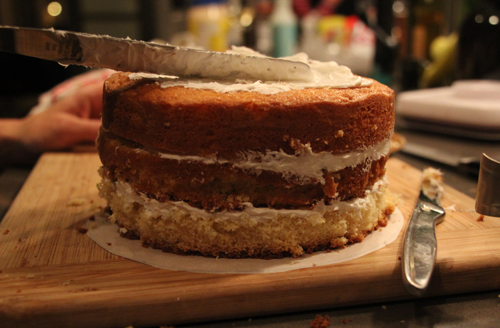
The crumb coat doesn’t have to be particularly thick or pretty, but it should be flat and even because it will serve as the base for the next layer.
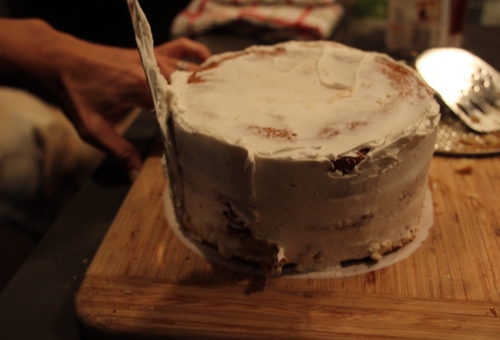
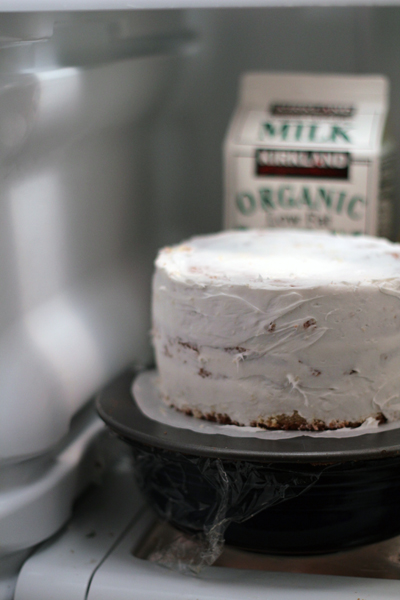
Into the fridge my crumb coat goes for at least an hour.
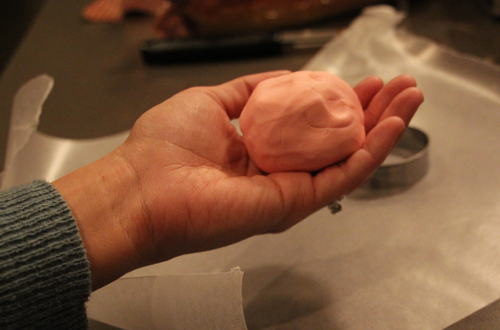
While the frosting is hardening up, it’s time to create my fondant dots. I began with white fondant (I have a huge 10lb bucket that I keep around for all events – this stuff doesn’t go bad – but you can find smaller quantities online or at a craft store like Michael’s) and slowly kneaded in red drops of food coloring until I had a nice pink.
Kneading fondant is a cross between taffy and play dough. It starts as the former and slowwly turns into the latter.
Next I used a rolling pin to roll out the fondant ball. If your fondant is sticky use a light amount of corn starch not flour to help thicken things up.
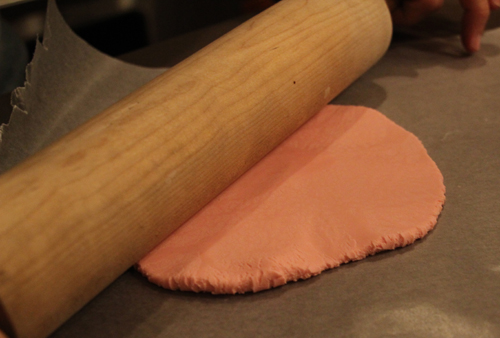
There’s no rule to how thick the fondant should be, but I generally go for something like the thickness of a quarter or two.
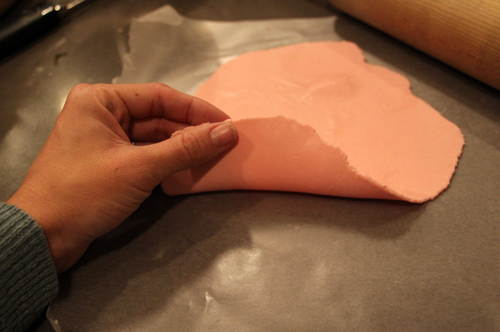
Using a cookie cutter I cut out all of my dots for the cake.
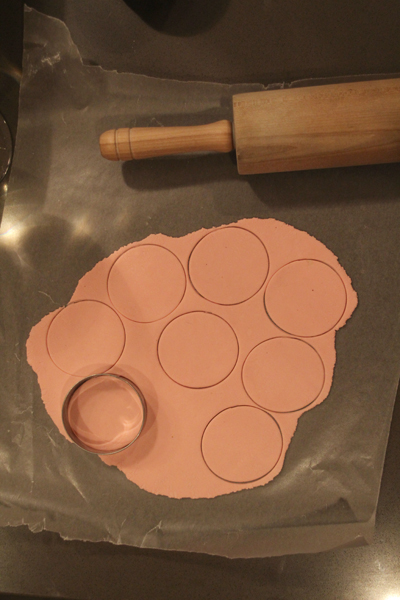
Then it was time to add them to the finished product.
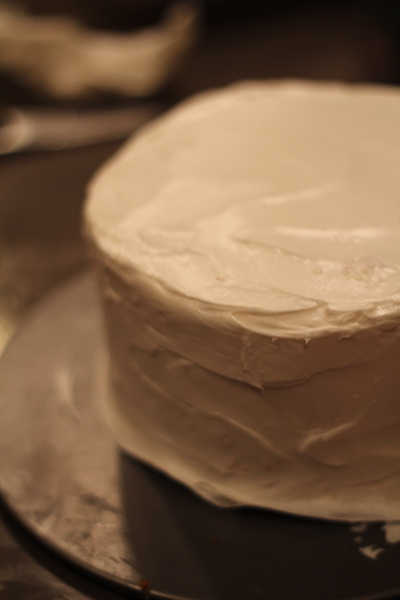
First I pulled my cake out of the fridge and applied a final layer of frosting. This one is 10x easier to smooth on because of the crumb coat – that extra step is worth it, trust me!
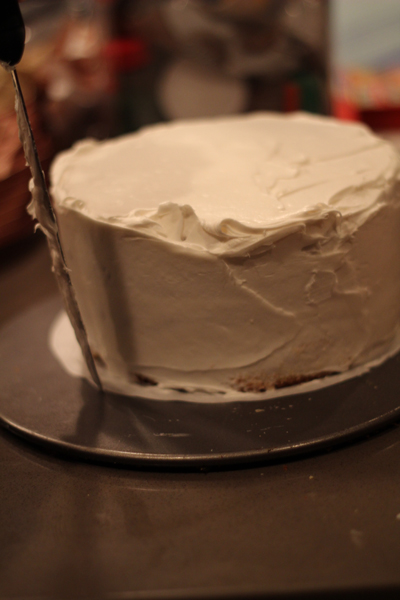
Keep smoothing until you have a surface that you’re liking. My standard routine is to gob on a lot of frosting – and then smooth the top followed by all the way around the sides (one fell swoop) and then repeat repeat until the edges are sooooth.
For my wedding cake we actually rolled out huge pieces of fondant for each layer so that all edges of the cake were seamless. But that’s not so necessary for a birthday cake. If you’re working with buttercream -I’m using store bought icing here – use Viva paper towels (the only paper towels without a design imprinted) to smooth out chilled buttercream, works like a charm!
Next I added my polka dots!

And refrigerated one more time.
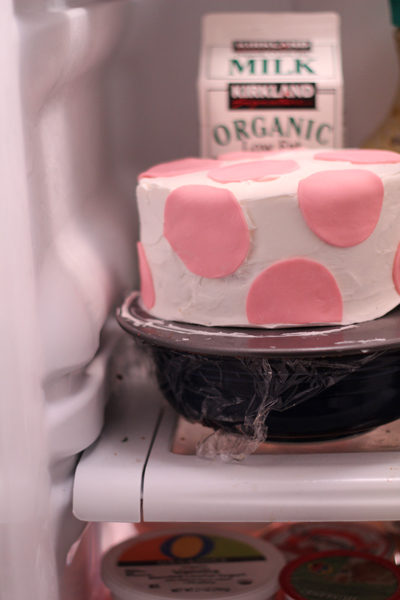
The cake traveled to the park in a brown cardboard box and was then added to the dessert table.
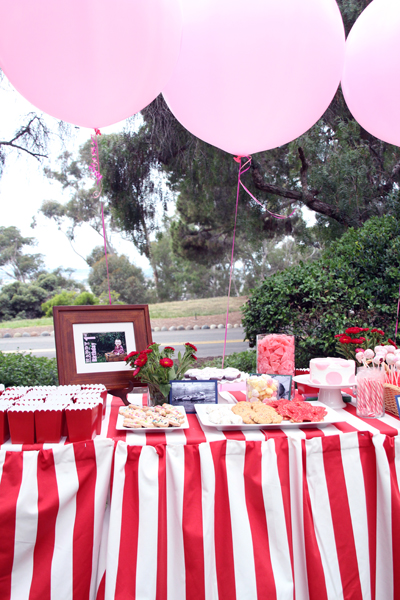
It was a chilly day so I didn’t have to worry about melting, but that’s my last tip. If you opt for a whipped cream or buttercream frosting and it’s going to be a warm day? Don’t put that cake out until about 30 minutes before you’re ready to serve (transfer from a fridge to the table) or it will begin to run.
In general, homemade frosting that includes butter, shortening, egg whites or whipped cream will not survive well out all day when it’s warm, but fondants, marzipan, glazes or fresh decorations such as flowers or fruit will do great.
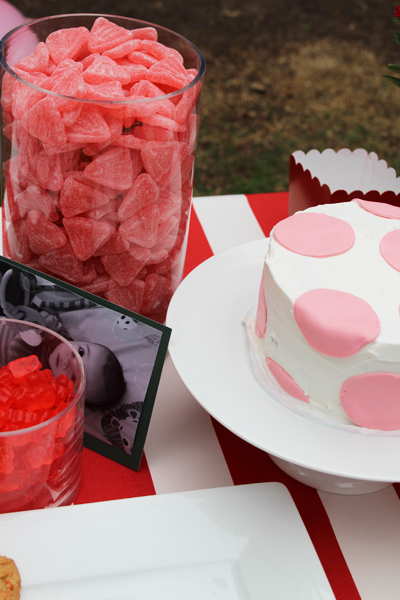
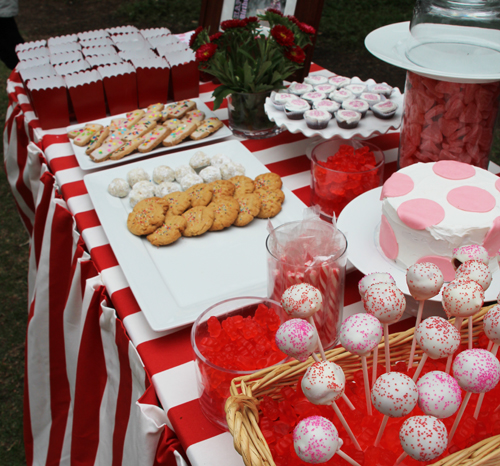
A million, bazillion photos later ;).
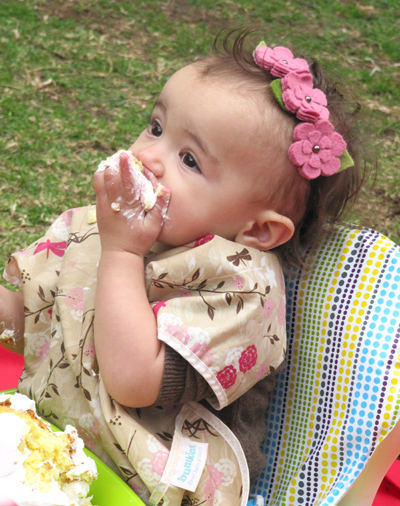
But one round of Liv tentatively trying out this sugary treat:
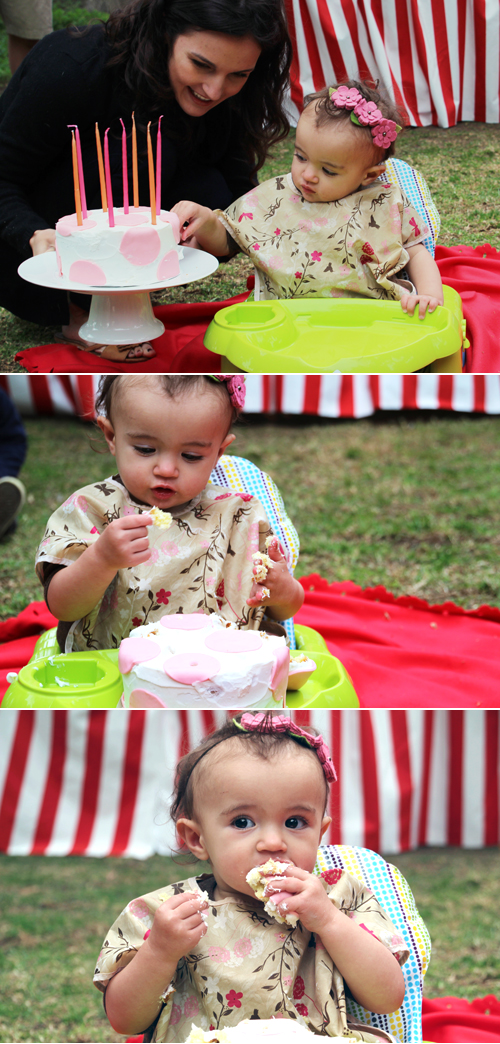
I’m not sure she knew what to think! And I was sure to take off those fondant dots when she really started diving in, because as mentioned – those things can last literally for. ever.
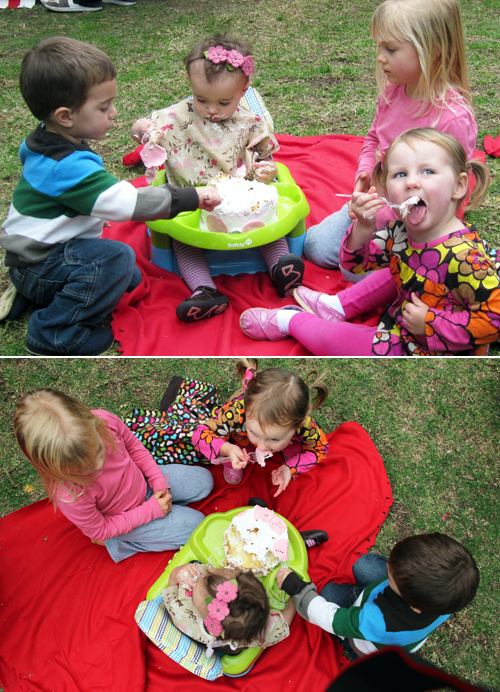
And when there’s too much cake for one, invite your friends!
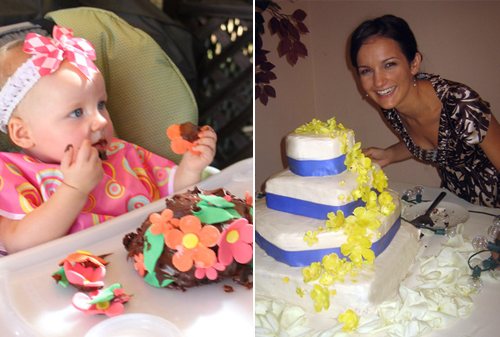
Just for fun, here are couple of other cakes that I’ve helped friends with. On the left, a birthday cake with fondant flowers (made with food coloring just like the polka dots and dried in a cupcake tin to keep their shape) and a wedding cake covered in small painted yellow daises. The wedding cake was coated in buttercream and not fondant, it’s an example of a little melting in action. PS I’m so not a professional at this, just really enjoy a good challenge every once in a while. No judging the imperfections ;).
And there you have it – way too many words about stacking, frosting and using fondant on a cake. Whew. But hopefully it makes decorating with fondant look as easy as pie. I should post an easy tutorial on flowers… those are so simple and perfect for kids.
You can make a cake as homemade as you’d like – from handmade cake batter to freshly mixed frosting to custom decorations, or substitute a couple of the above with store bought components as well. Since I didn’t make Liv’s cake from scratch, the only time consuming part was the frosting and polka dots, and even that was just a couple of hours of work (fun work) to create. And I promise, everyone will think it’s awesome that you did it yourself.


That is beyond awesome that you made your own wedding cake! Gorgeous!
I am planning on making my son’s first birthday cake in May!
So it’s fun to see you made one for your daughter on her first birthday! It’s so cute!
:)
I love Liv’s bib–so so cute!
Great tutorial! I love homemade buttercreams, etc, but completely stopped doing anything like that for the kid’s daycare. The little ones really don’t notice or care about the flavor difference! Thanks for the tips on the crumb coating. I definitely need to try that sometime.
Mmmm…I shouldn’t have read this while I was hungry. Now I want to go bake a chocolate cake :D
WOW, you are one talented and brave lady! I mean even your wedding cake, so impressive and gorgeous!
Thanks, Jamie! It saved me a bit of $ but was a lot of (well worth it) work! :)
Okay, I learned so much from this post! Crumb layer = brillant. I’m not much of a cake decorator (obviously) but I love a pretty cake and will definitely refer to this post next time I make one. What a cute party!
Thanks, Katie! Crumb coat is a must! Good luck with that next cake!
Adorable cake, adorabler Liv. :) Thanks for the tips. I don’t do much cake decorating, but my sister does and I’ll pass this along to her. I didn’t realize that Viva pt’s don’t have a pattern, good to know, even for everyday use. I don’t like my pt’s to be a design element in my kitchen! :)
It’s funny because I had to check 3-4 stores for Viva paper towels for a recent cake! They’re hard to come by (I guess) but magic when you use them! So helpful for smoothing.
Love the cake and Liv is so beautiful! In 2 months and a half we’ll celebrate Daniela’s first birthday and I’m not sure I can giver cake… Isn’t it too sweet???
It is sweet but you could make a healthier cake such as carrot minus the heavy butter and oil. There are great options out there. We decided to let her enjoy her first sweets on her first birthday but that’s a personal preference – she would have devoured that whole thing if we had let her! :)
Thanks, Kellie! The other was for Anna & Hank :).
I still can’t believe you made your own wedding cake!! So amazing!! Who’s wedding cake is the other one? Also very pretty! Jason’s favorite dessert is cake, so I’m excited to try some new tips when I make him a cake :)
My trick for smoothing out your top coat of buttercream is to stick it back into the fridge or freezer until it is set a little and then take a piece of waxed paper and rub lightly. You will have a smooth cake in very little time!
Great Job on the cakes, they look fantastic.
Yes, that’s a great point! I actually use Viva paper towels when working with buttercream – thanks for the reminder!!
I have a small toy rolling pin that I use for the same thing, wait for it to curst up a bit then roll it with a rolling pin. Or I use parchemnt paper but same difference.
I made a friends wedding cake for 300 and decided that it was something I was definatly not going to do for myself. It took a day and a bit and was so stressful. Congrats on pulling yours off so nicely!