Hi all! Quick update – be sure you use a fabric paint for this project! My spray paint idea lasted just a few washes :). Though I love how EASY it was! Another option might be line drying, but who has time for that?
Here’s another little project that I finished up this week:
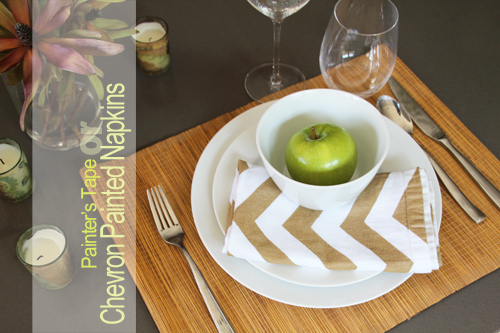
I was inspired to DIY my own cloth napkins after checking out these awesome gold chevron shelf liners (which I’m now dying to try out) that I came across on Pinterest. Aren’t they perty?
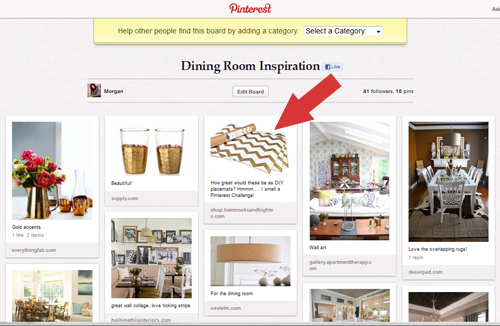
I thought something for the dining room table would be equally cool and considered placemats before finally settling on cloth napkins.
It’s all in an effort to finally start creating out of those great big pin boards I have over on Pinterest! And to participate in this challenge.
When it came to narrowing down which project to tackle this week I had a hard time choosing just one, so I actually attempted three that I plan on sharing with ya’ll – this being the first!
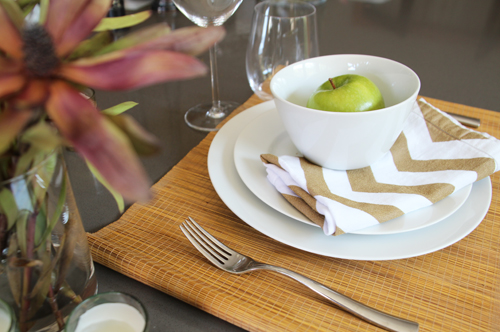
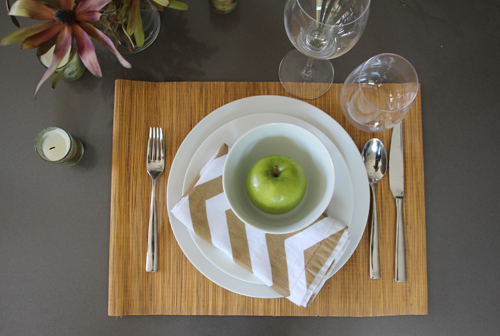
And I’m really thrilled with the results so far.
***************************************************************************
Chevron Painter’s Tape Cloth Napkins
m
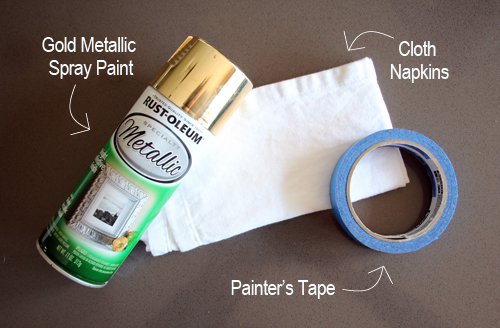
Materials: Rust-Oleum metallic gold spray paint (or fabric paint), cloth napkins (though you could use placemats or the like), painter’s tape, scissors
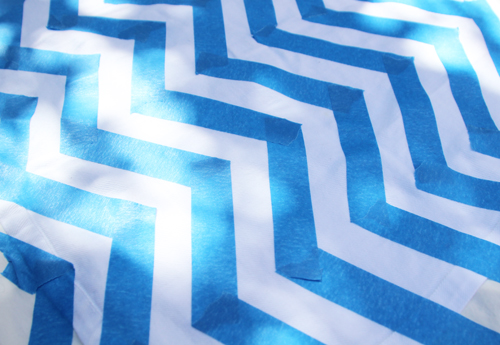
1. I began this project by marking off my chevron design with painter’s tape. I ended up eye balling the design making is a super simple process, though you could measure for more accuracy with a very light pencil mark to keep you on track (I would be nervous about pencil lines showing through the paint, so I’d recommend just little dots here and there if you opt for this route).
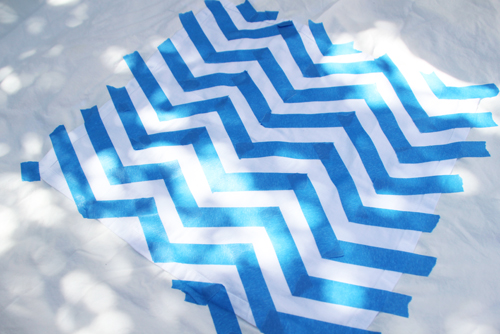
My drop cloth was also white so I apologize for the white-on-white effect, but you can see the thin edge of the napkin if you look really close. It was helpful to let the strips of the tape from the chevron design overlap onto the drop cloth to keep my napkin nice and taut for painting, too.
Here’s a close up of the painter’s tape application, you want to essentially be sure that the straight edge of the tape is in contact with the fabric with no ripped or squiggly lines.
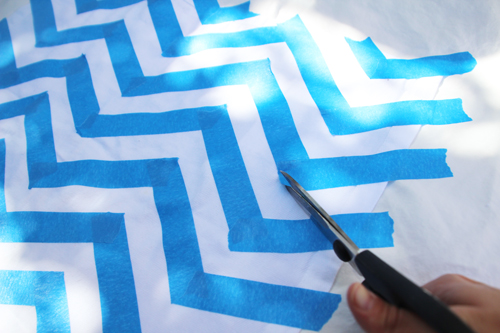
Scissors were useful for cleaning up some of those edges where two strips of painter’s tape connected.
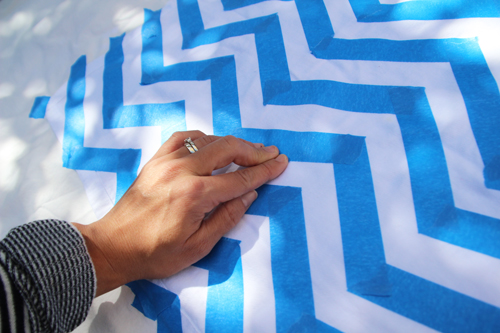
Another tip worth noting is that I found it really helpful to go over each line where the tape met the fabric to press down and really create a sealed off stick. You won’t want any gold bleeding through!
2. Next up was applying a thin coat of gold spray paint over the entire design (keeping the can about a foot above the napkin is the best way to create an even application without any drips – be sure that you’re spraying in wide, even motions too).
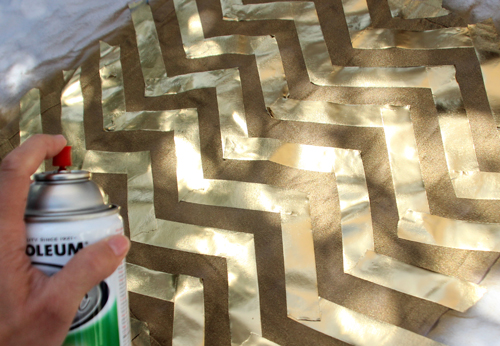
At this point in the process I was just really digging how the painter’s tape looked when spray painted – so shiny and bright! But alas a cloth napkin covered in shimmery tape would not be a useful napkin at all…
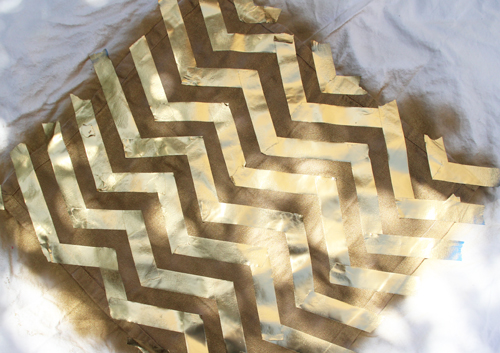
3. I let the paint dry for 20-30 minutes and then slowly began pulling up tape. It’s amazing how fast spray paint dries – no need to wait overnight which is always helpful in that instant gratification moment.
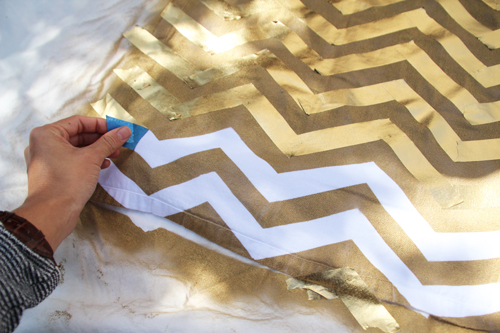
The Rust-Oleum website suggests not using a clear top coat on its metallic line so as not to dull the finish, but if you were using another paint color you could apply a final coat before pealing the tape.
I also attempted to research the ‘food safety’ of the Rust-Oleum metallic line of paint but without much luck – it’s safe to say that I wouldn’t use this cloth napkin as a lining in a bread basket and I’d definitely wipe my mouth with the other side ;). Same goes for babies, thankfully Liv’s not an everything-must-go-in-mouth kind of baby, but I won’t be giving her the opportunity to chew on these spray painted napkins either!
Here’s a little example of what happens if the edges of the strips of tape don’t meet just right at each intersection.
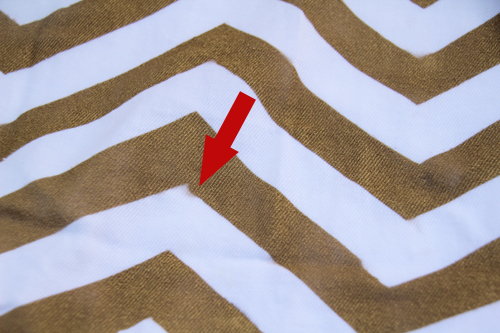
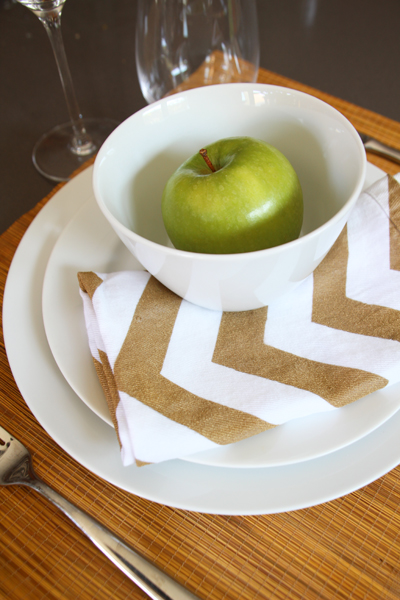
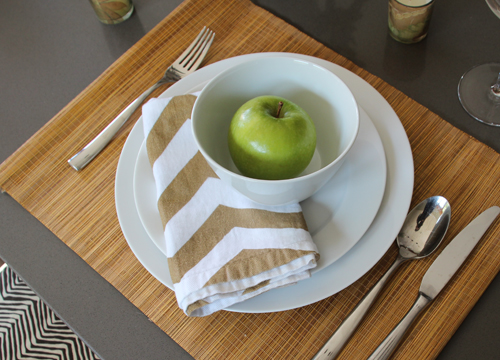
Other than a few hardly noticeable boo boos, we’re all done! So pretty.
***************************************************************************
I’m really digging the results! I haven’t tried washing yet so TBD if there’s any bleeding involved.
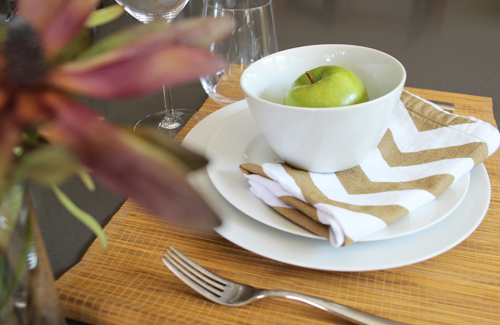
This was a very fast, easy project with just three basic steps, it could easily be replicated for a BIG party without a problem (so, so fast!) and I think that a set of these would look just stunning at a shower or even small wedding. Would also make a neat gift for Mother’s Day or as a housewarming present! Sort of like when I stenciled my winter cloth napkins.
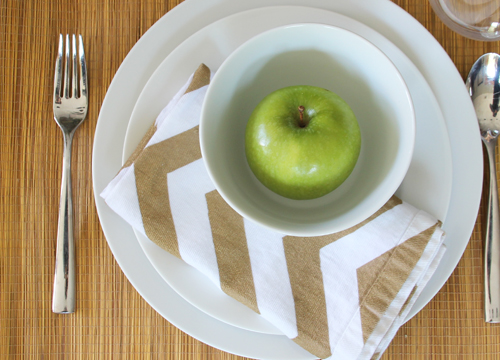
One Pinterest project down and two more to share with you this week!
PS My hallway wall is Finished! and I’m so so happy with how it all turned out – I’ll be sharing all of the details manana.


I love this project! but I have a question, can you wash it in the washing machine?
Hi Leyre! I would recommend fabric paint that allows for washing – just be sure you’re using the right kind of paint :).
Thanks! I´ll try with the fabric pait then! thanks for answering :)
I love gold.There is something about metallic & sparkle that adds instant glamour!I didn’t realize you could use that kind of paint on linens.Neat idea.
Thanks, Jaime! You know I might use a fabric paint with a sponge if I did this again but I must say that the spray paint did not bleed at all after washing!
These look amazing! I love the way you styled them too :)
Thanks Tamsyn! Doesn’t gold go great with green :).
I love these! I’m so going to have to make some too!
I am OBSESSED with these!! You’ve combined two of my favorite things chevron + gold. Love love LOVE!!!
These are so gorgeous! I am dying to try this!
Cute! I want chevron napkins too now!
~em at small girl, big world
beautiful!! I love them!
:) I liked the golden painter’s tape strips. Shiny.
Those look cute though! Got to love spray paint!
oh, and can’t wait to see the hallway tomorrow!!
Those are so so cute! I have to do that! Let me know how washing goes…
I love those! I would’ve never thought you could spray paint fabric. I mean, not in that cool way!!! Fabulous!!!
I put off a project last summer because I wasn’t sure if spray paint would stick to fabric. (Okay, I ran out of time, too!) Now you’ve got me thinking about it again…perhaps after finishing the two girls’ rooms!