The guest bedroom portion of the office is full of unwrapped presents, tissue paper, empty Amazon boxes, raffia, wrapping paper, scissors, tape… gift boxes, gift bags, gift everything. But I cleared it out to snap a few pics because there are officially four new curtains in the space!
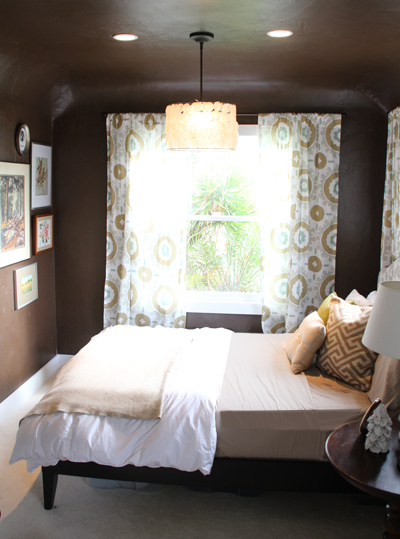
You might remember that I had initially attempted to hunt down store bought curtains or fabric (not-too-heavy because of the dark walls, not-too-airy so that they would still ‘ground’ the space) but none was to be found.
Then I decided to make my own design and my own fabric using Spoonflower. I designed a Suzani print in Illustrator and then pulled colors out of other spaces in the room – the turquoise in the new fabric bulletin boards, the browns in the grasscloth wallpaper and chocolate walls, and then a soft sage green to pull the two together. You can find the fabric here in Spoonflowers’ gallery (plus all of the different color variations I tried out).
It took so long to finally get the fabric because Spoonflower and I were playing send-the-swatch. They would send me three swatches and the colors would be all wrong, I’d adjust in photoshop and resubmit. Repeat that for about four more times and finally the ideal color showed up on my doorstep. Spoonflower has plenty of helpful color matching tools but really screen resolution can be so subjective – it’s hard to not end up with some crazy bright greens and marine blues when all you’re really looking for is subtle aqua. Spoonflower was great though, they even credited me for a crazy batch or two of samples (betcha can’t spot which ones below).
Remember this post? Who would have thought that I would have a complete change of heart just as I was clicking the ‘order now’ button and would end up choosing the lightest (color-wise) of the bunch?
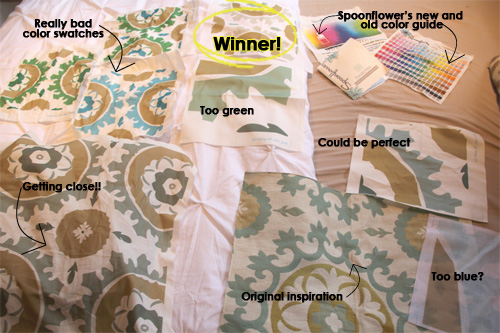
Here’s the funny mock-ups I made in Photoshop to test out the different colors.
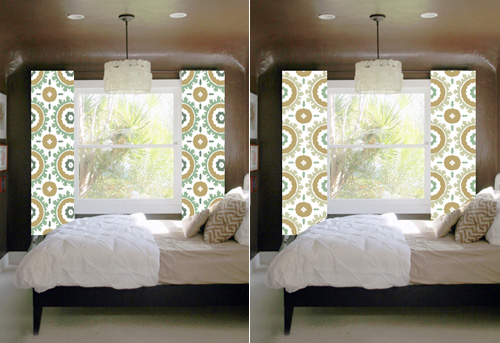
You might notice that I have just a plain white comforter on the bed now and not that pretty pin-tuck version (above) that I found at HomeGoods for a lot cheaper than the one that I love at West Elm — only problem was that it’s a king (the last size left)! and I tried to make it work (even considered cutting it and hemming it to a smaller size) but after whipping up my own version of the pin-tuck to cover a body pillow (leaning up against the headboard) I realized that I could make my own duvet cover for MUCH cheaper. That’s in the works.
So back to those curtains… the fabric from Spoonflower arrived! And I love it! To me it’s just perfect in the space. The sheen allows just enough light through and it matches so well with the dark brown walls, grasscloth, tan bedding and even wood furniture in the room.

Here’s a close up of how the light easily passes through the curtains to help brighten the dark walls.

After sewing up the curtains I love, love, love how they turned out.
But there is one small problem… I guessed (from the little swatch) that the new fabric would work swimmingly with the current headboard fabric. And I really guessed wrong on that one. :(

Here’s a close up of how the fabrics don’t play well together:
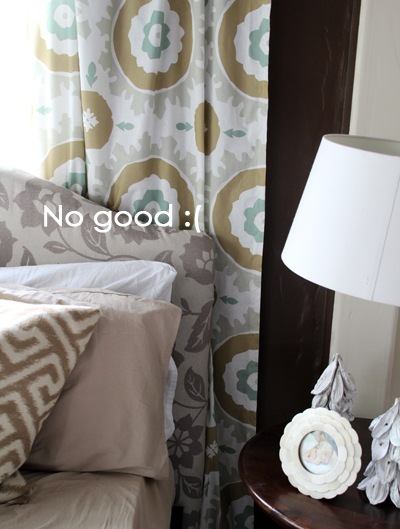
I guess maybe the headboard is too silvery grey with its cool undertone and the curtains are too warm with their bronze and tan colors.
SO the big decision is do I scrap the curtains for the headboard and put them in a different room (our dining room, perhaps?) or do I cover up my headboard (which I equally love!) in favor of the new curtains?
That’s going to be a tough one.
When it came to sewing the curtains I made an easy pocket at the top for hanging.
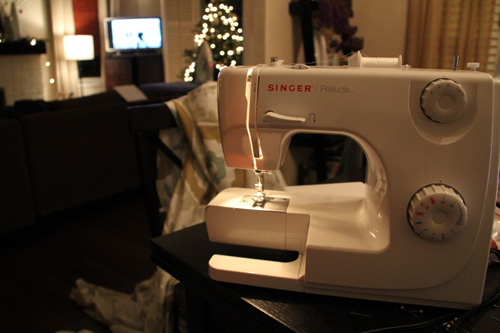
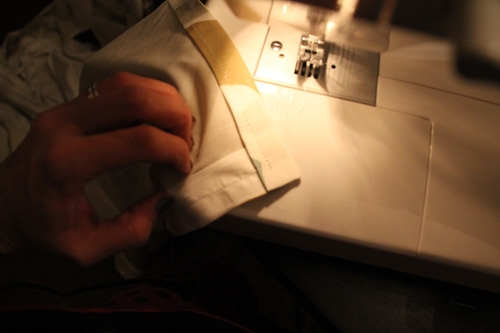
Good thing Liv is such a solid sleeper at night. My sewing hours these days are somewhere between midnight and 2am. That’s probably Late Night with Jimmy Fallon in the background.
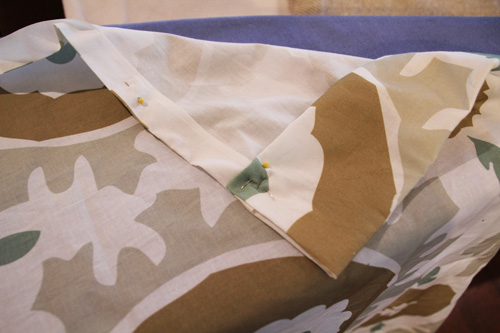
To make a quick pocket curtain out of fabric, I cut my fabric into four panels that were each the length of the curtain rod to floor + 5″ for top hem + 4″ for bottom hem. I pinned the hems into place (1″ for each length-wise side, 4″ for the bottom and then 1″ for the top) and then folded the top of the panel over to create a 4″ pocket (so that initial 1″ hem + new 4″ pocket is how I got my 5″ top hem).
Here’s a shot at one side plus the pinned pocket:
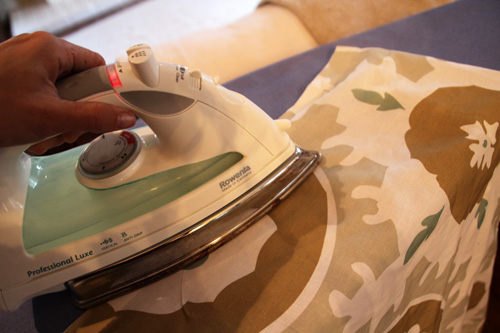
I then pressed those hems into place and pulled out the pins:
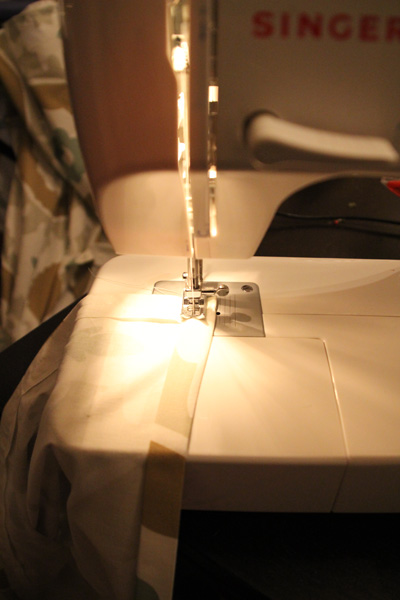
And then I sewed, sewed, sewed!
But here’s a tip that I’m sure you all know… and that I didn’t pick up on until three curtains in. To make a cleaner hem, fold your fabric once:
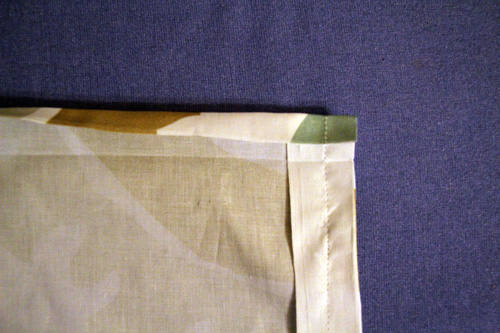
Press:
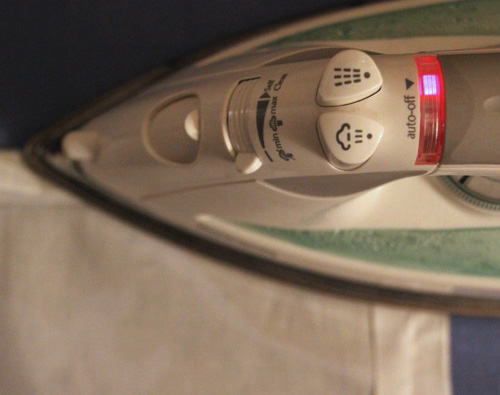
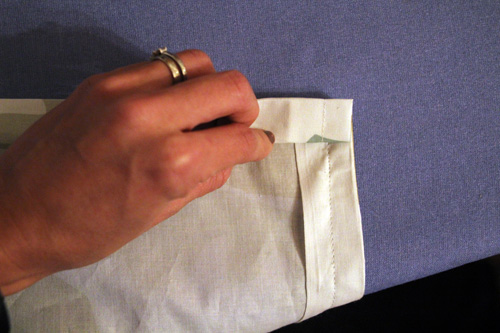
Fold a second time:
Press:
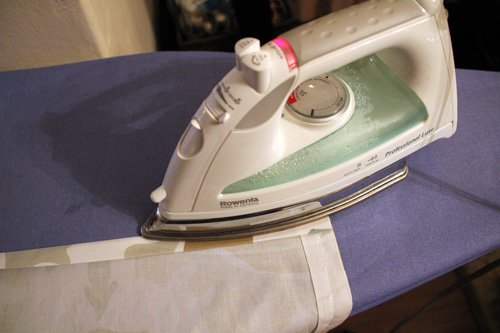
And sew the double fold. So much prettier!
To compliment all of those night shots of sewing ;), here’s a later-in-the-evening shot of the curtains where you can see the colors a bit better:

I love how my Spoonflower curtains turned out, but now we have to solve the problem of whether they’ll stay or go… or if the headboard gets an update.

Happy Monday! Just six days until Christmas :).
For more Office Makeover posts, check out: diy fabric bulletin board panels, handmade capiz pendant light, organizing the bookshelves, wall collage part 1, part 2, fabric bulletin board inspiration, (new) inspiration board, new lamps, wallpapering open shelves, finding the perfect credenza, new trim, dining table-to-desk, a new desk & bookshelves, installing remnant carpeting, grasscloth wallpaper, painting the office nook, finding carpet for the office, chocolate brown wall ideas, plastering progress, inspiration for a diy desk, back in action!, desking hunting for under $300, bookcases under $300,inspirational rooms, room layout options, demo part 1 & demo part 2.



I love your curtains and your headboard. Try turning your bed around so that the headboard is on the wall opposite the curtain. Since the headboard would not be next to the curtains it might not clash so much.
Just a thought.
Hi Sue…the fabrics don’t work for a few reasons: 1. you’re correct, you’re mixing the wrong color tones: purplish gray with brownish green gray 2. the scale AND pattern is too much the same
I would do a solid blueishgreen headboard (whatever is the color in the drapes) or a TINY stripe of cream & blue or cream, blue & gray…Hope this helps!
What weight fabric did you order from Spoonflower? Have you tried any of their heavier fabrics?
Hi Sue, I used the quilting weight fabric that they offer but you can order a little sample pack for $1 on the site. The heavier, upholstery weight fabric is new I think and it seems pretty sturdy – at least by the look of this little square :).
Love the fabric you designed! You have a tough decision to make. I’m not sure which I would eliminate , but I guess it depends on if you can use either anywhere else.
So much work for just your curtains! I wish I had your determination :)
Thanks, Claudia :). I blame it on the perfectionist-at-any-cost gene – I didn’t mean for the process to take so long but I’m so glad I stuck with it!