So this might be a little old hat for some of you DIYers out there, but just in case you’re a little reserved on taking the plunge into basic upholstering (and you have a barstool or kitchen chair that’s nagging at you), here’s a recent project that we finished for the nursery that involves just that.

Our everyday average (but super comfy) glider received a makeover a few months ago, but the ottoman was slow to follow. It’s finally a matching pair!
*****************************************************************************************
Basic Upholstery 101
a
Materials: Staple gun, fabric, scissors, batting or foam (this is optional depending on the current condition of your cushion – I didn’t need extra batting/foam for this project but you could add quilt batting over the top of your foam for a little extra comfiness, or replace the foam altogether. You’ll repeat step 1 with the batting first if you choose to add.)
{1.} When measuring and cutting out your fabric for your new cushion, be sure to account for the outside edge of the ottoman, stool, chair, etc that you’re reupholstering. The top of my ottoman is only 20″x12″, but when I add the sides and extra hem space I’m cutting my fabric to 30″x22″ to allow for 5″ extra on each side (2″ for the lip of the ottoman and 3″ for the underside where I’ll use the staple gun).
If your fabric involves a pattern, make sure that the pattern is aligned with your edges so that you don’t end up with a crooked design.
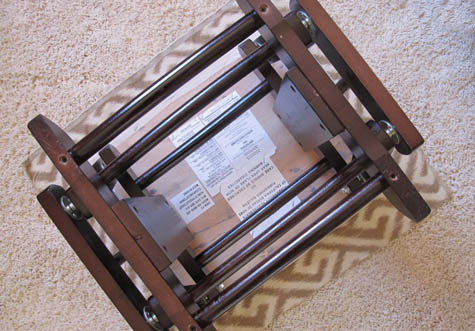
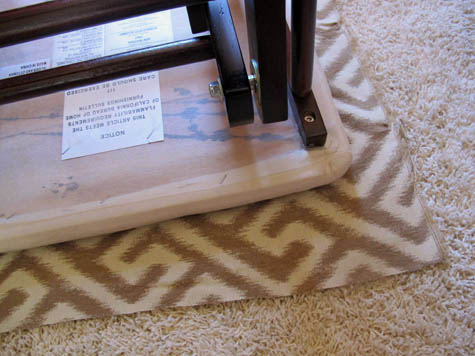
{2.} Begin stapling at the center of each edge, pulling taut (but not too tight to avoid puckering) as you go. Now you should have a staple in the center on each of the horizontal and vertical edges. Flip ottoman over and examine the final look. If you’ve made any errors, now is the time to pull those simple four staples up (or just one edge) and start over.
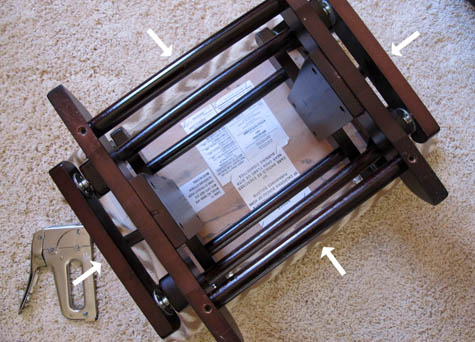
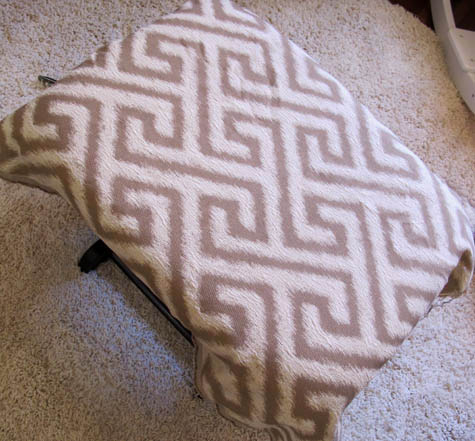
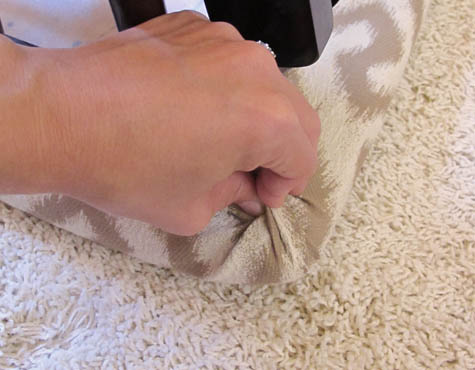
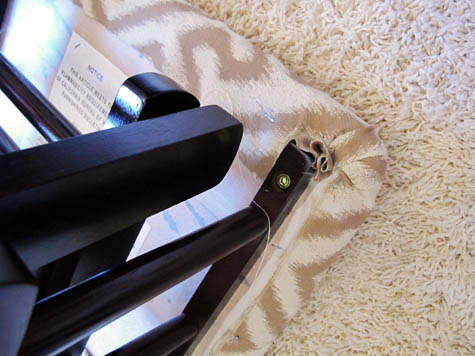
{3.} There are two basic ways to achieve clean corners: the first is a fold (similar to wrapping a package) and the second is a gather. For a gathered look, I recommend stapling in two parts. First, gather your fabric on the right side of the corner and staple gather in the center. Next, gather the left side and staple again (this second staple should slightly overlap the first right-side gather so that the corner looks like one large gather). Flip ottoman over and observe your corner. If it looks good to you, finish the next three.
The second gather is folded slightly over the first to create a clean corner that’s not going anywhere:
{4.} Now we want to fill in staples between the corners and center staple on each edge. You really want to make sure that your fabric is secure all the way around and always check for puckering before applying the next staple.
{5.} Your ottoman should be looking good! The last step is cutting any excess fabric from the edges.
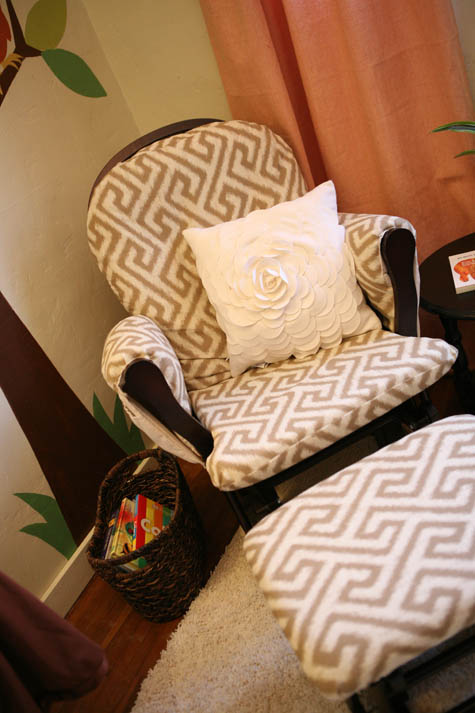
Yay for a matching ottoman! For the other half of this project (updating a standard nursery glider), check out this link.
More Project Nursery posts: baby clothing art, handmade butterfly mobile, diy crib skirt, basket liners part 2, basket liners part 1, the great glider makeover, sewing the curtains part 1, part 2, part 3, nursery fabric board, curtain fabric selection, rocking horse find, new pendant light, new sconce lighting, vintage wall art addition, changing table makeover, nursery wall striping tutorial, painted animal project, the initial inspiration board and the before picture posts.


Looks great! In a few days I’ll be sharing my little girl’s room, almost finished!
Hi Morgan!
This looks beautiful! And your detailed instructions are just perfect – thank you for sharing. The entire nursery makeover is nothing short of amazing!
I really like the petal pillow against the chair fabric. Very cool, and such a comfy spot for rocking baby! ;)
Perfect, love the fabric choice, makes the glinder a pretty addition to the room! Janell