It’s finished! Yesterday I finally finished and hung up Liv’s new mobile – and just in time as she’s beginning to sleep in her crib now.
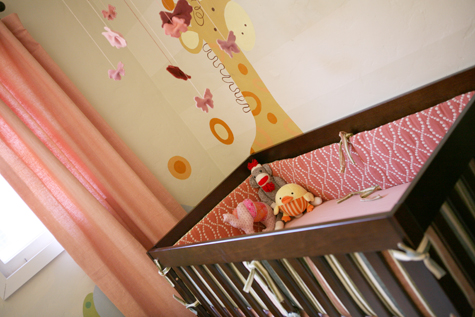
I wanted to hand make a mobile for Liv that would compliment her animal-themed room while also giving her something bright and playful to look at. After debating different shapes and creatures, butterflies won out. Liv loves staring up at the spinning mobile and the butterflies look like they’re flying together amongst the painted animals.
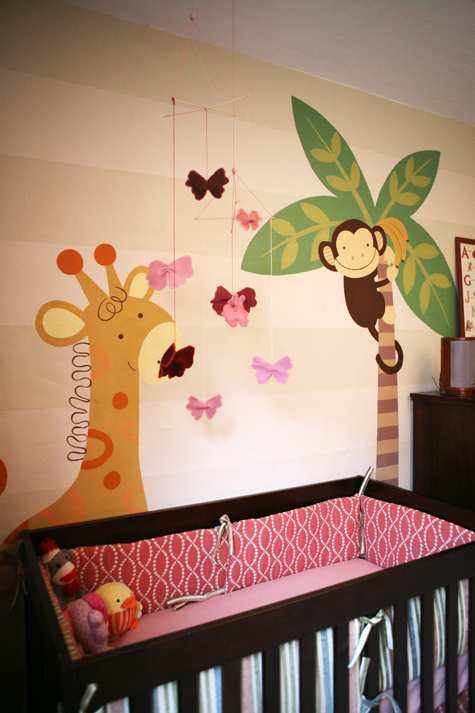
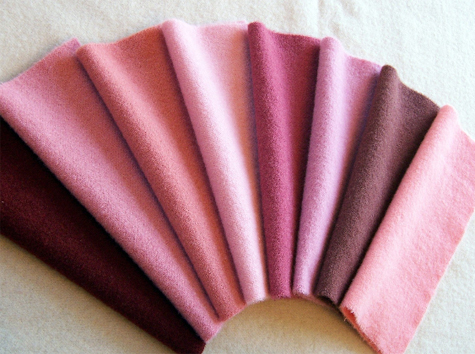
The butterflies are made out of dyed felted wool which is very similar to your standard store bought felt. I was actually on the search for a variety of different felt colors in the palette of the room when I discovered felted wool on Etsy. When I found a seller who hand dyed her own shades, I scooped up eight different versions of pink (talk about difficult to find at a store).
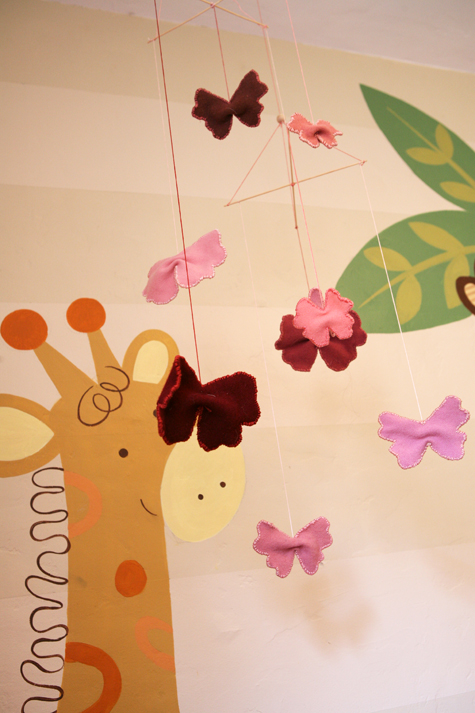
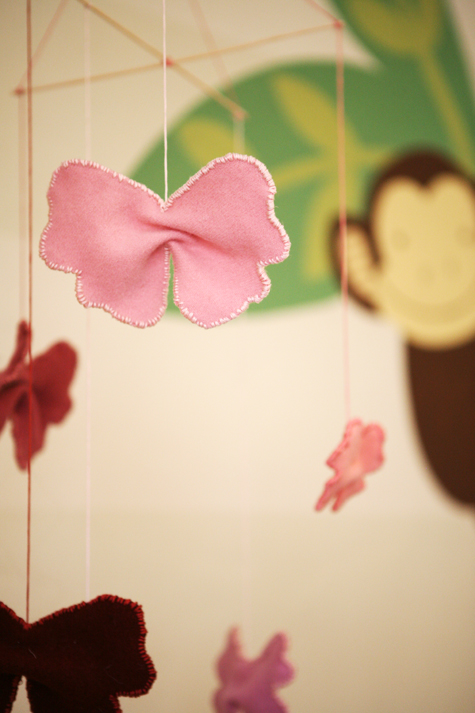
Each butterfly is two pieces of wool held together by embroidery thread looped around the edges. Because this project was so time consuming, it was reserved for car trips and movie watching – or any time I couldn’t feasibly get anything more productive done :). So it took a long time… nine-little-butterflies long time.
Here’s the skinny on how it all went down.
*****************************************************************
Butterfly Mobile
a
Materials: felt or wool, embroidery thread, large needle, small wooden dowels, wooden bead (optional) eye screw
{1.} Cut out butterflies from felt or wool in matching pairs.
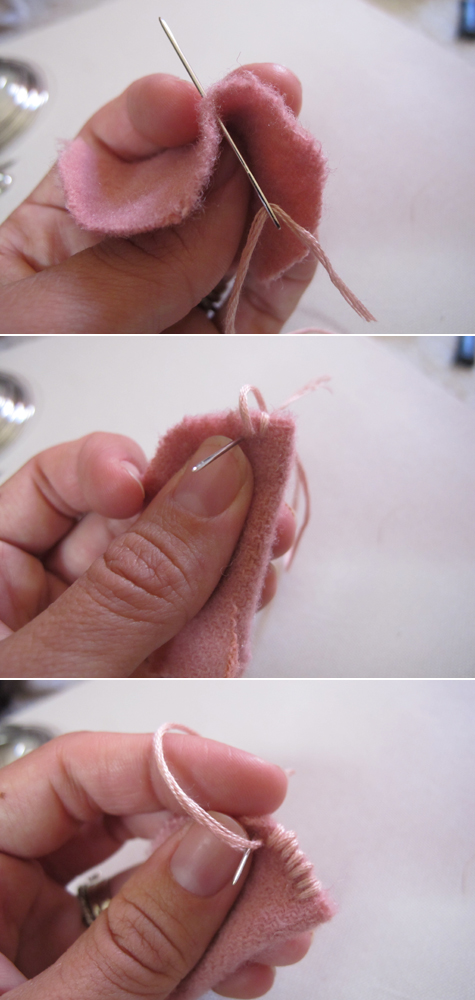
{2.} With your embroidery thread and large needle, begin the stitch on the inside of the two layers of felt so that the knot is hidden. Loop up and around both edges until the complete shape is outlined.
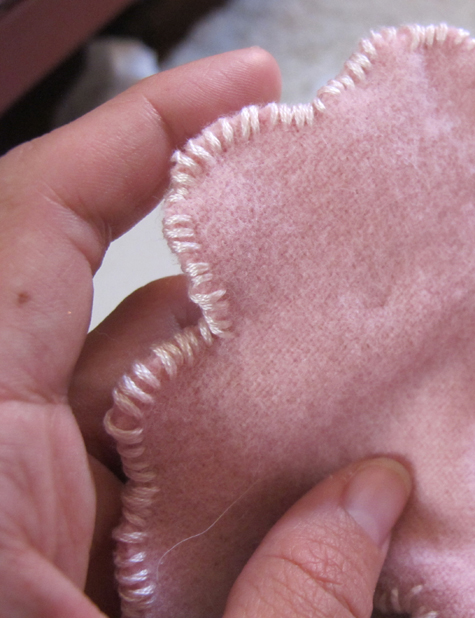
When finished, each butterfly should look similar to this:
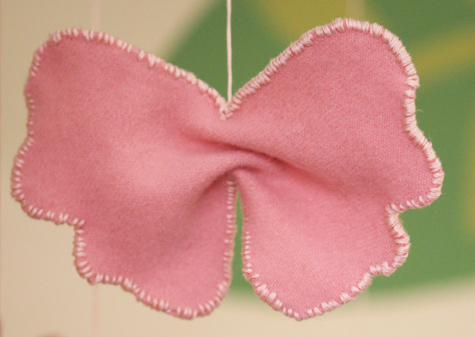
{3.} Cut a long length of matching embroidery thread and guide needle from below the butterfly up between the two layers and out the top of the butterfly (thread in middle of shape should not be showing but should be hidden between the two layers of felt).

Pull thread tight so that the butterfly scrunches up, tie a knot just above the ruching to keep in place. The rest of the length of thread will be used to attach the butterfly to the hanger.
{4.} To build the wooden hanger, use two dowels of even size or one long dowel snipped in half. Cross the dowels and secure with thread by looping around the center of the crossbow. To keep embroidery thread from sliding, create little notches at the very end of each dowel with scissors. This is where the embroidery thread holding the butterflies can be knotted to as well.
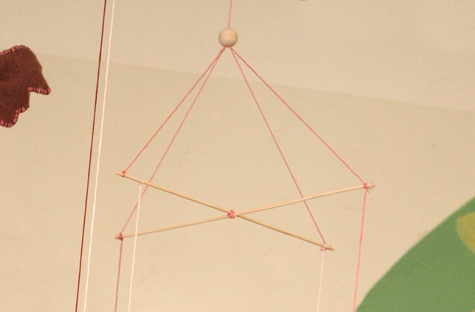
{5.} Cut three lengths of embroidery thread to approximately 8-10″ in length and one piece to roughly 2′ (or the distance the mobile will hang from the ceiling). Tie the end of each of the four pieces to an end of each dowel. The longest length will be tied directly to the eye screw in the ceiling and the other three should meet about 8″ above the dowel. Tie a knot out of all four strings here, you can hide the knot with a bead for a cleaner look.
{6.} Attach butterflies at varying heights along the dowel.
{7.} Secure eye screw into ceiling (making sure mobile is far above the reach of little hands) and hang.
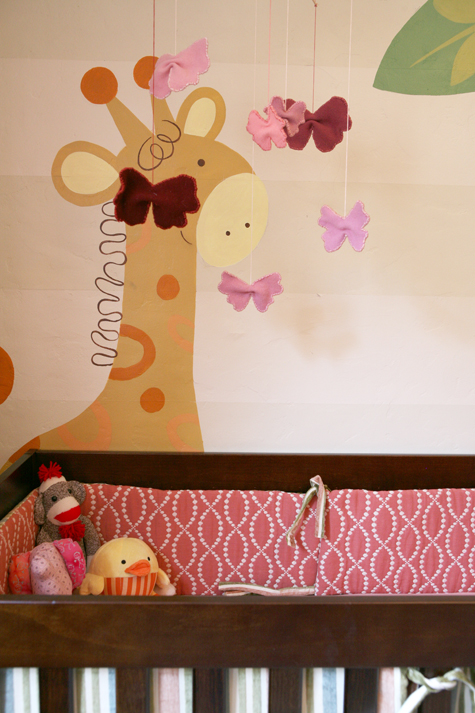
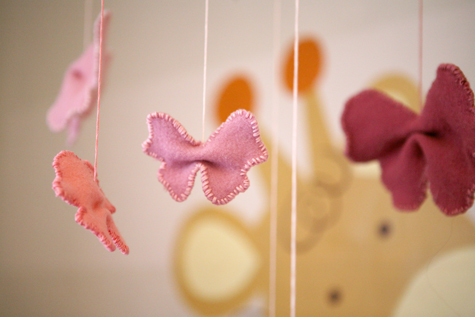
I made two separate hangers for a set of four and a set of five of the butterflies to help space them out, but you could hang them all on one for a beautiful layered effect, too.
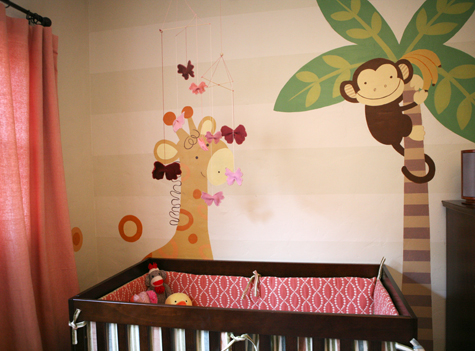
Bright, simple and eye-catching, perfect for Liv.
More Project Nursery posts: diy crib skirt, basket liners part 2, basket liners part 1, the great glider makeover, sewing the curtains part 1, part 2, part 3, nursery fabric board, curtain fabric selection, rocking horse find, new pendant light, new sconce lighting, vintage wall art addition, changing table makeover, nursery wall striping tutorial, painted animal project, the initial inspiration board and the before picture posts.


Awww…these are so sweet! I love the touch of femininity they add to the room. Although the process seems simple; it definitely looks like it took a good bit of work. I may have to try a cheater’s version sometime (a.k.a. – leaving the edges raw)!
those butterflies are unbelievably adorable! they go perfectly with the nursery- love that theme! great job!
I absolutely ADORE this nursery! You’ve done a great job!! Congratulations!