Back to the sewing machine we go to finish off the curtains for the new nursery! Check out Part 1 here for an intro to the project and the first steps in sewing lined drapery panels.
Just before the weekend we left off at Step 6, where the lining is initially pinned to the top hem of the drapery fabric in preparation for sewing the two panels together.
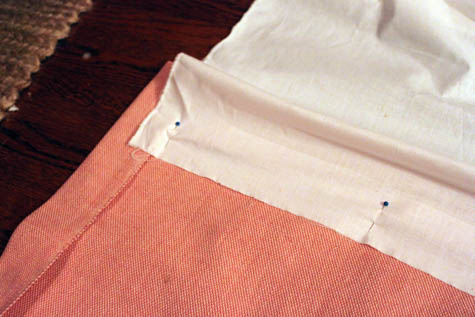
I followed Janell’s tutorial carefully (I’m quite the sewing novice) and if you’re searching for in-depth directions on how to accomplish lining curtains, I recommend hopping on over to check it out.
Step 7: Sew along the newly pinned top hem of the drapes and flip fabric over. Press newly connected fabric + lining.
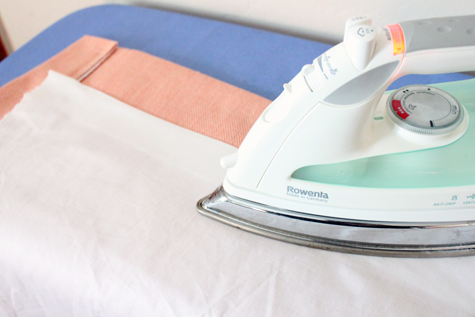
Step 8: The process of sewing the lining to the sides of the curtain fabric is a bit tricky. In fact it took me quite a few ‘trial’ attempts (with pins rather than the machine) to figure out the best way to handle this inside-out-contorted-fabric conundrum.
The goal is to hide the thread lines into the side hems and to do this you must pin the fabric accurately, turn the panel inside out and then sew. For the pinning of the lining to the panel to be intuitive to me, I began by casually pinning the lining to the fabric and turning inside out to check out how well it lined up (the first few times resulted in bunched or waved fabric across the panel so I definitely recommend playing with the pinning before you make your stitches permanent with the machine).
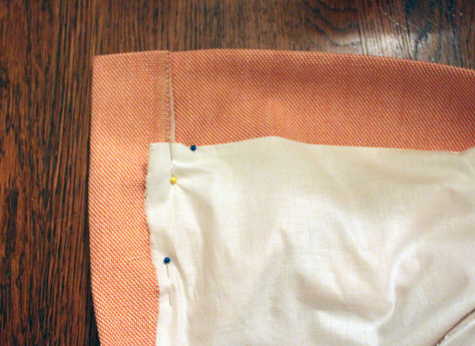
The above image shows how the lining will ‘fit’ into the top and side hems of the curtain. To get that lining underneath the overlapping curtain hem, you must pin the curtain inside out. But use the casual above pinning as a guide to show you were to pin when the fabric is inside out.
You can see in the next image that the fabric was pinned with the edge of the lining to the edge of the curtain fabric and then flipped inside out. I’m showing the pinning (which is hidden when it’s inside out) to demonstrate how these two fabrics connect edge to edge (when you flip it right side out, the large side hems will come back!).
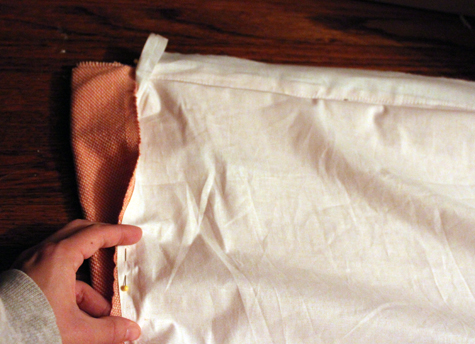
Step 9: Using the pins as your guide, sew your side panels together. Since both sides need to be sewn top to bottom (if one is sewn bottom to top you’ll end up with wavy fabric – I know it’s awkward though), one side should be fairly easy:
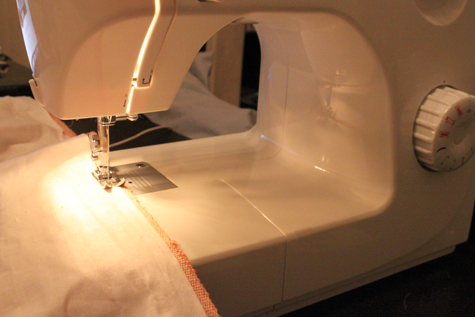
And the other will be much more difficult (is there any easier way to do the opposite side without stuffing your entire drapery panel into your machine?):
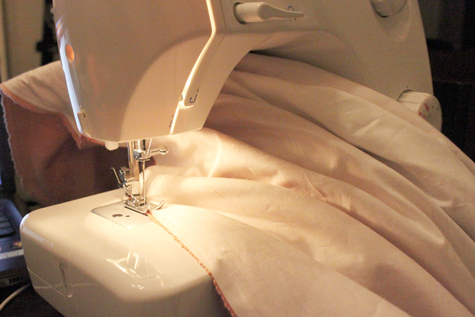
Challenging!
Step 10: Press out all of your hems and admire your work!
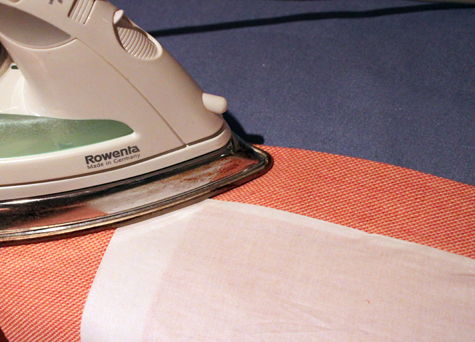
I should have a full curtain shot here to show you the result :(. Even though most of the side panel areas turned out clean and smooth, there was the occasional pucker and error:
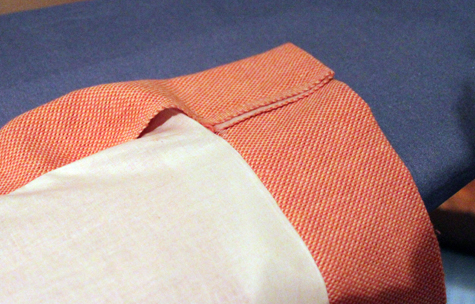
I’ve learned plenty of lessons during round 1 – next time I have a better idea of how to correct these little errors. But a little hand sewing will fix most of these buckles in a cinch.
I’m pressing everything out now and hanging the curtain rods! The new lined panels will be up very soon. Woohoo!
If you’re catching up on Project Nursery, here’s a link to the sewing the curtains part 1, nursery fabric board, curtain fabric selection, rocking horse find, new pendant light, vintage wall art addition, changing table makeover, nursery wall striping tutorial, painted animal project, the initial inspiration board and the before picture posts.


This is great! A step by step procedure in sewing curtains, complete with pictures. Next time maybe a video?
I guess what I liked best about this post was you showing where you screwed up and got a bit of bunching. Sometimes its nice to know that other people aren’t perfect. Thanks for sharing.
Thanks, Nancy. In fact I had quite a few bunching errors – but nothing that couldn’t be fixed or hidden with a bit of patience!
~Morgan
Oh to be able to sew…they look great, can’t wait to see them hung!
Can’t wait to see the result!