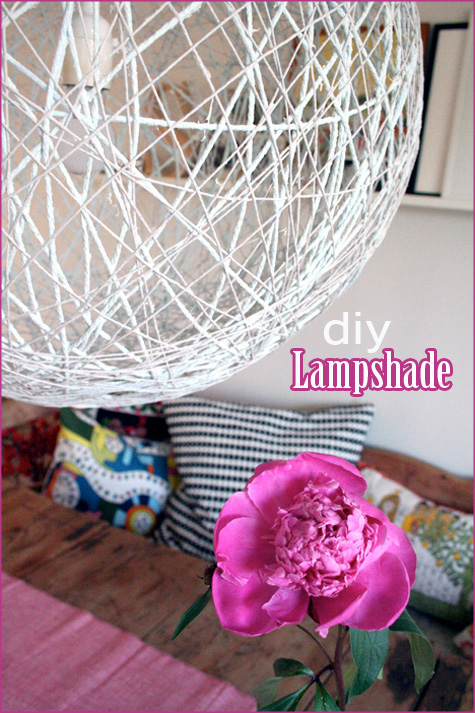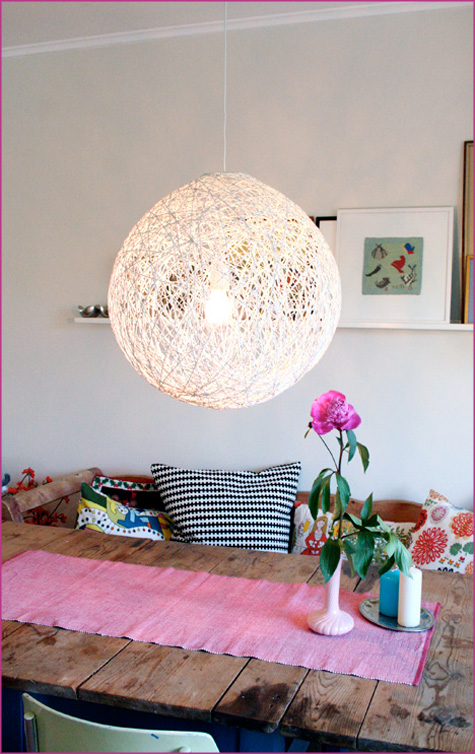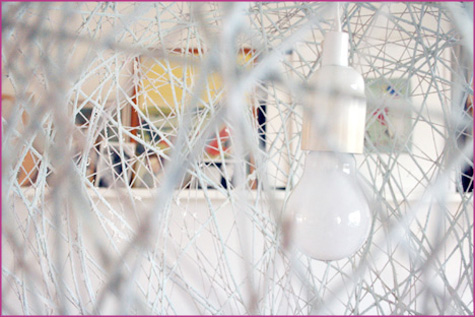
This is such a clever project! Pickles made this diy lampshade for her dining room with a single bulb pendant – and it turned out great! I would love to create one of these for my office, or a series of smaller versions for an outdoor party.

Who knew that a giant balloon, wallpaper glue, yarn and vaseline could create this?


I’m back from my beautiful week in Canada and it feels like the projects are taking over… but it’s good to be home and back to work with so much to do! We break ground on the kitchen renovation soon – very excited to get moving on this one.
Diy instructions for the Whirl-It Lampshade found here.


I have a question about the “Whirl-it Lampshade”. I have read the instructions found on Apartment Therapy. I read just about all 120 comments and STILL find no answer as to how you are suppose to affix the lampshade to the lighting fixture/lightbulb. If the “hole” drawn in marker around the top of balloon is to be SMALLER thank the light fixture, then how are you suppose to even get the lightbulb in the lampshade? ALL the instructions seemed straightforward except for this VERY CRUCIAL bit of info. Can you PLEASE help me answer this question?
Hi Laura, I wish I could help! I haven’t yet made one of these myself yet, but I can tell you that after examining one in a shop once, I saw that the pendant light had been taken apart so that the lightbulb was screwed in from inside of the fixture to the pendant piece outside of the fixture (if you can picture that…) and that that’s what held it in place. They didn’t use the large hole for holding the pendant light, but another area of the fixture. Best of luck :).
I loved this so much we had to make one for our dining room. Check it out at {www.rivernorthlove.blogspot.com}
That’s so cool and original!
And what a great a great idea to do little ones for the Christmas tree!
love that someone finally did this!
This is such a great idea. Was it fairly simple?
incredible! some people have real talent!
Oh I made of these for my Christmas tree last year! Like little snowballs. So many fun ideas on your blog.
Love this idea!