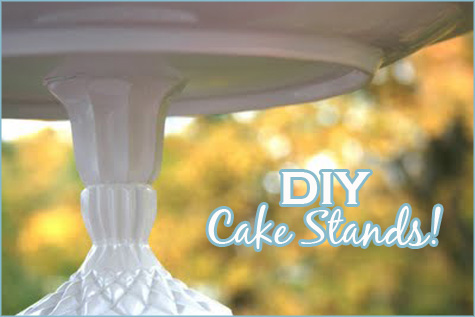
Here’s a recent idea I found for an upcoming shower… I’m so excited to give these a try. I have a special affection for all things cake stands, especially pretty ones that make lovely silhouette shapes in my kitchen shelves!
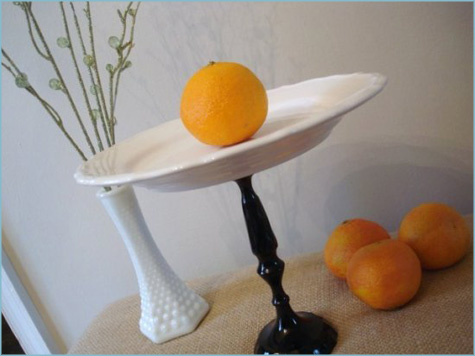
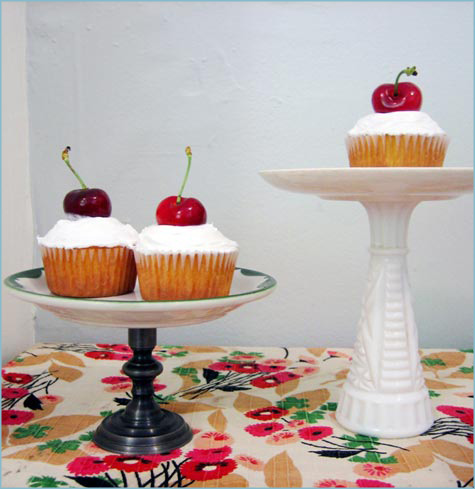
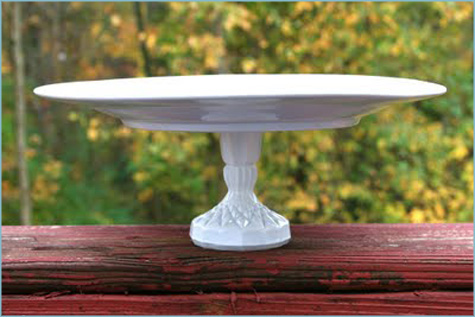
Handmade cake stands are simple and easy, here are two tutorials that outline the step-by-step directions for (1) an eclectic vintage mix and (2) a lovely all-white dessert buffet:
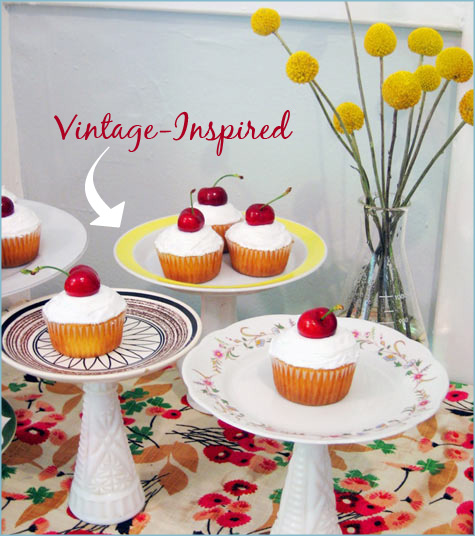
Kate’s recycled cake stands (shared on design*sponge back in 2008) make the perfect eclectic tea party addition. These would make beautiful table centerpieces for an outdoor shower as well.
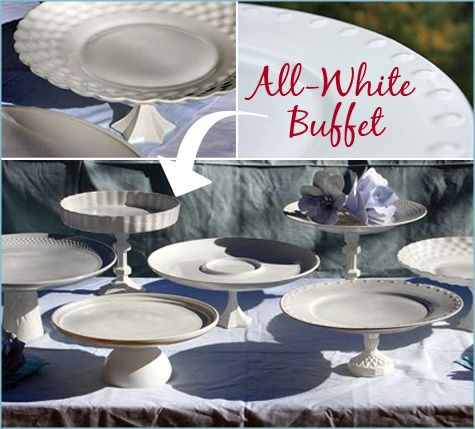
I originally found this classic white dessert bar tutorial on Weddings & Cookies, but Renee’s creations are featured here on design*sponge as well! I love the clean, crisp look of all white – it would make a lovely dessert buffet for a wedding or party.
These would also look perfect lined neatly in a buffet cabinet or on floating shelves in the kitchen/dining room (for a fraction of the price of a store-bought collection!)
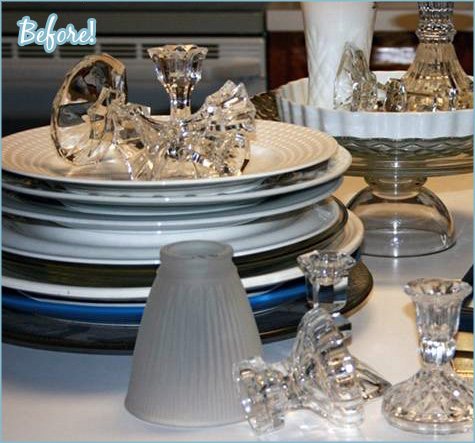
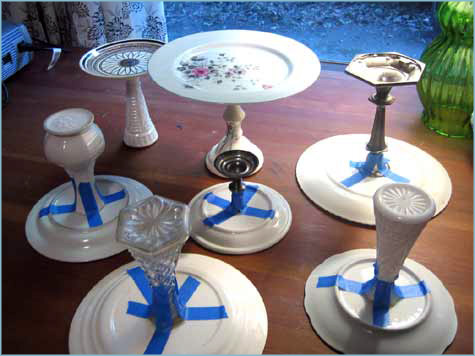
Can you believe they started as this?
Before we jump into the How-To, be sure to check out great Etsy artists like Burlap & Blue as an easy alternative if you’re looking for an option to purchase.
More pictures (and the How-To) after the jump!
{DIY Cake Stands}
a
Materials: plates, platters, candle sticks and vases in all shapes and sizes, food safe (non-toxic) glass paint/spray paint, STRONG glue (like E6000) or epoxy, masking tape, q-tips
Directions:
{1.} Match up your pieces for your favorite looks. Be sure they can balance on one another successfully without glue.
{2.} Clean all plates and vases/candlesticks thoroughly. Dry completely.
{3.} Carefully find the center of each plate/platter and mark.
{4.} Using your dot as a guide, use glue or epoxy to adhere vase/candle stick to the back of the plate (upside down).
{5.} Let dry for at least 24 hours. If necessary, remove excess epoxy or glue with a q-tip before completely dry. You can use masking tape at this point to help anchor plate to stand.
{6.} Optional: coat plates and stand in non-toxic spray paint. For an extra layer of protection, use doilies or parchment circles under your cakes and cookies.
A big thank you to Renee and Kate for sharing their projects. Be sure to check out their posts here (vintage-inspired) and here (all-white)!


Love these! I’m on a cupcake stand making mission!
Ahhhhhhh before I go please tell me what brand did you used for the paint???
Hi Patricia,
You can use any non-toxic spray paint out there – I believe I found mine at Lowes (though you might even be able to order a version that is dishwasher/heating/eating safe online). I still recommend using doilies between food and plate as it is still spray paint. The two above tutorials might have recommendations as well, check out the links in the posts. I didn’t post pictures of my versions because they turned out so similar! But you can see them in my Vintage Nesting post. Good luck!! Glad to help out!
~Morgan
Do you save my life!!!! I’m looking for cake stands for my Mini cakes and is so dificult to find some that fit on. I make mini cakes for special celebrations in size 6″ and now I can do my own style and paint in the colors of my business. Thank you guys so much for share this wonderfullllllll ideas!!! God bless you at all and gave more and more talents for all.
Thanks for featuring my shop on your post!! Dessert pedestals/cupcake stands are so popular right now…you linked to a couple of great tutorials! xo
What a great idea! I am always look for new ways to display cakes. These are perfect!
Such a great idea!
great idea! I can’t wait to try this out for my own upcoming parties! Thanks for sharing!
Cannot wait to try it out!
This is a FANTASTIC tutorial, highlighted it today on a post about Rosanna tableware!
I’m loving this idea!!
I love this idea of making my own cake stands. I can’t wait to yard sale season, so I can stock up on the necessary pieces. These would be so much fun! They’d make nice hostess gifts too.
-FringeGirl