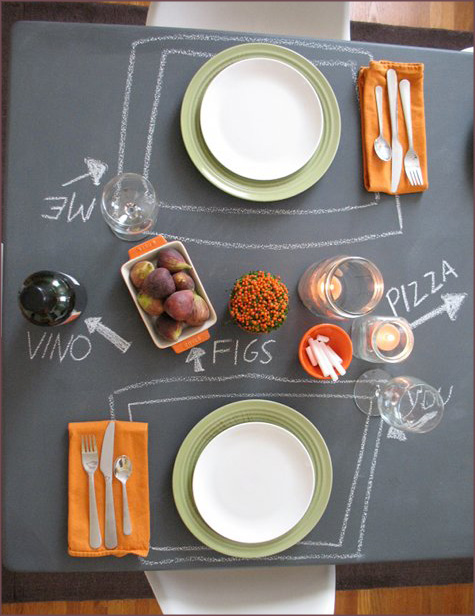
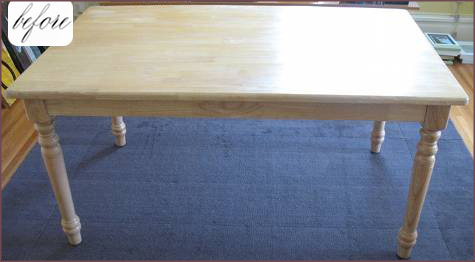
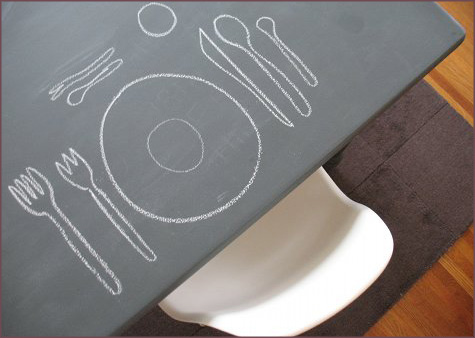
This is such a clever way to refurbish an old dining room table. Plus, so much fun for kids (and dinner guests!) — no crayons and placemats required! Kate Leary of Mi Piace Kate Design shared this Before & After with Design Sponge in August after a great Craigslist find up in San Francisco. It’s so classy! The structure of the table is already there — but the bleached wood look had to go.
A bit of priming, chalkboard paint and a Saturday afternoon — and voila, a beautiful table that’s fun for everyone! I love the chairs, too. It adds that modern edge to tie the piece into the rest of the house.
Follow the jump for a more detailed How-To. Do you have a great Before & After project? Contact me to submit pictures and your story!
{Chalkboard Dining Table}
p
Supplies
*Dining room table
*Sandpaper
*Primer
*Chalkboard paint
*Paint brushes
1. Sand the entire table so you have an even surface to work with — this is especially necessary for older finds.
2. Prime the table with one coat of a basic indoor primer.
3. Add two coats of custom chalkboard paint and wait 3 days for the paint to cure.
And now you have a fun, interactive dining table that Kate says they just “can’t stop using and playing with!” The total cost? just over $100 (table was $75). So neat!


Hi there! This table looks AMAZING! Could you please tell me what brand of paint you used and the color as well?! Thank you so much!
I love the idea! Is it food safe? Does it clean up well?
That’s a good question! I read that you can use standard chalkboard spray and cleaning products to get basic stains out — but that grease can be an issue.
I would love to do this. I think Casey would die if I even suggested it, as we spent over three days refinishing our table and it’s still not complete! The darn leaf is a different stain still :(
Can’t wait to see your table!! What did you do to it?
I love this!! I have used chalkboard place mats before (which were fun) but this takes it to a whole new level. Thanks for sharing!
I’m going to have kids just so I can make that table.