Hope you had a wonderful Memorial Day weekend!
We had a great weekend full of relaxing and fun. I am reminded on holidays such as this though of the sacrifices that our men and women in uniform make each and every day for us. Kevin spent four years serving as a Marine and two of them while married. In fact, our first six months of marriage were spent apart because of a sudden deployment to Japan. I’m grateful that he was never in harms way and I am especially grateful for the servicemen that are. I commiserate with spouses and families that have to be away from a loved one for an extended period of time…
Back to what’s been going on over here decorating-wise: here’s a neat little project that I’ve been working on to create nursery art out of favorite gifts and keepsake clothing.
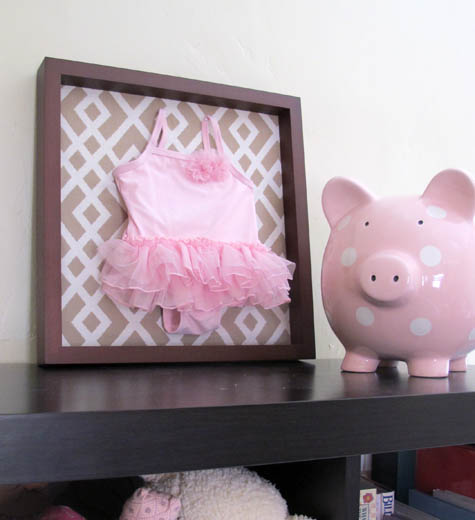
I have a few adorable outfits that are almost too cute to wear (almost) and when placed inside of a frame, make the perfect wall art.
To add a twist, the back of the frame is lined in a modern print – gives it a little something extra.
***********************************************************
Clothing Art
g
Materials: shadow box or deep frame (mine is from Aaron Brothers – 40% off coupon!), fabric remnant, art to feature (clothing, handmade baby blanket, etc), map pins or sewing pins, glue
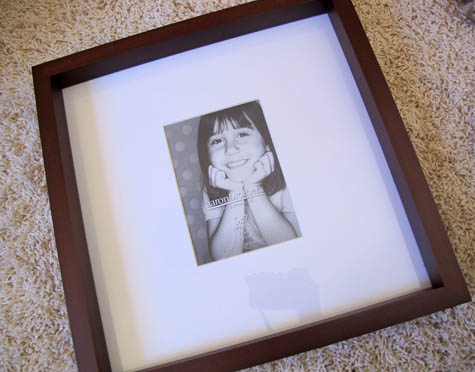
{1.} I found a square frame at Aaron Brothers that fit my little swim suit perfectly. It was built like a shadow box and deep enough to allow the suit to be pinned inside without coming too far out of the frame when mounted.
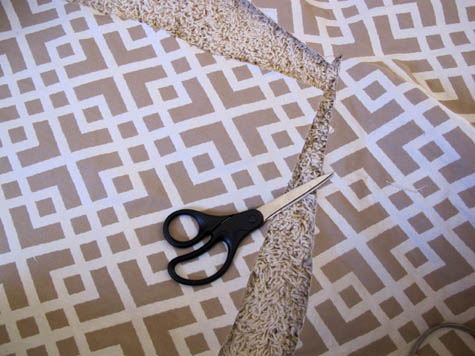
{2.} Fabric remnants or samples are great for a project just like this (I chose Gabriel in putty by Thibaut Designs). Measure your frame and cut out a square two inches wider on each side to allow for an extra large hem.
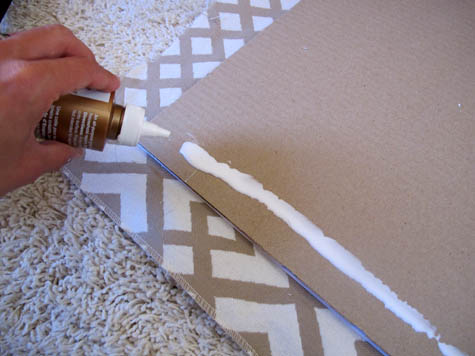
{3.} Flip frame over and remove backing, cardboard, mat and glass. Line up cardboard insert directly over fabric cutout (make sure back of fabric is facing up). Save mat and glass for another project, set backing aside.
Using standard glue, line the edge of the cardboard with a thick line.
{4.} Fold over each edge of fabric, gluing corners as you go. The geometric print on my fabric helped to make sure that my design was straight on the reverse side, you may want to flip over to confirm before gluing into place. Don’t worry if your adhesive doesn’t hold 100%, the next step will ensure the fabric doesn’t move.
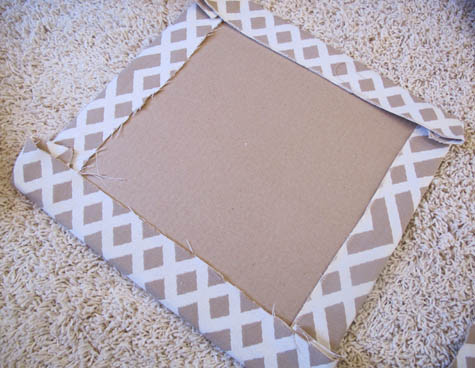
{4.} Press cardboard and fabric firmly into the back of your frame, the fit should be snug.
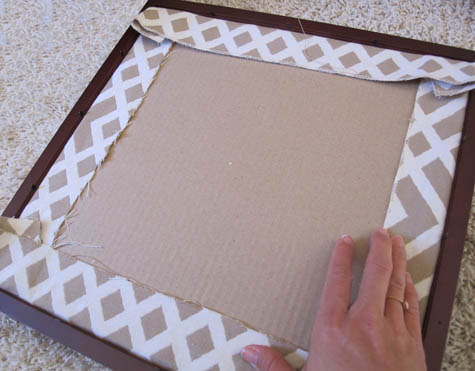
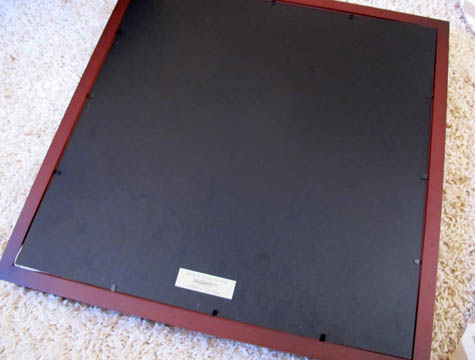
{5.} Press frame backing into place.
{6.} Using sewing or map pins (which can be found at office supply stores such as Staples), attach garment to fabric/cardboard combination. I cut my pins to about half their length to really conceal them within the bathing suit.
Pin various edges of the clothing so that the final piece is securely against the frame when hung up.
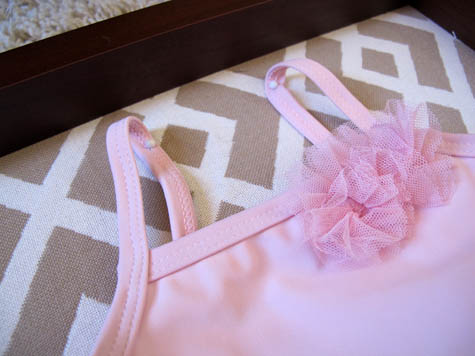
{7.} And that’s it – now you can hang or display!
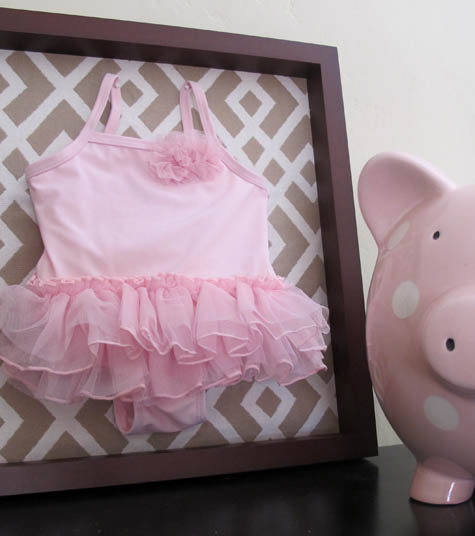
This would look very neat as a collage of antique outfits (baptismal gowns, handmade baby caps, etc) over a dresser, or as cute, modern accessories (booties, hats, etc) lined up in a row of three down the wall.
It’s an easy, inexpensive way to display favorite baby items and gifts, and it’s a great way to personalize a nursery. I love this little bathing suit (a gift from my Aunt) and I love how it looks perched atop Liv’s bookcase!
Woah this is getting long. It’s about time I get some final room pics posted. More Project Nursery posts: handmade butterfly mobile, diy crib skirt, basket liners part 2, basket liners part 1, the great glider makeover, sewing the curtains part 1, part 2, part 3, nursery fabric board, curtain fabric selection, rocking horse find, new pendant light, new sconce lighting, vintage wall art addition, changing table makeover, nursery wall striping tutorial, painted animal project, the initial inspiration board and the before picture posts.


This is a great idea. I am not much into saving my kids clothes, but it’s always nice to have a little memorabilia, very cute!
This is a great idea! I’ve still got T’s coming home outfit, and want to do something special with it when she moves into her ‘big girl’ room. I may just have to make a version of this…thanks for the inspiration!
Oh now I’m kicking myself for giving away my kids’ baby clothes. Awesome project.
Wonderful idea! Economical and so personal; I have a vintage dress that might be perfect for this project!
This is adorable! Thomas’s sailor suit is turning into art… He probably won’t like that when he’s older, ha!
great idea! I’ve been meaning to do something similar with shoes. I like the idea of doing an article of clothing, too.
Nina, amazing that they’re that small, right? And that little bathing suit is for 12 months, though I don’t know if I believe it.
Emily, all in good time! I agree :). You’ll have fun with the clothes though!
Aubree, thanks so much!!
~Morgan
So adorable, what a great idea! I am going to share your tutorial on pinterest!!!
What a great idea! Sometimes I can’t belive babies are really that small. Almost makes me want to have kids now … almost. :)
Lovely idea!! But I don’t have anything that small!!