We spent some time over the last few days decorating Easter eggs. It’s so neat that Liv is at an age where these types of mommy/daughter craft projects are fun and exciting for her. She’s still not as hands on as I’m sure she’ll be when she’s just a little bit older, but she helped me choose colors, paint, apply stencils and dab glue for all of the different techniques we played around with.
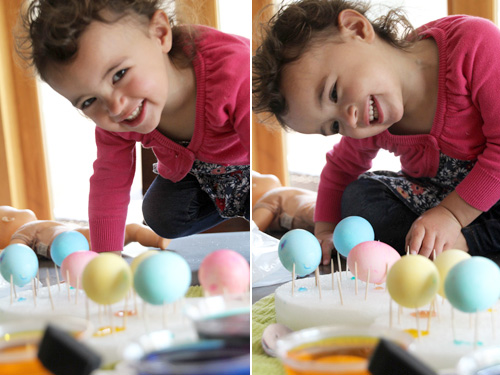
Such a cutie! She loved the entire process and didn’t question the idea of coloring and displaying hard boiled eggs that we would normally have for lunch – but I’m sure there are much odder oddities in life for a two-year-old.
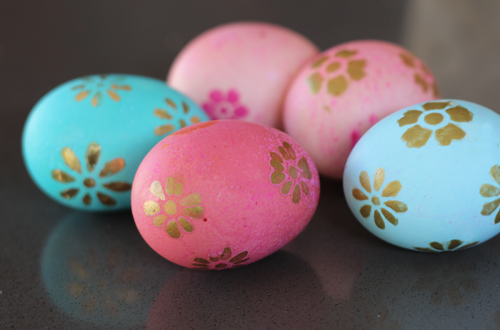
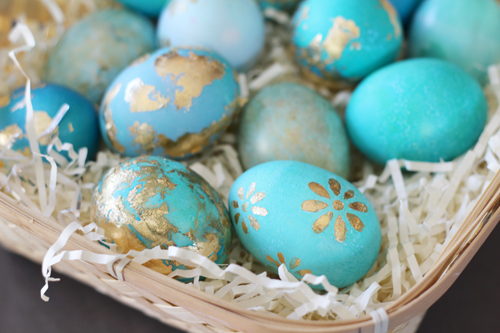
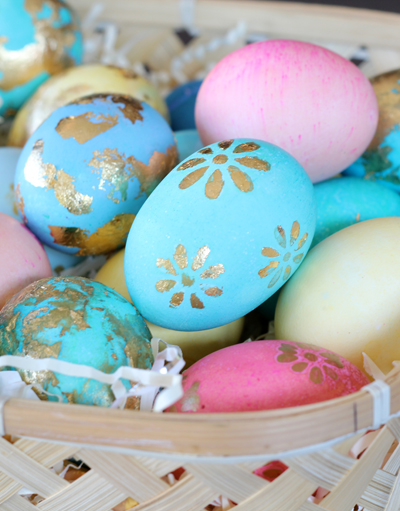
Looking over our little assortment of finished eggs, I’d have to say that this year’s theme was all about the gold.
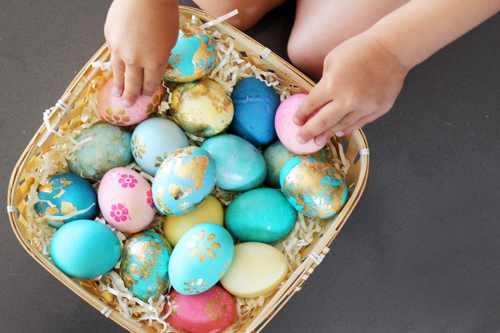
Gold leafing, gold marbling, gold stenciling… subconsciously I was clearly tying recent home decisions into Easter decorating :).
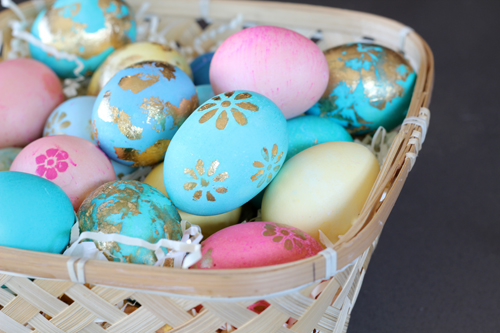
So I have about five-ish ideas to share today (with a few bonus finds here and there), but before getting into any of the specific techniques that we tried out, step one was to dye the eggs.
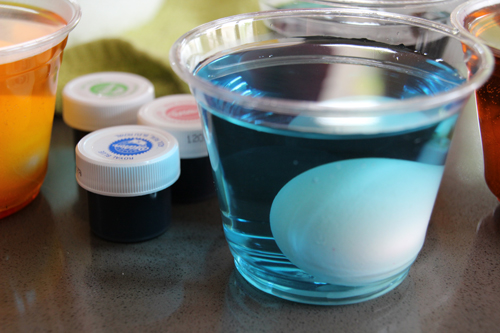
We dyed 18 in total and used Wilton food coloring (because that’s what I had on hand, though any ole’ dye works great) to create an assortment of blue, teal, pink and yellow eggs.
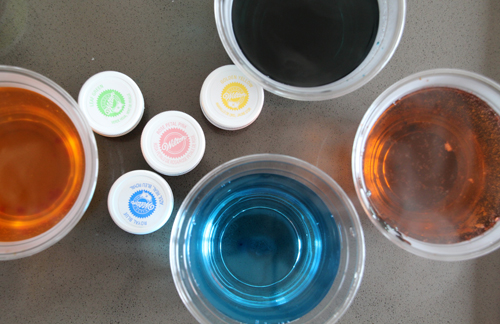
Each of the four little plastic cups that I set out received 2 tb white vinegar, a cup or so of hot water, plus the various dye colors.
I read about a styrofoam block + toothpick egg drying rack from this article here – brilliant!
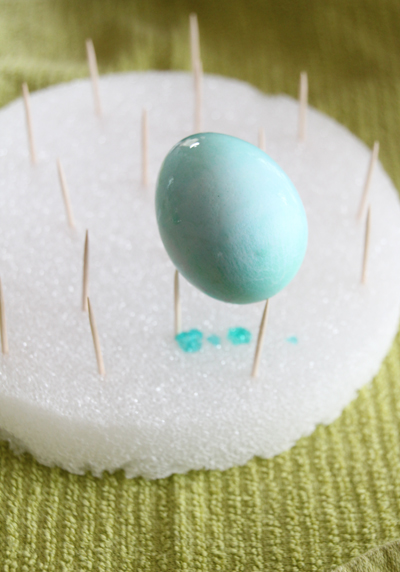
A couple of minutes submerged in the dye/vinegar/water mixture will yield soft colors, more time = more saturation.
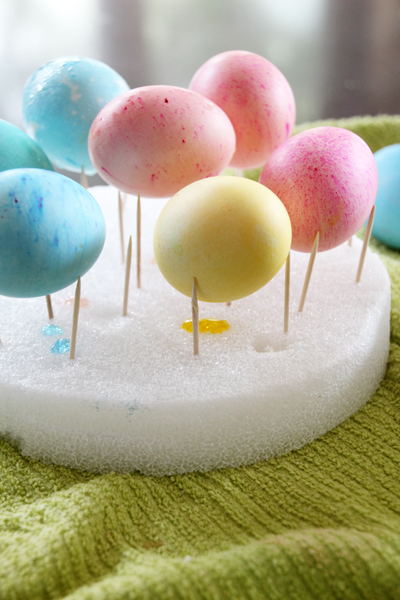
We opted for mostly lighter, more pastel colors and that little speckled effect on the pink eggs was a happy accident. More on that soon.
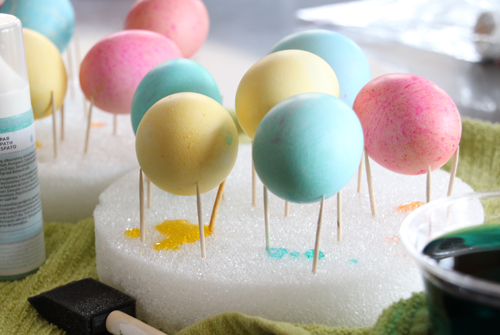
When the above began to get a little tedious (a toddler only has so much attention), we sped up the process with stove top bulk dying.
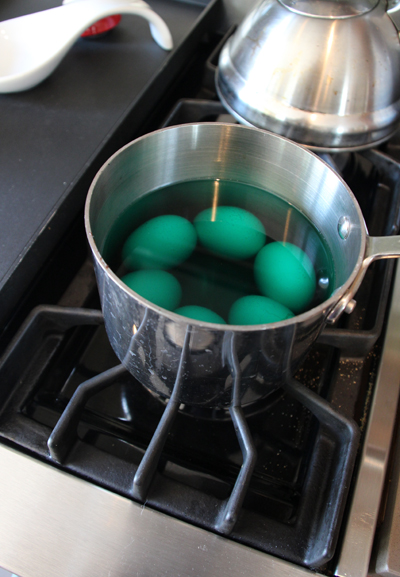
We bulk dyed much of the teal colors, they were definitely my favorite!
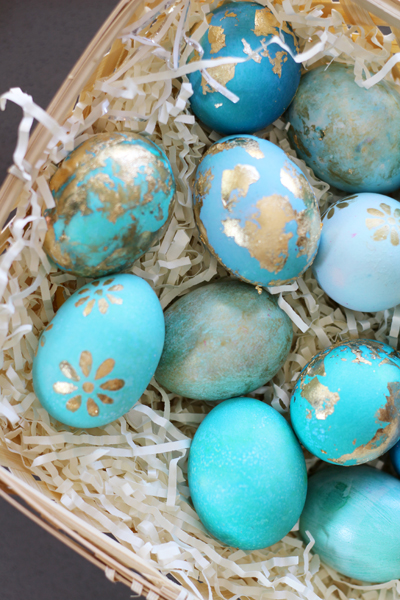
Alright, let’s get down to the nitty gritty on a few of these techniques because these were so fun to play with.
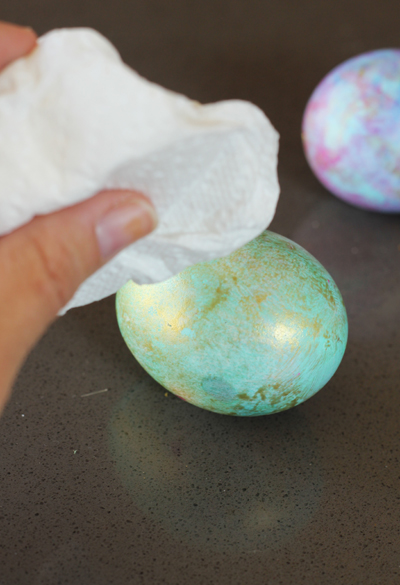
The first is a faux marble with gold craft paint using two different tools: sponge brush or paper towel.
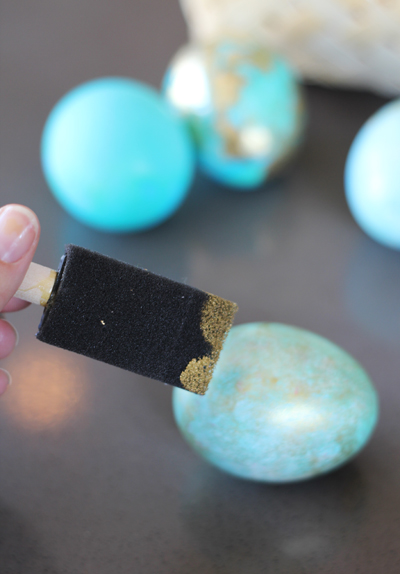
A little dabbing/blotting and your eggs take on a most unique effect. I love these! Quick and simple.
Next up, stenciling. Using the same gold craft paint, I found a package of gloss enamel Americana reusable stencils at Michaels that were made out of decal-type paper (which is incredibly flexible and can wrap around an egg, plus has a sticky side to help adhere stencil temporarily) and used a sponge brush to lightly fill in the various floral designs.
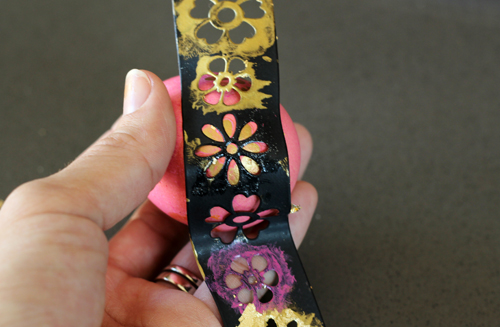
Here’s Liv’s:
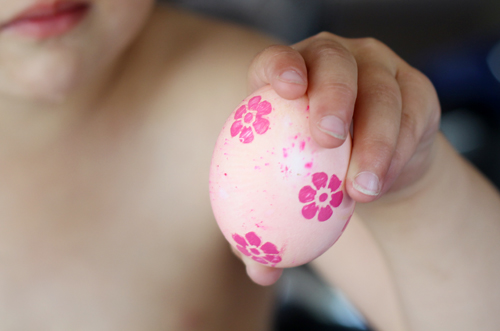
By default, we discovered that if we messed up and wanted to start over, wiping off the paint will actually pull up some of the dye as well, creating a neat tinted/washed effect where the painted florals once had be.
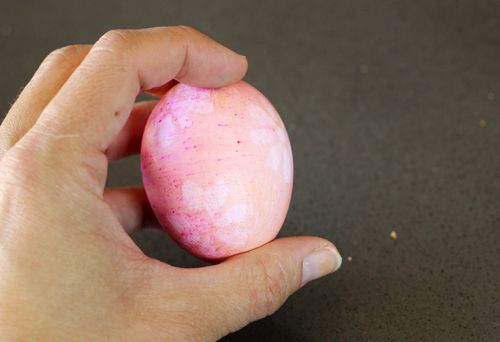
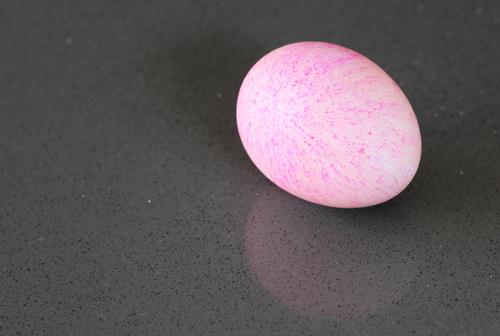
Side note: some of our eggs came out with a tie-dye, dotted explosion look and I discovered that this happened when our gel dye did not completely dissolve in the hot water + vinegar mixture. But it’s actually pretty cool looking!
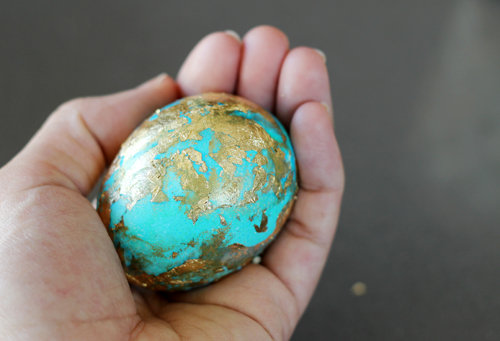
When I came across this idea on Pinterest, I was smitten. Had to try my own version of gold leafing eggs! Here are the steps that I used for the effect, though if you’re on the hunt for more detailed instructions, check out the original full post.
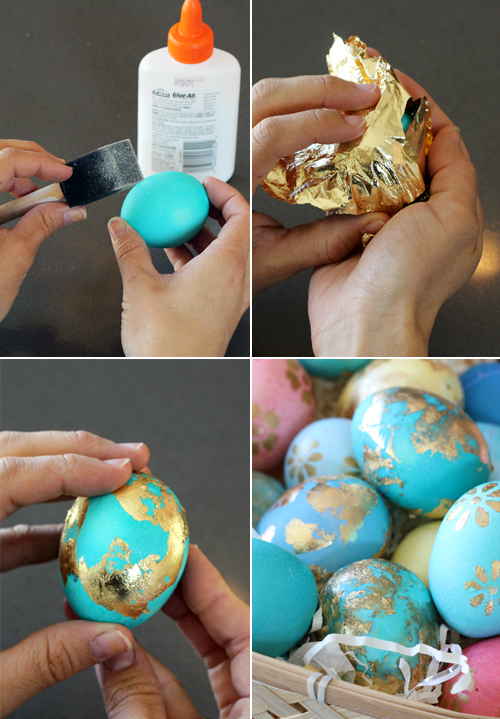
Rather than a leafing adhesive, I went the inexpensive route and applied Elmer’s glue in dabs and blots and swirls. Next up was lightly covering the egg in a half sheet of gold leaf (straight from the craft store) and then gently rubbing at the leafing until only the areas with glue adhered. Slowly an organic, smudged-gold leaf design emerged.
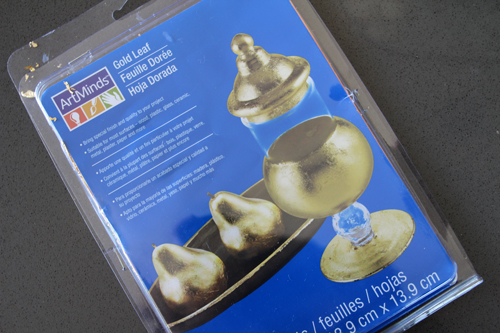
If you decide to give this a go, play around with the final look and different mediums to enhance the gold effect. To blur the lines between gold leaf and egg, I added a bit of gold paint to a couple of the eggs with a sponge. One more unique look.
My favorite effect of the day included a combination of stenciling and leafing (see floral egg at the very front below).
Using a stencil as my guide, I gently applied leafing and gold craft paint to the egg and then slowwwwly pulled the stencil up and off.
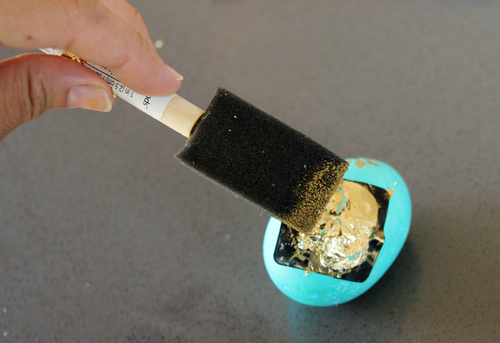
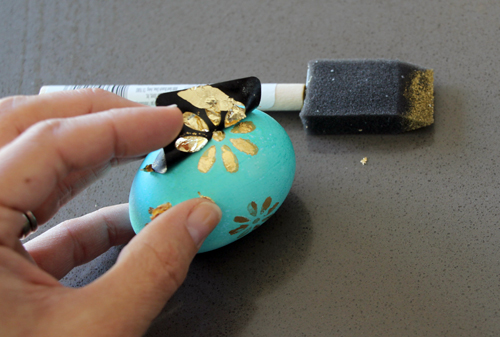
Probably the trickiest technique of the day, but with a little patience and a little creativity (try a sharp x-acto knife or your fingernail if leafing sticks to stencil) these guys are so pretty.
I wish I had blown out the white and yolk of some of these eggs so that they would last a lot longer than just this week… but maybe next year. If I were trying to preserve my designs I would also coat each of these eggs in some sort of spray seal or varnish.
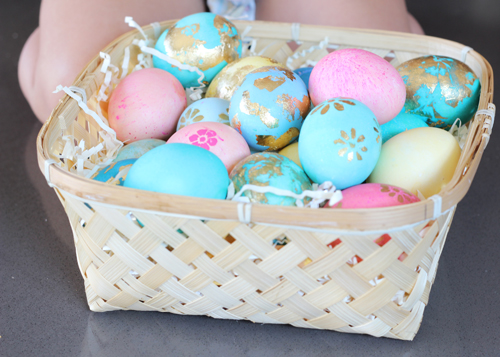
Just one week until Easter! These will be fun eggs for the Easter bunny to hide :).
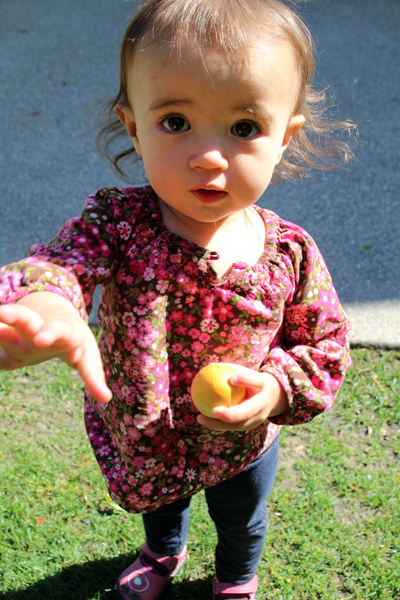
Just for fun, a picture of Olivia from Easter last year. Oh my goodness, heart is melting.
PS More Easter ideas here


LOVE the gold! The stencils are both so pretty, but the gold leaf is a lot of fun too. The effect of the undissolved dye is fantastic (had a project of my own turn out that way, but haven’t posted about it). Looks like you’re going to have a sparkly Easter at your house this year!
What fun- I’m sure Liv had a blast! Love the gold leaf and the marbley effect. :)
Your eggs turned out so purdy – love the gold leaf! And what an amazing little helper you had!! ;)
Hard to believe Easter is this Sunday, isn’t it?!
I can’t believe it’s just around the corner! Lent has gone by so very fast :).