***Congrats to Ashley D. on winning the $100 Minted.com giveaway!! Thank you to everyone who entered***
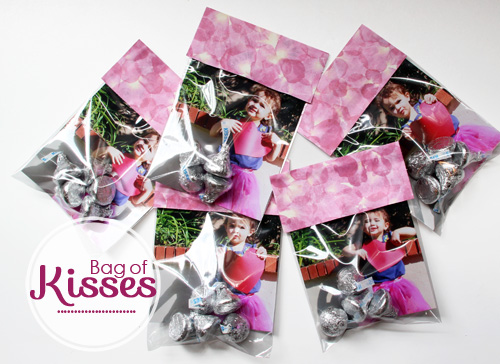
Liv and I made little Valentine’s Day treat bags for her grandparents and great grandparents (they were inspired by this version we made last year for Mother’s Day with drawings by Liv and taffy), and this time around we filled the little clear bags with Hershey’s kisses to officially send ‘Bags of Kisses’ through the mail.
BUT, before I share this super easy and customizable candy bag, I have to share that we had our little gender reveal party yesterday and it was so much fun! So neat to experience the awesome surprise of what we’re having with everyone at the same time!! Caught it on camera so I can share the surprise with you all. But you have to wait just one more day or two while I edit the video! So sorry for the suspense… let me just say I was totally caught off guard!
Okay… back to the cute little baggies :).
********************************************************************************************
‘Bag of Kisses’ Treat Bags
m
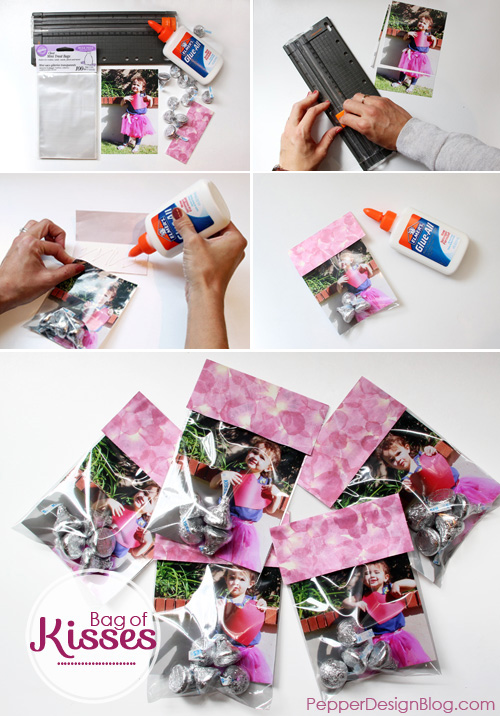
Materials: pretty paper, clear treat bags (almost any size will work – I used 5×7 bags for this project and 4×6 bags for today’s project), an optional photo or image for the bag, Hershey’s kisses, paper cutter, glue/stapler
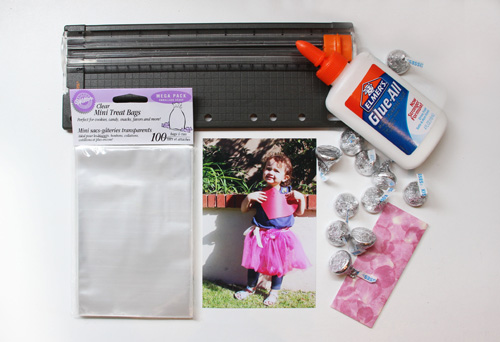
A very quick and simple project to assemble.
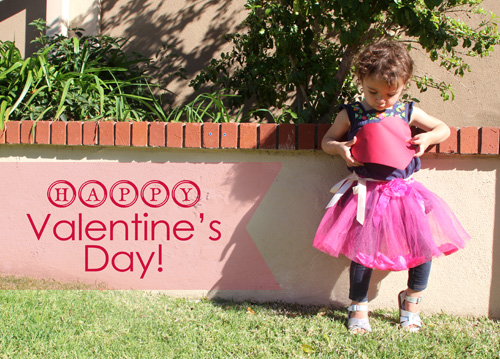
First up was Liv’s Valentine’s Day photo shoot! I actually caught Liv on a day that she was wearing her little tutu (as a ‘ballerina’ – which rarely happens) and handed her a construction paper heart to play with (I made two which turned out to be the smartest plan because the first was crinkled and torn before I had even pulled out my camera).
Then we shot away!
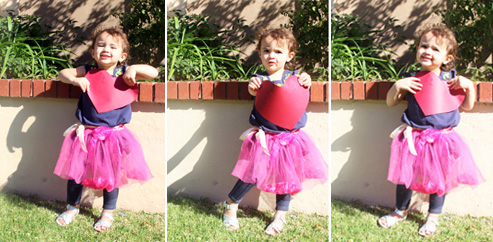
500 pictures later (in about 45 seconds) and Liv was smiling and standing and carrying the heart in the same photo. I love that middle shot – I always have to take a ton, but it’s always worth it.
Actually this might be my favorite:
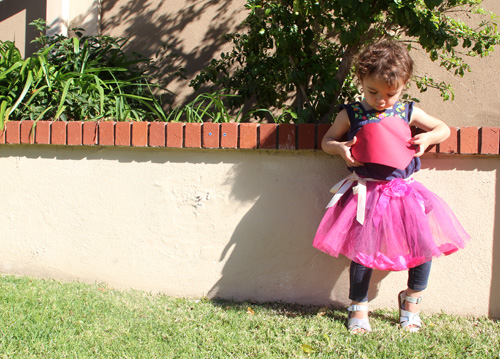
We turned it into the little card that we’d send out with the bags:
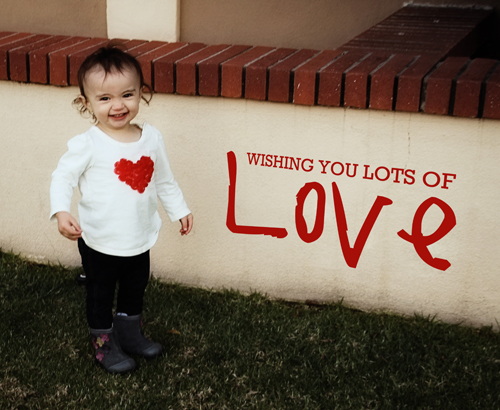
Ahhh and here’s Liv last Valentine’s Day! One year makes a huge difference.
After processing the photos, I ended up cropping both the bag and photo to make the finished bags just a little smaller.
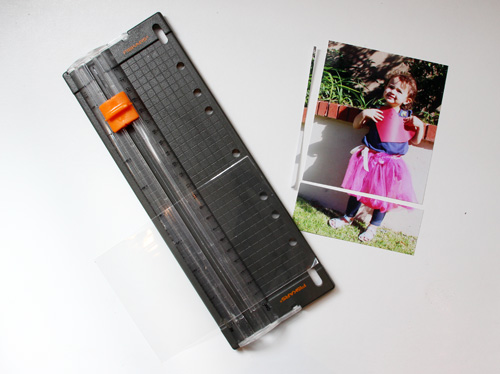
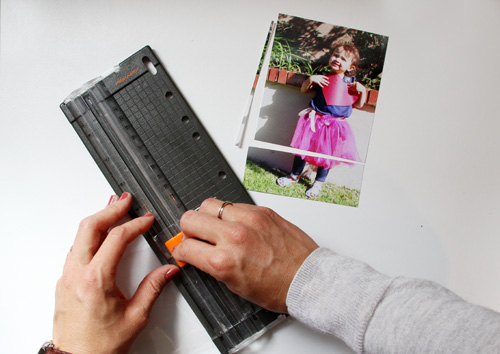
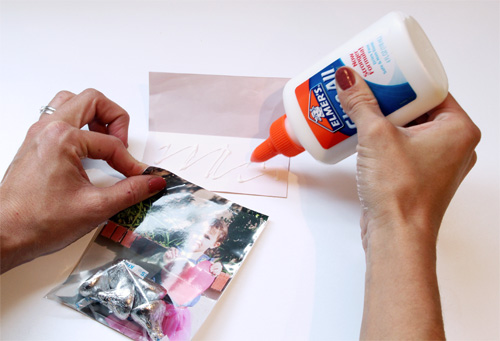
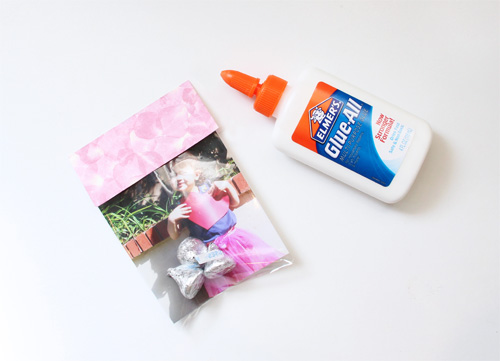
Then into the bag went a handful of kisses and on the top of the bag a cut rectangle of a pretty paper (from the scrapbooking aisle) that was folded in half. You could easily staple the top directly onto the clear bag as well, but I tried something new for a seamless look this time around with glue.
Finished!
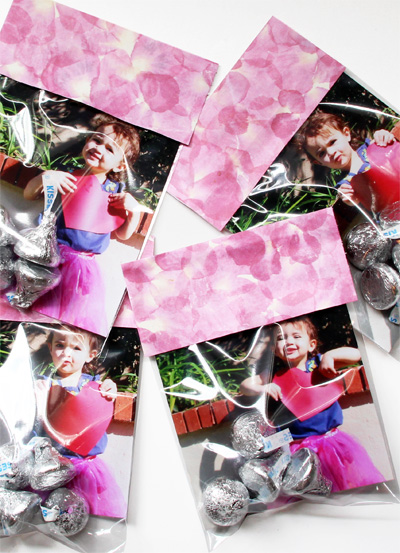
I couldn’t decide on which pose I loved best, so I made several of each:
Here’s the entire project in one quick collage:
********************************************************************************************
This is a favorite and easy project in our house, we’ve made them for Mother’s Day (which I referenced above here) but you could use them for parties (they make great favor ‘thank you’ bags) or as treats for school. You could really add any image (be it a favorite photo, paper, fabric square, etc) as the backdrop or even leave it blank as a clear bag. Use a solid piece of paper at the top to include a little message, too! And we’ve also filled these with miscellaneous goodies such as confetti or glitter just for added fun.
Valentine’s Day is just around the corner! Here’s a quick link to search by all heart-day related posts.


These cards and pouches are too adorable. I still remember that post from last year…so cute! Looking forward to seeing the pictures from the party and hearing the big announcement!
Oh, that is just cruel, Morgan… leaving us with a cliffhanger!! I’m sure the video will be worth the wait though. ;)
Your bags are such a cute idea for Valentine’s Day!!
Oh I know, I’m so sorry! Almost finished :-), posting as soon as it is!
You’re killing me Morgan!! These Bag of Kisses are crazy adorable, but I want to see the video!!
Adorable! It would be hard to pick a favorite picture. Now, Please tell us the news! Twins?! ;)
Ha! No, not this time!